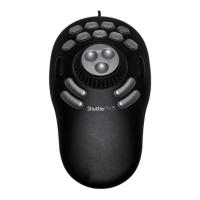
1.1 Installing Shuttle Device Software
It is recommended to install the software before plugging your Shuttle device into any
available USB port.
Shuttle devices are “plug and play”: there is no need to shutdown and restart your computer
when you plug or unplug the device from a USB port.
1.1.1
1.1.2
System Requirements
• System running Mac OS 8.6 – 9.2.
• Available USB port. (A direct USB port connection is desirable, but a hub connection will
also work. Contour recommends using powered hubs and against using conversion
devices, such as USB adapters.)
• 10 Mbyte of hard disk space for the Shuttle device driver installation.
Installation Procedure
Note: It is recommended that you close all other applications that may be running on your
system and that you disable any virus protection software until after the installation is
complete.
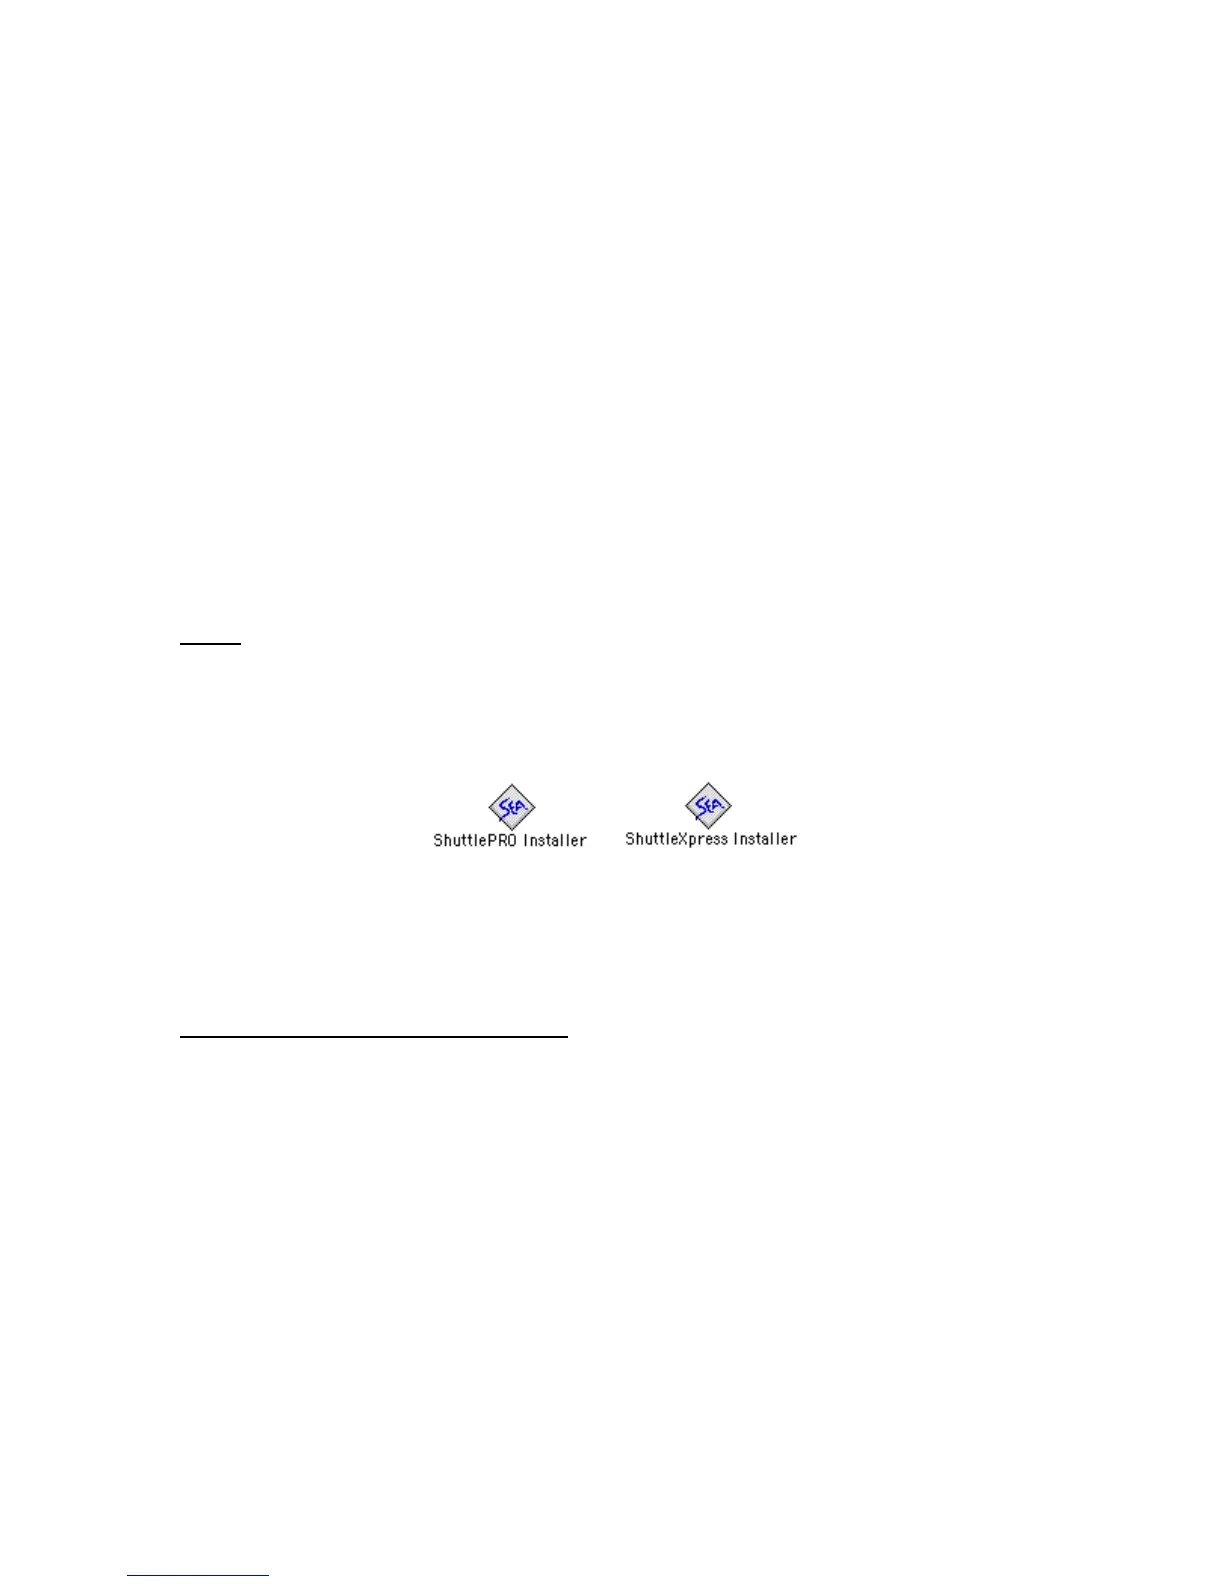
Step 1. Locate and double-click on the installer.
The ShuttlePRO installer (for both ShuttlePRO v2 and ShuttlePRO) will install two (2)
items to your system disk: the Control Panel and a Control Strip Module. The
ShuttleXpress installer will only install the Control Panel.
Step 2. At the prompt, please restart.
Note for ShuttlePRO series users:
Restarting should make the Control Strip module
visible. If not, go to the Apple Menu in the upper left corner of your screen. Click and
move down to Control Panels. Under the Control Panels submenu, click Control Strip.
Within the Control Strip panel, click on Show Control Strip to ensure that it displays
properly on your screen.
Contour Shuttle Multimedia Controllers 3