May 2009 | Revision 6.0
2-16
CHAPTER 2.0 | KIT INSTALLATION
4. Install the lamp fixtures: (Item G and H)
Note: The IN kit is able to support one, two, or three light fixtures per shelf. The
basic kit provides a total of four lamp fixtures. If more lamp fixtures are required,
they can be ordered by contacting Conviron (some limitations to minimum
temperature and maximum humidity apply). The fixtures provided are referred to
as lamps fixtures without connectors whereas those that are additional are referred
to as lamp fixtures with connectors. The latter fixtures simply have a female
connector to allow daisy chain connecting of all the lamp fixtures in one shelf.
Single lamp fixture per shelf:
Two-lamp fixture supports are required
per lamp fixture. Install as shown. (See
figure 2.36 & 2.37.)
Install the lamp fixture by hanging it from
the shelf. The lamp fixture can be hung at
any point along the shelf with the cord
plug closer to the female connector
located on the right side wall. Remove the
plug covers from the side wall and plug
each fixture into the connector in the side
wall. Repeat with all the remaining
shelves. (See figure 2.38 and 2.38a)
Multiple Lamp fixtures per shelf:
Note: Always install the lamp
fixtures with the connector facing
the back wall plenum. Those
without a connector must always
be installed closer to the door.
Remove the plug cover from the side wall. Plug the front fixture into the back fixture and
plug the back fixture into the side wall. Repeat with all the remaining shelves.
The unit is now ready to operate. Read the Chamber Start-Up Instructions carefully
before proceeding with the Start up.
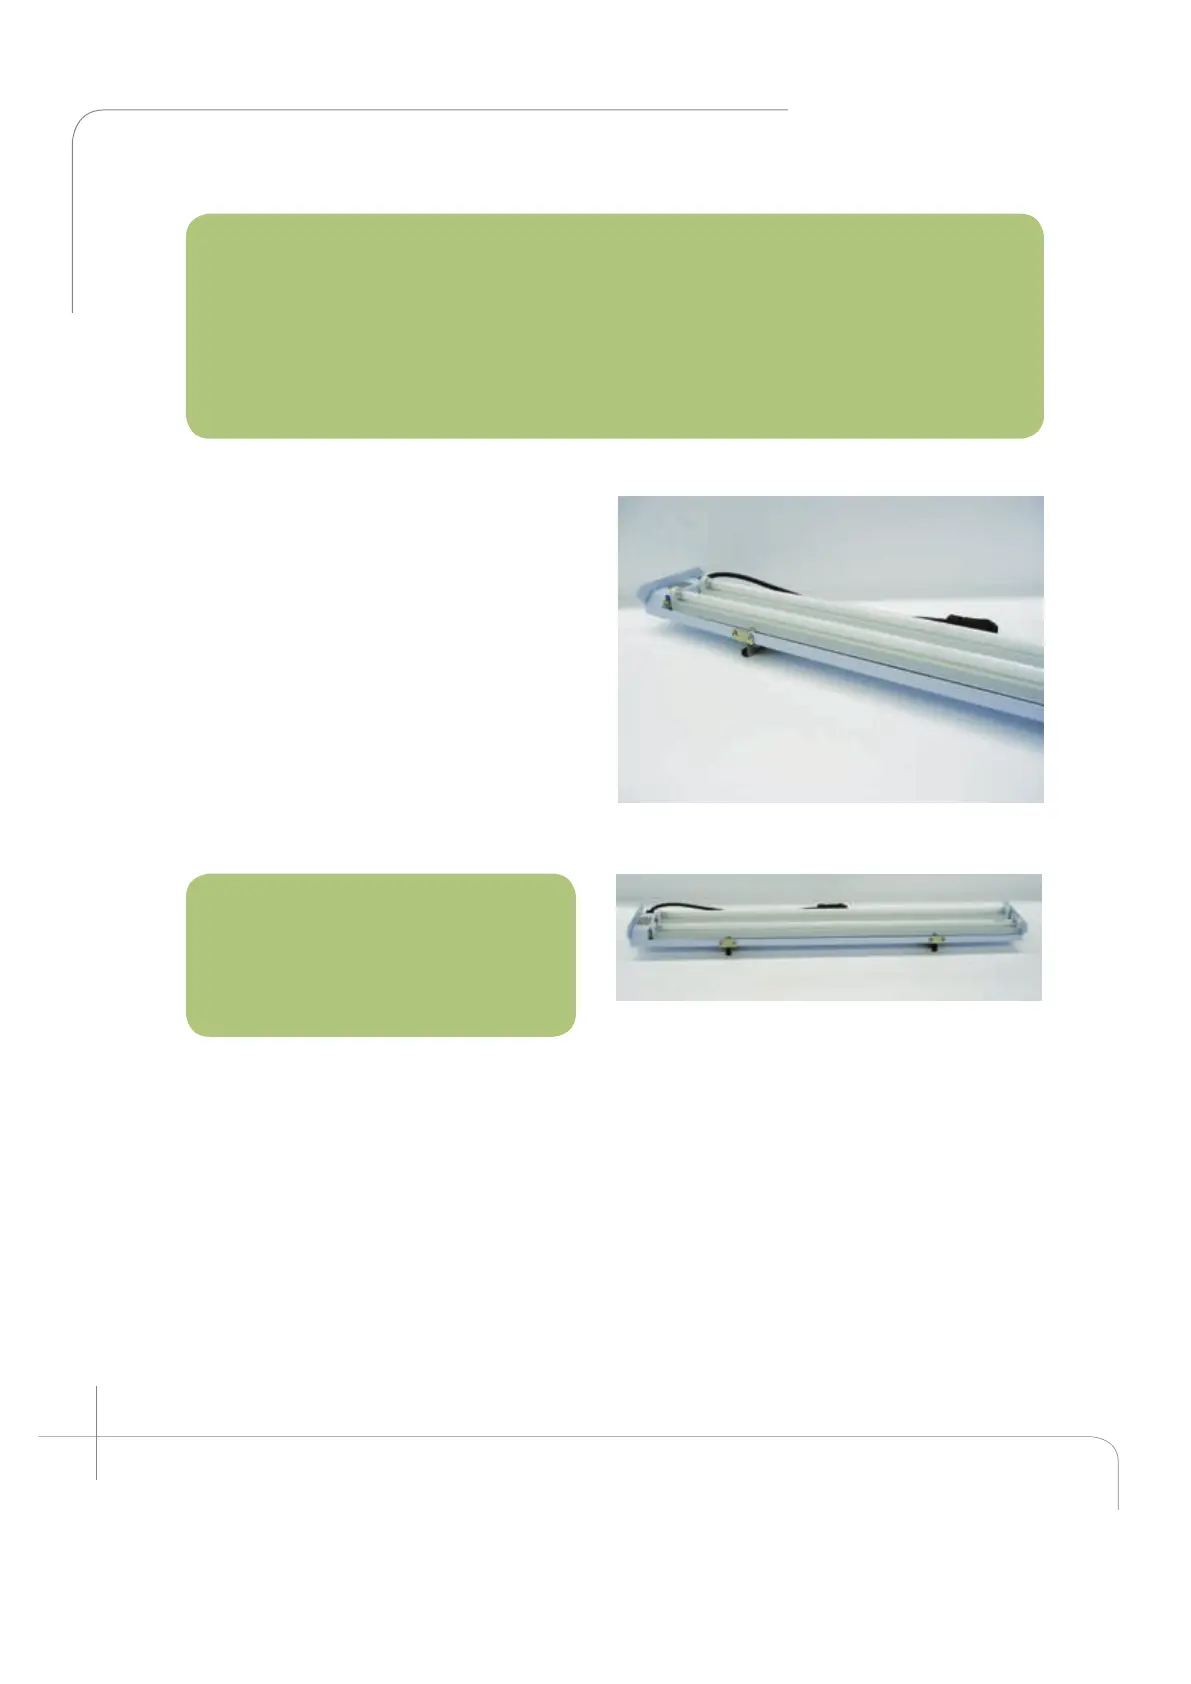
Figure 2.36: Lamp fixture and support.
Figure 2.37: Lamp fixture with supports shown.
 Loading...