USER MANUAL V1.0
WWW.CRAFTBOT.COM
5.9. Calibration
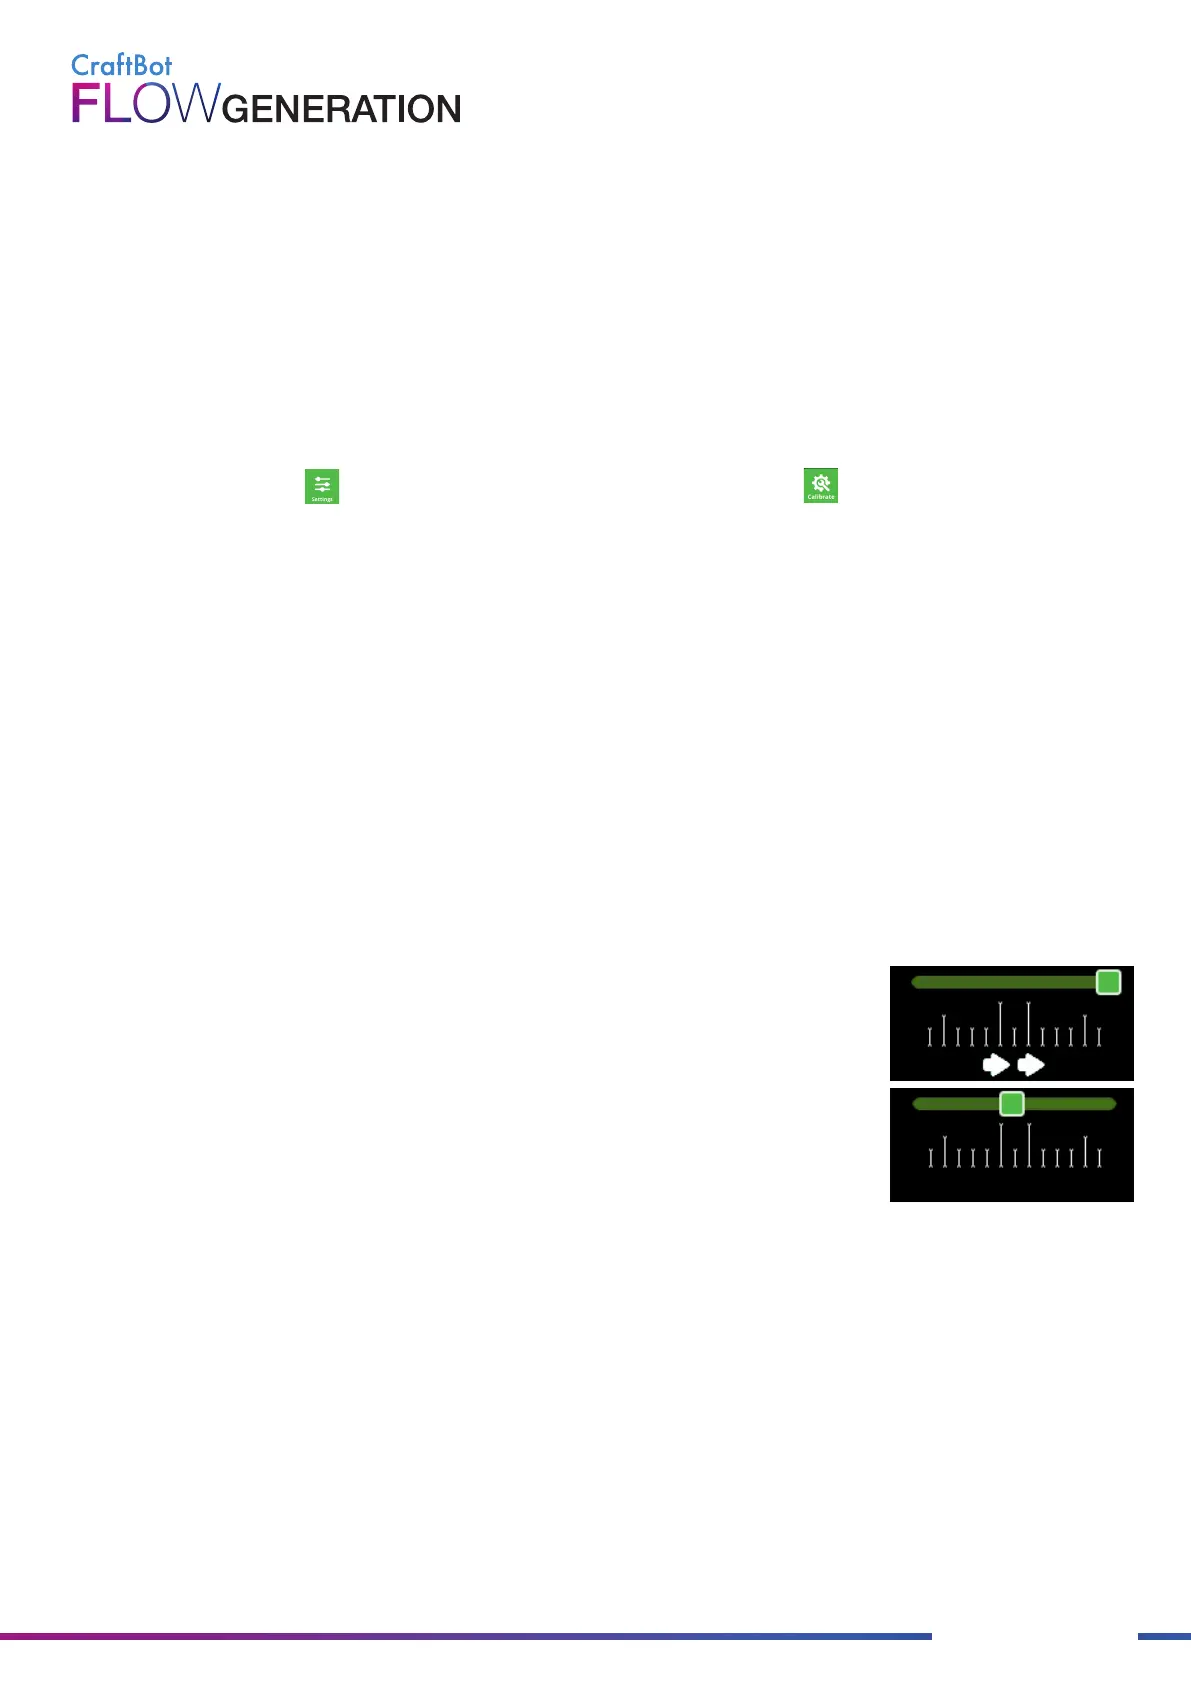
If the deviation is large, the markings are dense. The arrows below the
markings indicate which direction the knob should be twisted to achieve
optimum adjustment.
To achieve optimum value, the meter should be wrapped between two
prominent lines.
If the measurement is correct, the Next button appears. By pressing the button the printer proceed to the next
measuring point. Once all three measurement points have been completed, the printer will re-check the distances.
If all is well, the measurement process is complete.
You need to calibrate your printer periodically to ensure that you always print in good quality, and good adhesion to
the build plate. There are a total of 4 calibration processes that ensure perfect print quality.
There are a few important rules to follow before calibrating:
! Heat up the nozzle and remove the filament from the extruder.
! Clean the plate and the nozzle tip.
! Make sure the metal plate is pushed back as far as it will go.
To preform the calibration, please follow the next steps:
• Select the Settings menu on the LCD screen and touch the Calibrate icon
• Select which calibration process you want to perform
• Press Start
5.9.1. Assisted bed calibration
Adjusts the parallelism between the build plate and XY mechanics, and the distance between the nozzle and the
build plate.
The assisted bed calibration requires you to manually adjust the build plate. It will be adjusted using the 3 knob
screws at the bottom of the build plate. There is one knob at the front in the middle and two in the back left and
right corners of the build plate.
At the beginning of the process, the printer measures the distance between the build plate and the nozzle tip using
the BL-Touch sensor. If the distance or parallelism is not optimal, the calibration will begin.
The print head begins to measure at the front in the middle point. At the bottom of the screen, you can see the scale
of the deviation.
Creates a map of the build plate and compensates for any surface inequalities while printing the first few layers. For
this calibration, no user intervention required.
During the process, the printer measures the build plate at 3 different temperatures: 60°C, 80°C, 100°C
This process takes 15 minutes to complete.
5.9.2. Mesh bed leveling