11
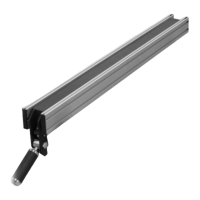
Install the magnetic switch to the extension
wing attached to the left side of the table as
shown in figure-13.
Figure-13 Installing the magnetic switch
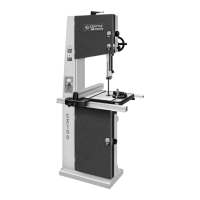
INSTALLING SAW BLADE
Make sure the switch is in the OFF position
and the cord is disconnected from the
power source.
Remove the table insert (if already
installed) and raise the arbor all the way up
using the blade height hand wheel located
on the front of the saw. Set the blade to 0-
degree using the blade tilt hand wheel.
Remove the arbor nut and the arbor flange
and install the 10” blade provided. Make
sure the teeth of the blade are facing the
front of the saw and install the arbor flange
and the arbor nut. Use the arbor wrench
and a locking pin to tighten the nut.
Make sure not to over-tighten the nut
against the blade.
Figure-14 Installing the blade
INSTALLING THE
SCORING BLADE
To install the scoring blade make sure the
switch is in the OFF position and the cord is
disconnected from the power source.
Remove the table insert (if already
installed) and raise the scoring saw arbor to
the maximum by turning the screw located
on the table, using a proper sized Allen key.
See figure-15.
Figure-15 Installing the scoring blade
 Loading...