mbb
osse
i
:::shaft _th h_bl fi_,_ with of Sh_t_ ioser'_ rn6tOr
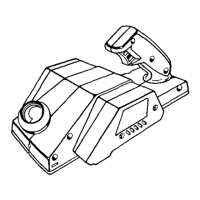
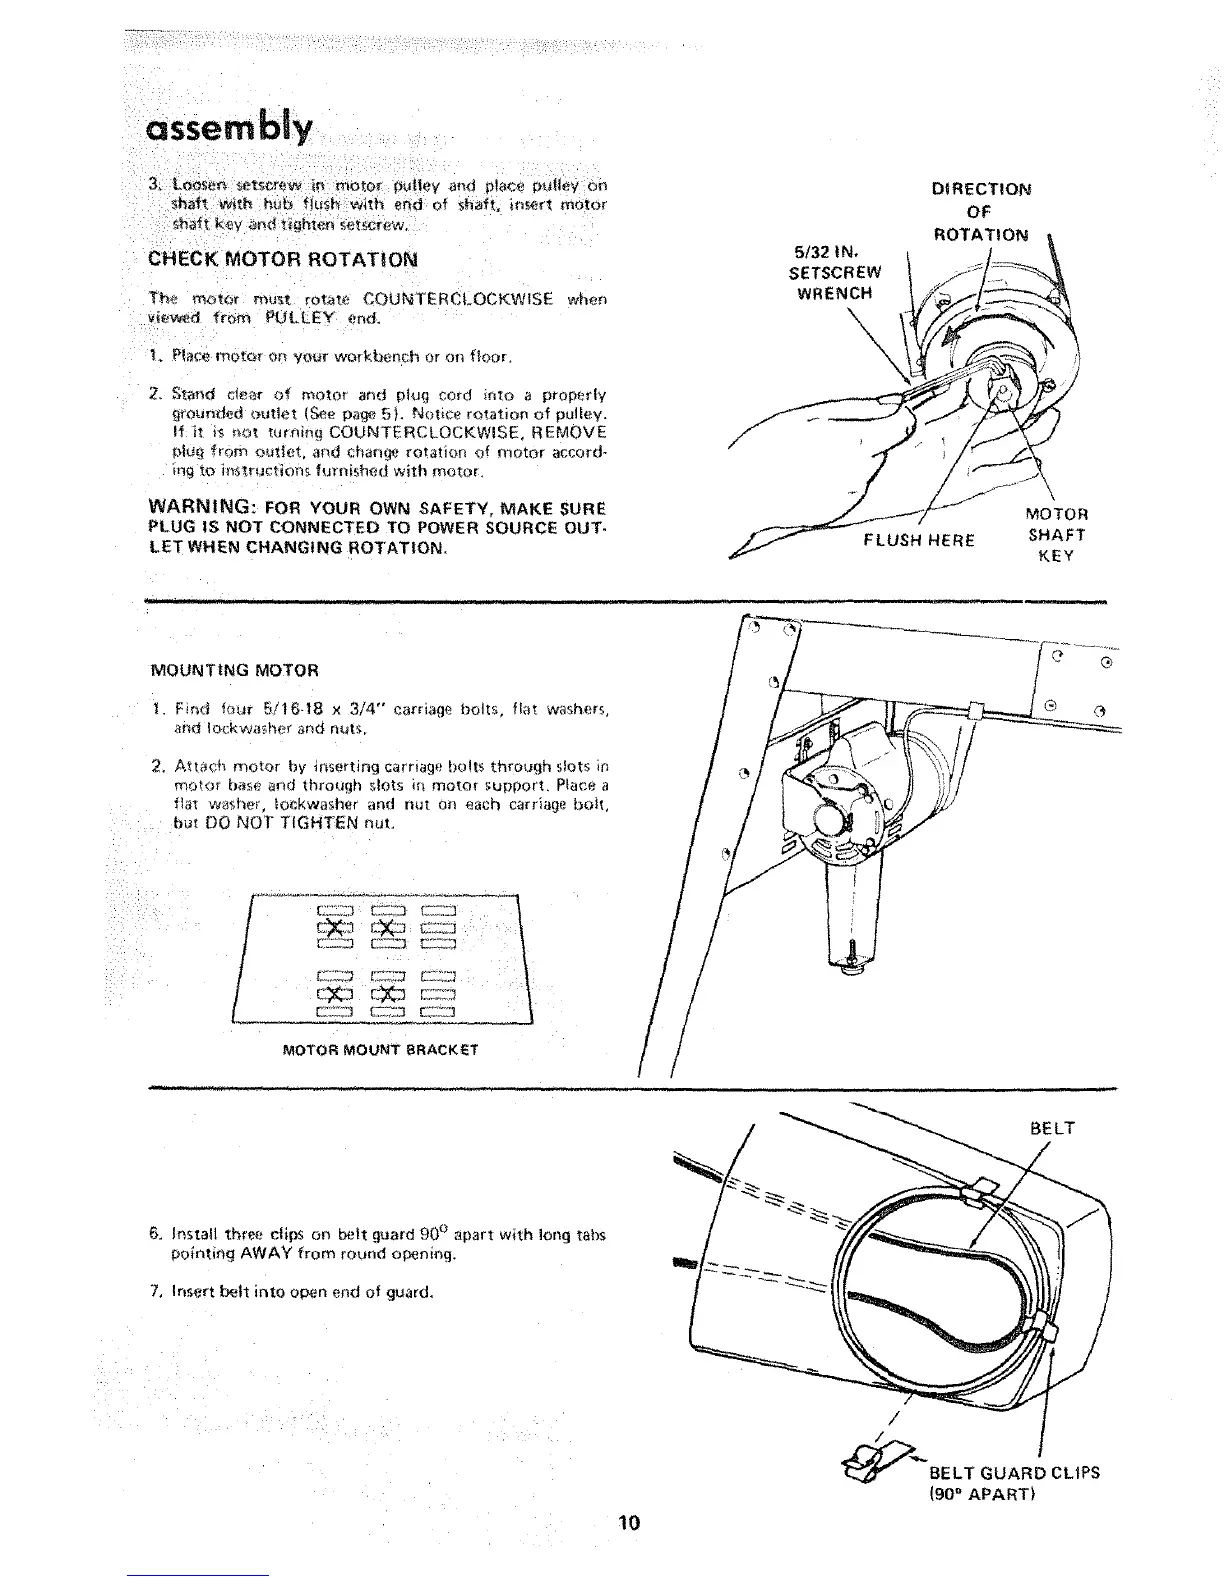
CHECK MOTOR ROTATION
T_,_ m_ m_,_ rotate COUNTERC{.OCKWiSE whe_
Wewed fr_ PL_LL£Y end_
1L Piaee motor or_ your workbench or on floor.
2. Stared clear of motor and plug cord into a properly
9rounded outlet (See pa_¢ 5). f_}otice r_tation of pulley,
If it is not tutoring COUNTERCLOCKWISE, REMOVE
plug from out_et, and chancre rotation of motor accord-
ing to instructions furnished with motor.
WARNING: FOR YOUR OWN SAFETY, MAKE SLIRE
PLUG IS NOT CONNECTED TO POWER SOURCE OUT.
LET WHEN CHANG!NG ROTATION.
"_" --:--:- ; ; __ ,.............. J__JLU'L_I_I'E..L ' =!.... &CIJ_UU['L'....
5t32 IN.
SETSCREW
WRENCH
DIRECTION
OF
ROTATION
FLUSH HERE
MOTOR
SHAFT
KEY
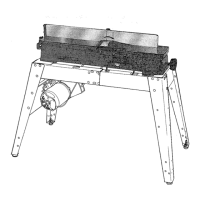
MOUNTING MOTOR
i, Find fo_t 5116-t8 x 3/4" carriage bolts, flat washers,
and lockw_sher and nuts_
2_ Attach r'_otor by iriserting carriage bolts through slots in
motor' base and thro_Jgh slOtS in motor supporL Place a
f}al washer, lo_.kwasher and nut on each carriage bolt,
: , b_t DO NOT TIGHTf_N nut.
">/:
i i_ _
/
ECZ2"3
J
MOTOR MOUNT BRACKt_T
®
BELT
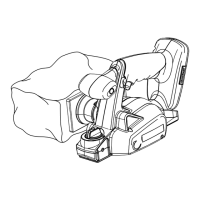
6. Install three clips on belt guard 90 ° apart with long tabs
pointing AWAY from round opening.
7, Insert belt into open end of guard.
/•
10
/
1_..,_-"" BE LT O UAR D CLIPS
(90 _ APART)