DOUBLE INSULATED TOOLS WITH TWO-PRONG PLUGS
Your SEARS _ooi is equipped with a two wire cord a dielectric material. This helps protect you in case of
and two prong plug which can beUsedin standard failure of the standard functional insulation within
120 Volt A_C, outlets: the electrical system. Use only identical replacement
No grounding 0f the to01 is necessary: The housing is parts when service is required.
i
, Use of damaged cords can shock, burn or electrocute.
i
EXTENSION CORDS
Replace damaged or worn cords immediately. The
table shows the correct size to use, depending on
cord length and nameplate amperage rating of tool.
If in doubt, use the next heavier gauge. An under-
sized cord will cause a drop in line voltage, resulting
in loss of power and over-heating. NOTE: The
smaller the gauge number, the heavier the cord.
(Extension Cords are available)
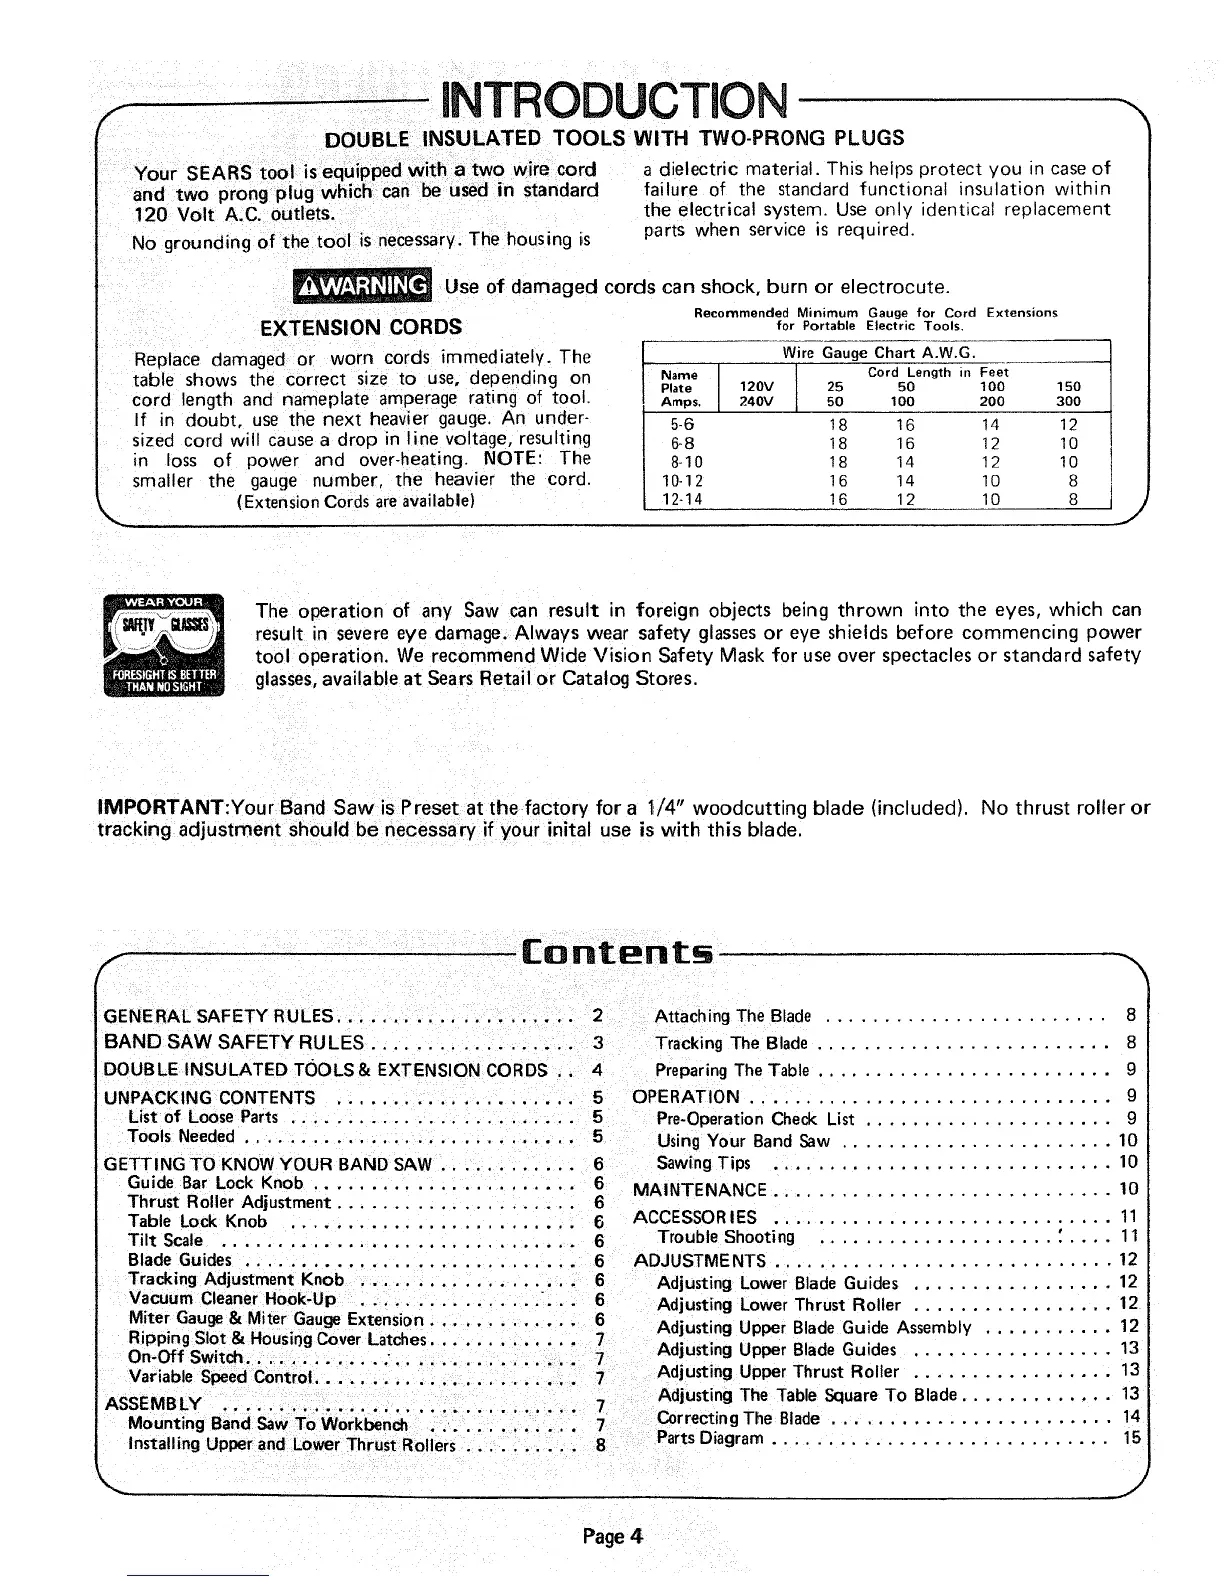
Recommended Minimum Gauge for Cord Extensions
for Portable Electric Tools.
Wire GaugeChart A.W.G.
t Cord Length in Feet
PlateName 120V 25 50 100 150
I
, Amps. I 240V I 50 100 200 300
t 5-6 18 16 14 12
6-8 18 16 12 10
8-10 18 14 12 10
I 10-12 16 14 10 8
I
[ 12-14 16 12 10 8
The operation of any Saw can result in foreign objects being thrown into the eyes, which can
result in severe eye damage, Always wear safety glasses or eye shields before commencing power
tool operation. We recommend Wide Vision Safety Mask for use over spectacles or standard safety
glasses, available at Sears Retail or Catalog Stores.
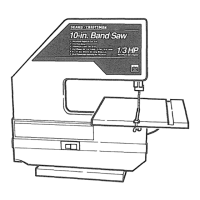
IMPORTANT:Your Band Saw is Preset at the factory for a 1/4" woodcutting blade (included). No thrust roller or
tracking adjustment should be necessary if your inital use is with this blade,
F Contents
GENERAL SAFETY RULES ..................... 2 Attaching The Blade ........................ 8
BAND SAW SAFETY RULES .................. 3 Tracking The Blade ......................... 8
DOUBLE INSULATED TOOLS & EXTENSION CORDS .. 4
UNPACKING CONTENTS ..................... 5
List of Loose Parts ......................... 5
Tools Needed ............................. 5
GETTING TO KNOW YOUR BAND SAW ........... 6
Guide Bar Lock Knob ....................... 6
Thrust Roller Adjustment ..................... 6
Table Lock Knob ......................... 6
Tilt Scale ............................... 6
Blade Guides ............................. 6
Tracking Adjustment Knob ................... 6
Vacuum Cleaner Hook-Up ................... 6
Miter Gauge & Miter Gauge Extension ............. 6
Ripping Slot & Housir)gCover Latd_es............. 7
On-Off Switch .............. • .................
7
Variable Speed Control ....................... 7
ASSEMB LY ............................... 7
Mounting Band Saw To Workbench ............. 7
Installing Upper and Lower Thrust Rollers .......... 8
Preparing The Table ......................... 9
OPERATION ............................... 9
Pre-Operation Check List ..................... 9
Using Your Band Saw ....................... 10
Sawing Tips ............................. 10
MAINTENANCE ............................. 10
ACCESSORIES ............................. 11
Trouble Shooting .................... '. .... 11
ADJUSTMENTS ............................. 12
Adjusting Lower Blade Guides ................. 12
Adjusting Lower Thrust Roller ................. 12
Adjusting Upper Blade Guide Assembly ........... 12
Adjusting Upper Blade Guides ................. 13
Adjusting Upper Thrust Roller ................. 13
Adjusting The Table Square To Blade ............. 13
Correcting The Blade ........................ 14
Parts Diagram ............................. 15
J
Page 4