10.
11.
F
miter gauge extension allows you to lower the
blade guard within 1/8" of the material to be
cut without any interference from the blade
guard.
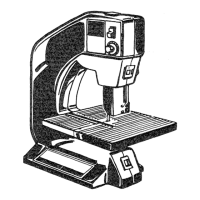
RIPPING SLOT .... Place miter gauge in ripping
slot to desired width and tighten screw. (A rip
scale is provided for a reference.
f L
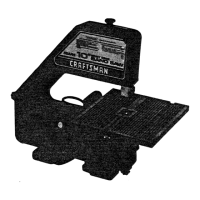
HOUSING COVER LATCHES . . . There are
seven tatches to remove the housing cover. To
release latches, place your index finger at one
end of the latch and gently lift the other end
with your thumb. To lock the latch, press down
until the open end of the latch snaps securely
over the locking tab. Always make sure the
latches are securely snapped before turning on
the saw.
f J -_
LATCH
/
J
ASSE
12.
A,
go
C.
13.
ON-OFF SWITCH . . . The On-Off Switch ha.,
red locking lever which is included on switc
THISFEATURE tS INTENDED TO PREVE#
UNAUTHORIZED AND POSSIBLE HAZAR
OUS USE BY CHILDREN AND OTHERS.
To UNLOCK switch insert LEVER. To tu
machine ON lift END of LEVER up to C
position.
LOCKING LEVER SWITCH
ON
OFF
To turn machine OFF . . . PUSH lever down
OFF position. Never leave the saw until t!
cutting tool has come to a complete sto
To LOCK switch in off position remove LEVE
F REMOVE LEVER --]
| TOLOCKSW,TC
i After removing, // _I{_L,JIII! i I MAR ABL
I locking ever aways _ !!l J, t, IE,,L_ 1! i ! I _PEED
I check to see that t'he _,__ 'till._ III J_f_ONTR01
I switch is latched in , _..__7_ It _4_ I I
VARIABLE SPEED CONTROL . . . The ba=
saw is equipped with a variable speed contr
dial for greater versatility.
To increase speed, rotate the dial clockwise. "
decrease the speed turn counter-clockwise. T
saw can be turned off at any speed by pushi
the ON/OFF lever to off position.
(See Chart on page 10)
LY
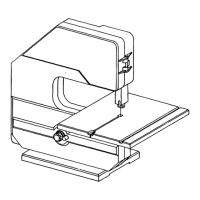
MOUNTING BAND SAW TO WORKBENCH
Your band saw is to be used in a permanent location,
it must be fastened securely to a firm supporting
surface such as a workbench.
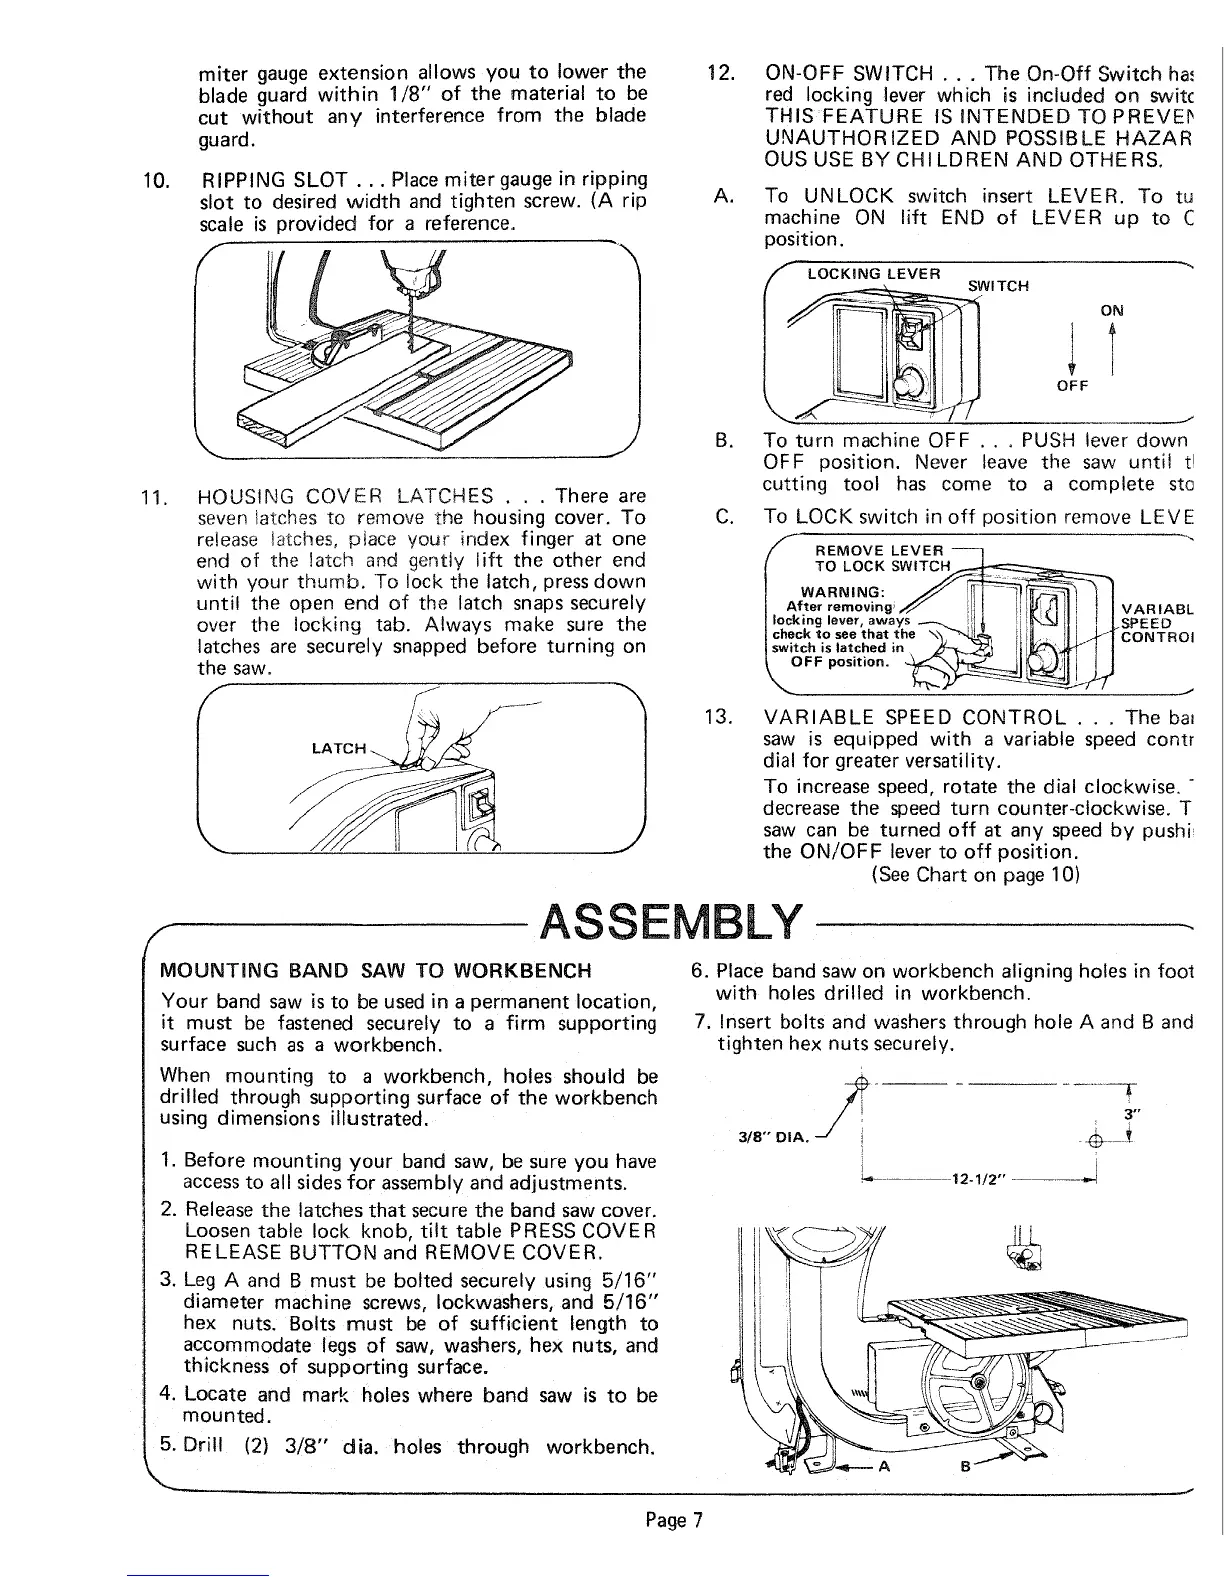
When mounting to a workbench, holes should be
drilled through supporting surface of the workbench
using dimensions illustrated.
1. Before mounting your band saw, be sure you have
access to all sides for assembly and adjustments.
2. Release the latches that secure the band saw cover.
Loosen table lock knob, tilt table PRESS COVER
RELEASE BUTTON and REMOVE COVER.
.
,
5.
Leg A and B must be bolted securely using 5/16"
diameter machine screws, Iockwashers, and 5/16"
hex nuts. Bolts must be of sufficient length to
accommodate legs of saw, washers, hex nuts, and
thickness of supporting surface.
Locate and mark holes where band saw is to be
mounted.
Drill (2) 3/8" dia. holes through workbench.
6. Place band saw on workbench aligning holes in foot
with holes drilled in workbench.
7. Insert bolts and washers through hole A and B and
tighten hex nuts securely.
3"
3/8" DIA. .___
._'...... 12-1/2 .......... J
Page 7