11
Step 1: Installing drivers and
software
DO NOT connect the camera to your computer
yet!
1. Do not connect the camera to your computer
before installing the drivers.
If you accidentally begin installation with your
camera connected, the Add New Hardware
Wizard or Found New Hardware dialog box
may appear. Click the Cancel button and
disconnect your camera from your computer.
2. Insert the Installation CD into your CD-ROM
drive. Your CD should start automatically. If it
does not, follow the steps below:
i. Start Windows Explorer.
ii. On the left pane, click My Computer.
iii. Right-click the CD-ROM/DVD-ROM drive
icon, and then click AutoPlay.
3. Follow the instructions on the screen to complete
the driver installation.
4. Repeat steps 2 to 3 to install the software.
5. Restart your computer after the software is
installed.
Step 2: Installing hardware
1. Slide the lens cover to the left to turn on your
camera.
2. Press and hold the Mode button until the Mode
menu appears on the LCD screen.
3. Use the Function keys to select the PC Mode
icon.
4. Press the Set button.
5. Use the Function keys to select Mass Storage.
6. Press the Set button. The USB Connection icon
flashes on the LCD screen.
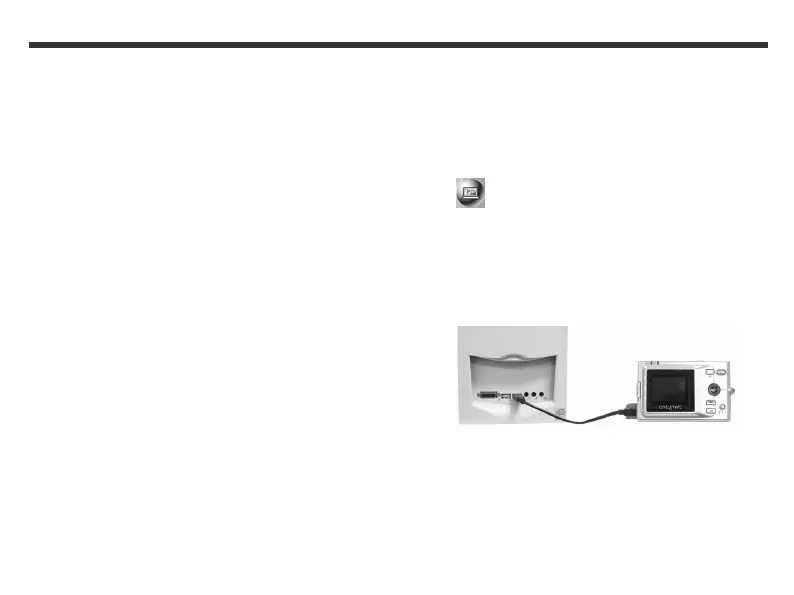
7. Open the USB port cover.
8. Connect the provided USB cable to your camera
and computer’s USB ports as shown below.
9. Windows automatically detects the camera and
your camera appears as a removable disk in
Windows Explorer.
2. Installing Your Camera