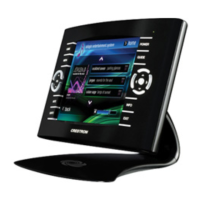
Crestron Isys™ TPS-6000 15 Inch Tilt Touchpanel
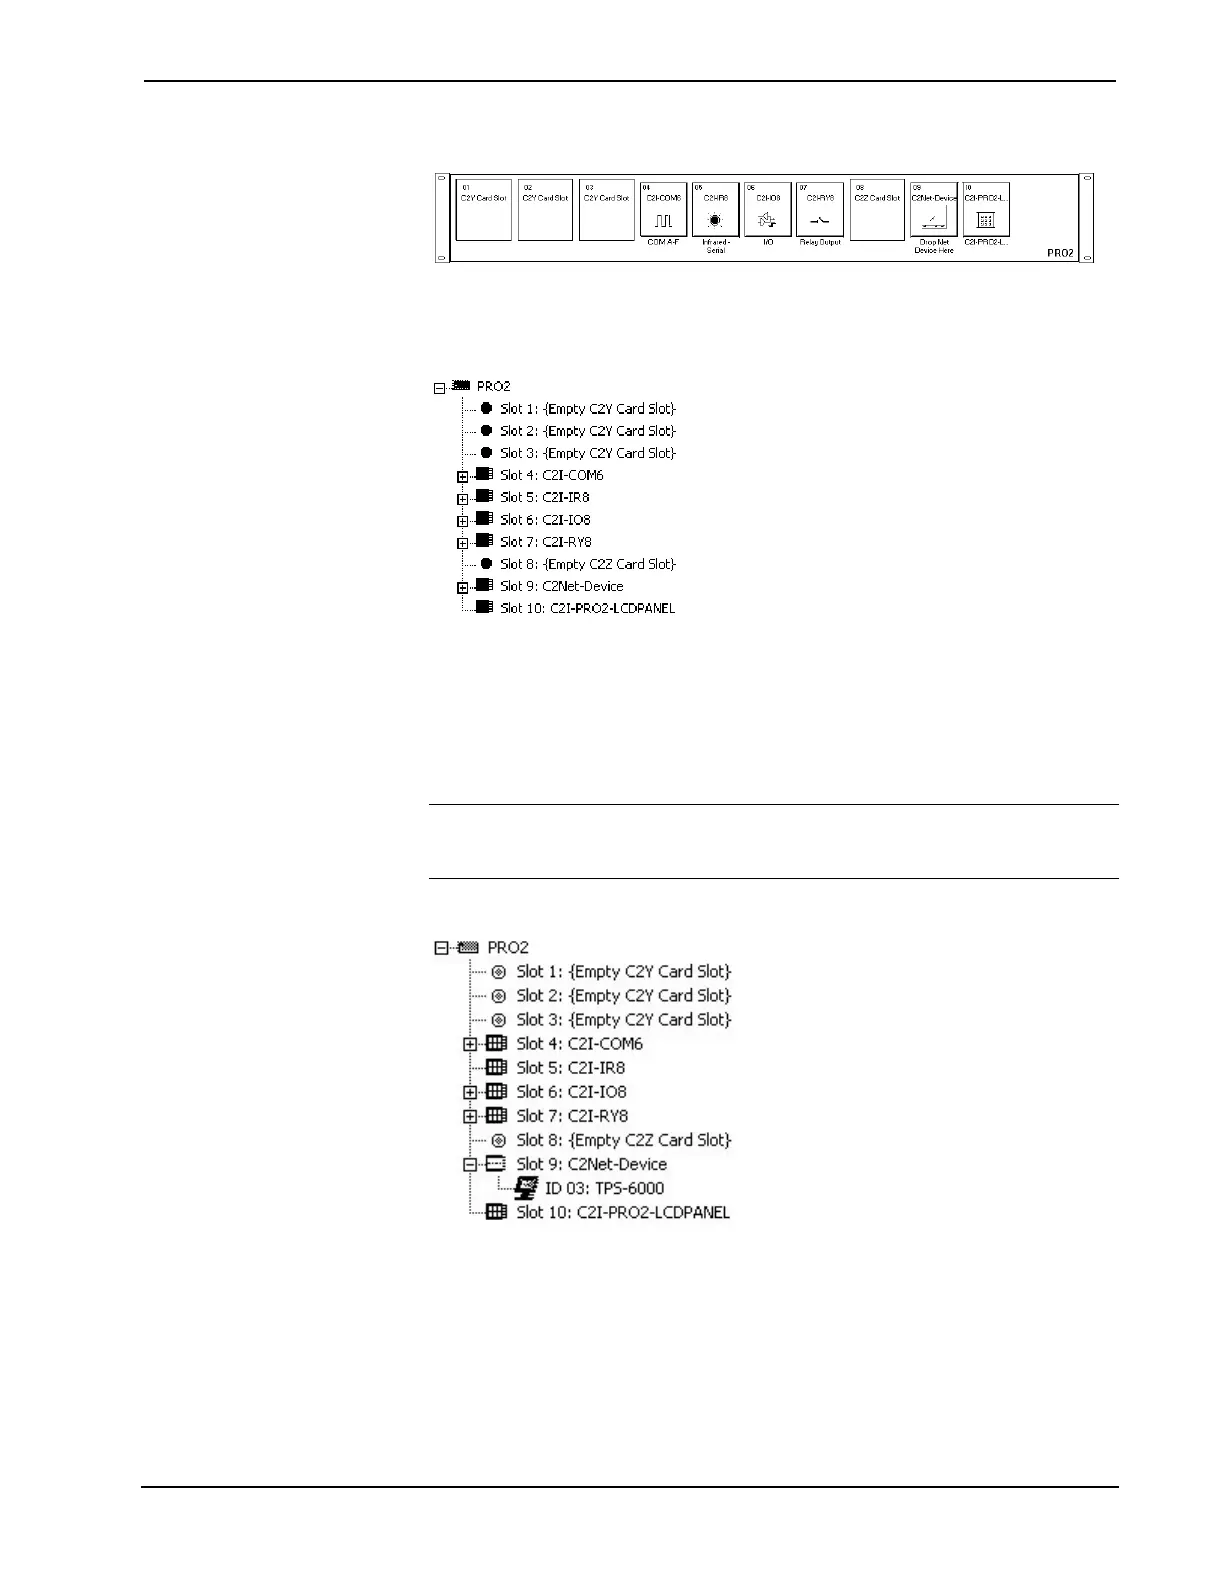
PRO2 System View
The System Views lower pane displays the PRO2 system tree. This tree can be
expanded to display and configure the communications ports.
Expanded PRO2 System Tree
C2Net-Device Slot in Configuration Manager
To incorporate the TPS-6000 touchpanel into the system, drag the TPS-6000 from
the Touchpanels | Touchpanels (Cresnet) folder of the Device Library and drop it in
the System Views. The PRO2 system tree displays the touchpanel in slot 9 with a
default Net ID of 03 as shown in the following illustration.
NOTE: The first touchpanel in a system is preset with a Net ID of 03, when its
symbol is dragged into the upper pane of System Views. Additional touchpanels are
assigned different Net ID numbers as they are added.
C2Net Device, Slot 9
Setting the Net ID in Device Settings
Double-click the TPS-6000 icon to open the “Device Settings” window. This
window displays the TPS-6000 device information. If necessary, select the Net ID
tab to change the Net ID, as shown in the following figure.
Operations Guide - DOC. 5864A 15 Inch Tilt Touchpanel: Crestron Isys™ TPS-6000 • 25
 Loading...