Isys
®
8.4” WiFi Touch Screen Crestron TPMC-8X-GA
location to save files. To further customize the installation, network drives
containing compiled touch screen project files can also be mapped.
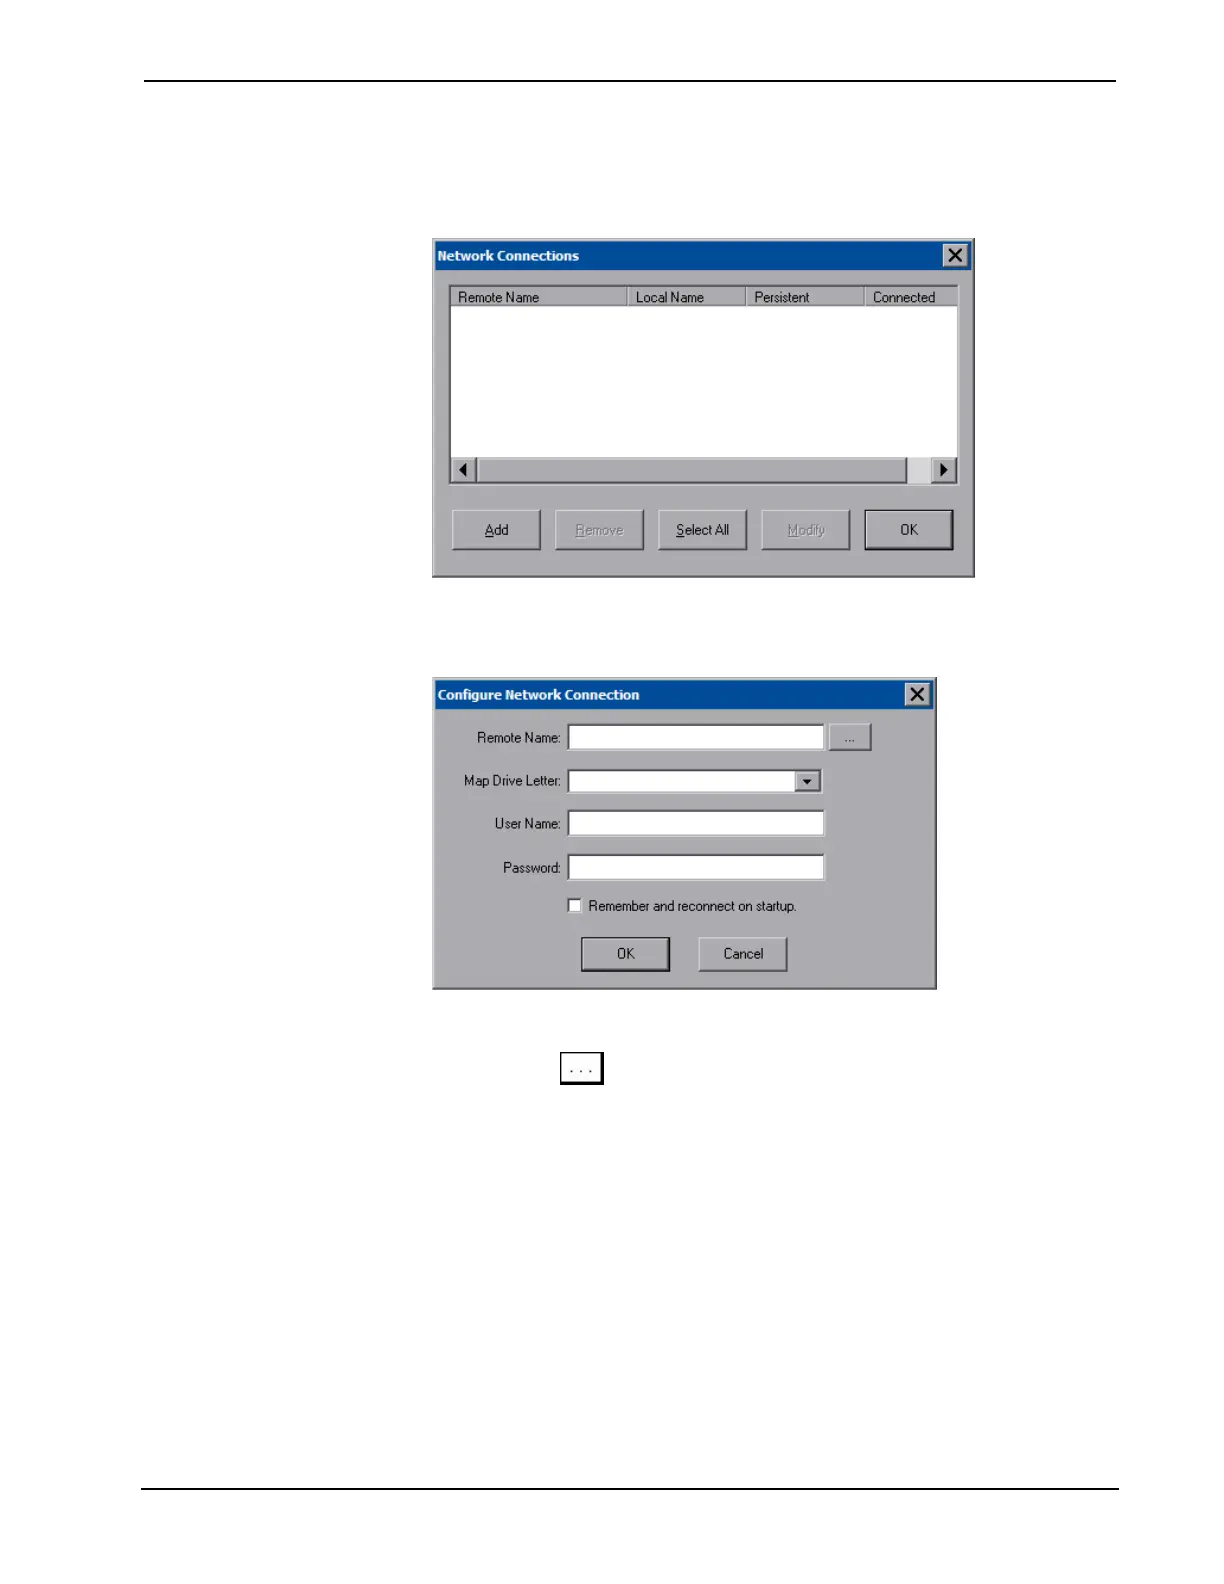
“Network Connections” Window
To add a new network connection, touch Add.
“Configure Network Connection” Window
To add a network drive, perform the following procedure:
1. Touch to browse for the new network connection. If the remote
shareable folder name does not appear on the list, it can be entered manually
in the Remote Name field, using the following format:
\\Remote host name\Shareable folder name
2. Map this connection by selecting a drive letter from the Map Drive Letter
drop box.
3. Enter a User Name and Password.
4. Touch the Remember and reconnect on startup checkbox if so desired.
5. Touch OK to enable the new network connection and return to the
“Network Connections” window.
Once all changes to network connections have been completed, touch OK to return
to the “Security Setup” window.
16 • Isys
®
8.4” WiFi Touch Screen: TPMC-8X-GA Operations Guide – DOC. 7078C

 Loading...