CURTMFG.COM
•
PRODUCT SUPPORT: 877.287.8634
•
25474-INS-RB
•
07/25/2022
•
ECN9755
•
PAGE 2
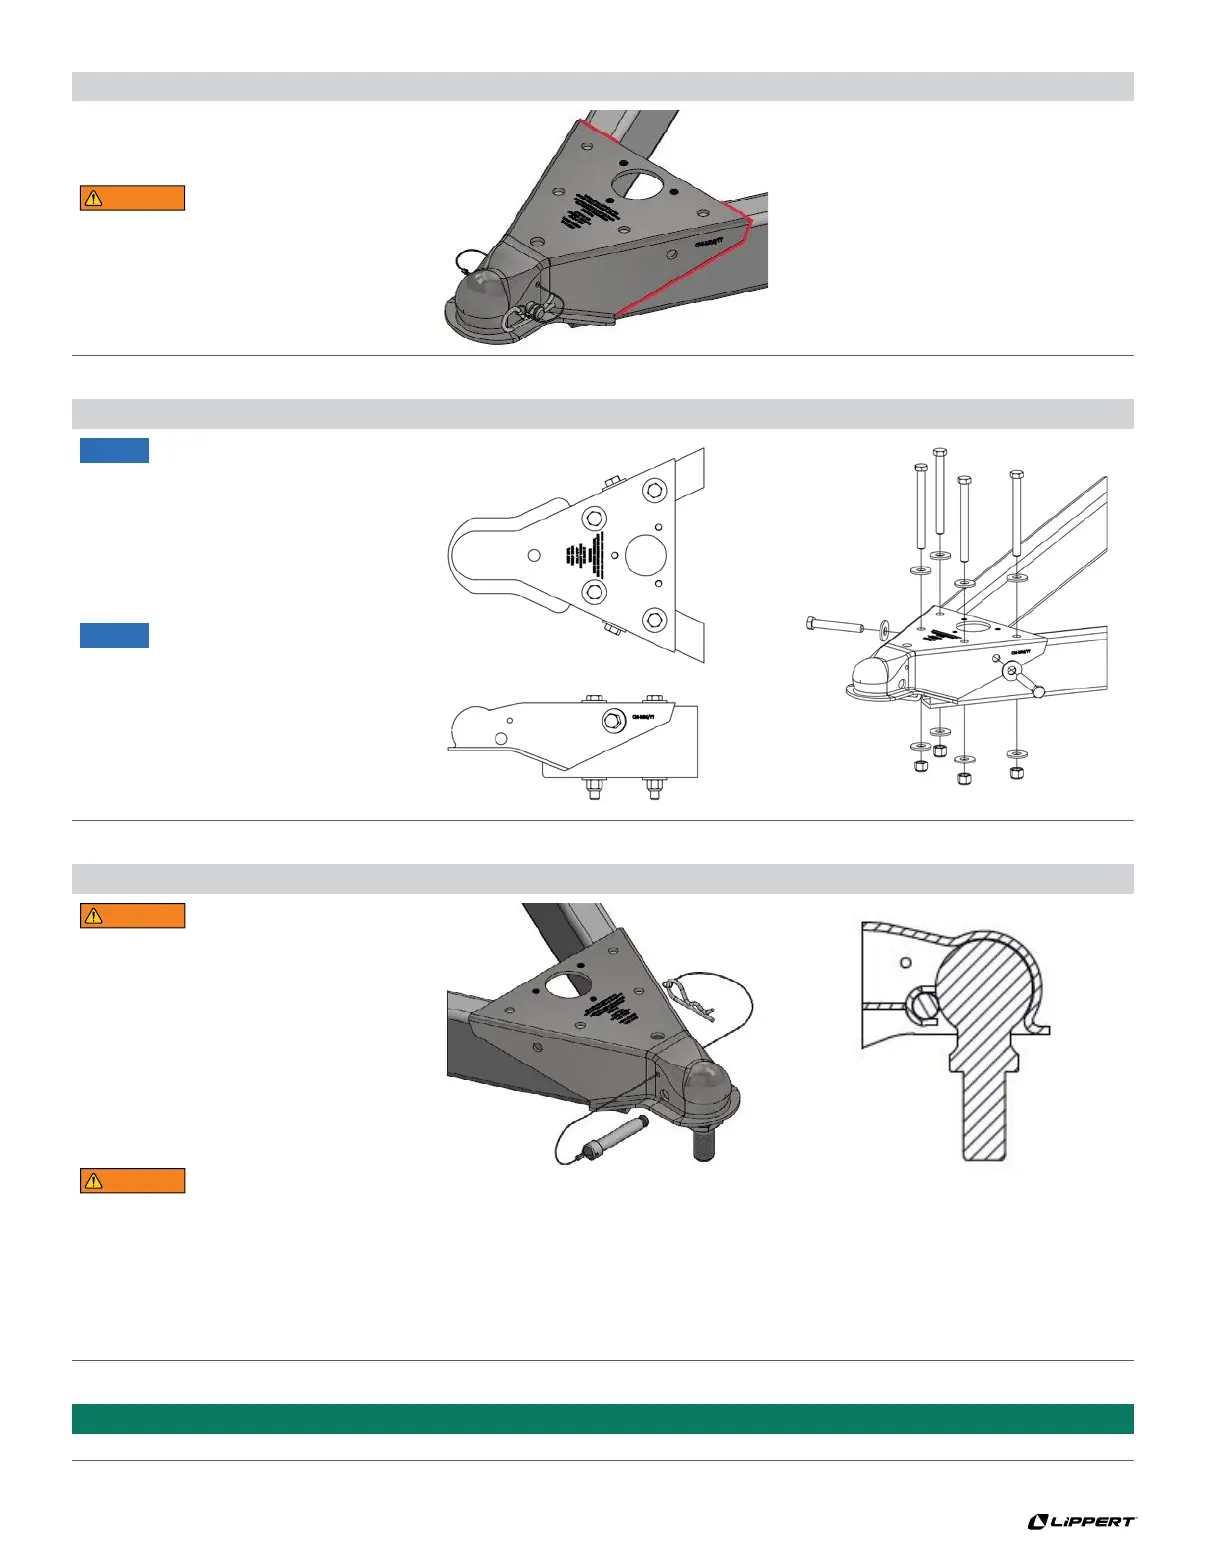
Step 1A - Weld-On Application
Coupler should be fully welded to the frame as
indicated by the red lines with a minimum weld
size of 3/16” by an AWS certified welder.
WARNING
Weld surfaces should be cleaned and prepped
prior to welding. Failure to properly prep
parts prior to welding could result in coupler
separation causing property damage,
serious bodily injury, and / or death.
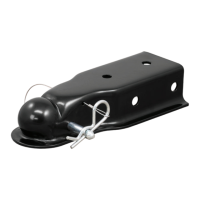
Step 2
WARNING
Only use the pin & clip provided with
the coupler. Using an alternate pin & clip
could result in property damage, serious
bodily injury, and / or death.
To couple: Remove the pin & clip from the pin
guide hole. Lower the coupler over the trailer
ball until the ball is fully seated in the ball
pocket. Insert the provided pin through
the pin guide hole and fasten the clip
through the end of the pin.
When the ball is fully seated, if the pin
does not pass through the coupler
completely, DO NOT TOW.
To uncouple: Block the trailer's wheels.
Remove the pin & clip from the pin guide
hole and raise the trailer off of the trailer ball.
Place the pin & clip back into the pin guide hole
TOWING BASICS & SAFETY INFORMATION
For information on safely towing your trailer, visit curtmfg.com/understanding-towing.
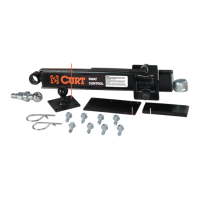
Step 1B - Bolt-On Application
Coupler should only be used
with 50 degree trailer tongues.
Bolt the coupler to the trailer tongue using
grade 5 hardware (not included). The hardware
needed to install the coupler include six 1/2"
bolts, six 1/2" lock nuts and twelve washers.
NOTICE
The bolt length should extend
a minimum of three threads
beyond the lock nut when torqued.
Torque hardware to 55 ft-lbs.