58902-INS-RA
•
PAGE 3
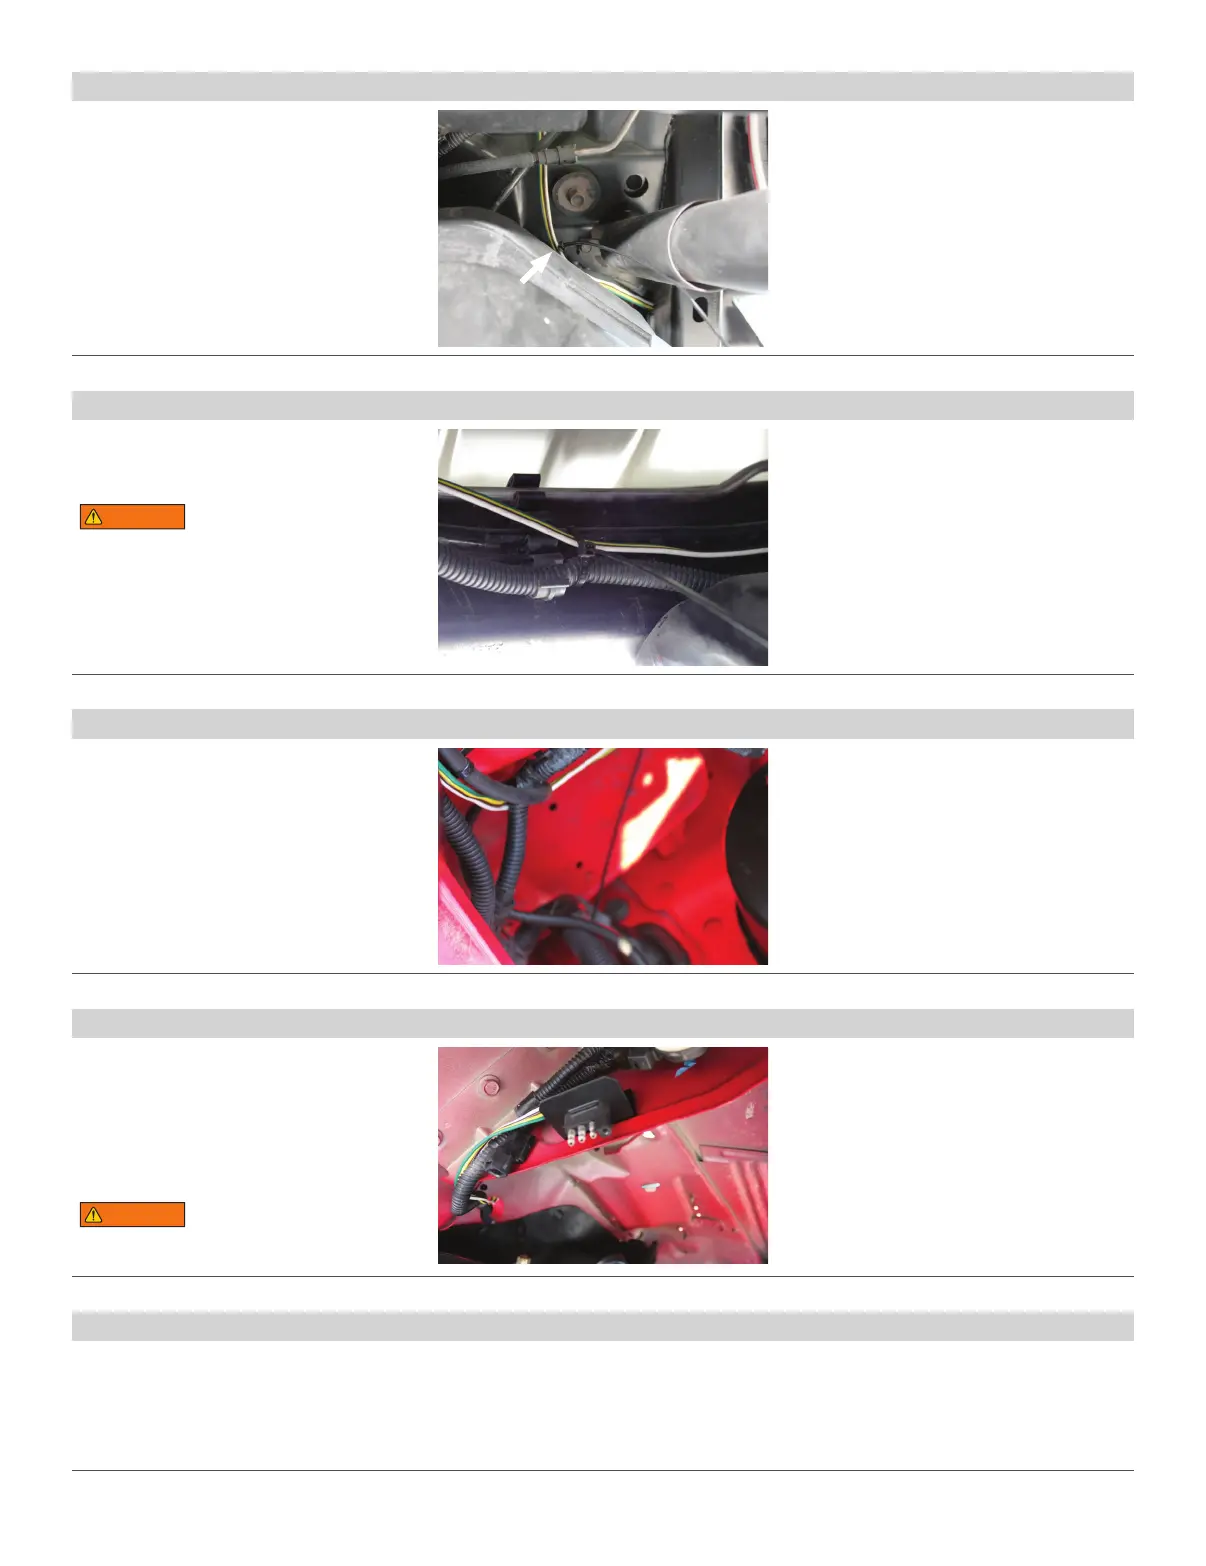
Step 8
Near the engine compartment, along the driver
side, route the 4-flat wire up the brake lines
and along the factory wiring harness.
Route to a location near the hood release.
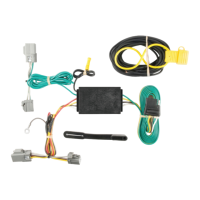
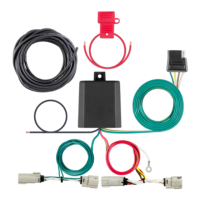
Secure the 4-flat to the factory wiring
harness with cable ties.
Step 6
Cut the cable ties on the 4-flat portion
of harness and route it down through
the opening behind the taillight.
Route the 4-flat over the top of the
fuel tank and secure with the provided
cable tie pad and cable ties.
Step 7
Continue routing towards the front of the
vehicle following the existing factory wiring
harness. Secure with cable ties.
Avoid areas that contain moving parts or could
cut, pinch or burn the wires when routing the
4-flat harness to the front of the vehicle. Failure
to follow these warnings may cause property
damage, personal injury or loss of life.
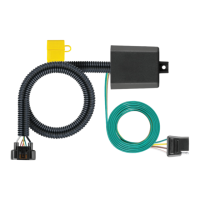
Step 9
Fish through the opening into an opening
behind the bumper. Locate a suitable mounting
location for the 4-flat bracket on the frame
behind the driver-side taillight. Using the
bracket as a template mark two holes and
drill two 3/32" holes and attach the bracket
using the two remaining screws.
Take care not to drill through
the body or any exposed surface.
Step 10
Secure any excess wire so that it is not drooping or dangling, but not so tight that it causes unnecessary strain to the wire
which could lead to breakage over time. After removing slack from the 4-flat wire, tighten any zip ties and add as needed.
Use a zip tie to fasten any excess wire to a solid spot along the driver-side inner fender.
Reinstall all items removed during install. If it was disconnected at the beginning of the installation,
reconnect the negative battery terminal. Install the provided 4-flat dust cover to help prevent corrosion.