6
Curtis 1253 Manual, Rev. F
2 — INSTALLATION & WIRING: Controller
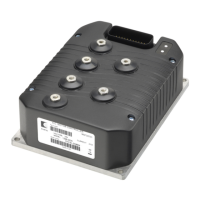
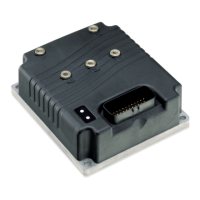
HIGH CURRENT CONNECTIONS
ree tin-plated solid copper bus bars are provided for the high current con-
nections to the battery
(B+ and B‑) and the motor armature (M‑).
☞
CAUTION
WIRING: Standard Conguration
Figure 3 shows the typical wiring configuration for most applications. e in-
terlock switch is typically a seat switch, tiller switch, or foot switch. e throttle
shown is a 3-wire pot; other types of throttles can also be used.
Lift lockout can be provided through any of four Curtis gauges:
(a) Curtis 803
(b) Curtis 906
(c) Curtis 841 “Superspy”
(d) Curtis enGage™ I V.
As each of these gauges is wired somewhat dierently to provide lift lockout,
four individual wiring diagrams are included (Figs. 3a, 3b, 3c, 3d).
Power Wiring
Motor wiring is straightforward, with the field’s S1 connection going to the
controller’s
B+ bus bar and the armature’s A2 connection going to the control-
ler’s
M‑ bus bar.
Control Wiring
e main contactor coil should be wired directly to the controller as shown in
Figure 3. e controller uses the main contactor coil driver output to remove
power from the controller and pump motor in the event of various faults. If
the main contactor coil is not wired to Pin 12, the controller will not be
able to open the main contactor in serious fault conditions.
B- B+
M-