ELECTRICAL SYSTEM AND BATTERY CHARGER
Page H-8
Repair and Service Manual
Read all of Section B and this section before attempting any procedure. Pay particular attention to all Notes, Cautions and Warnings
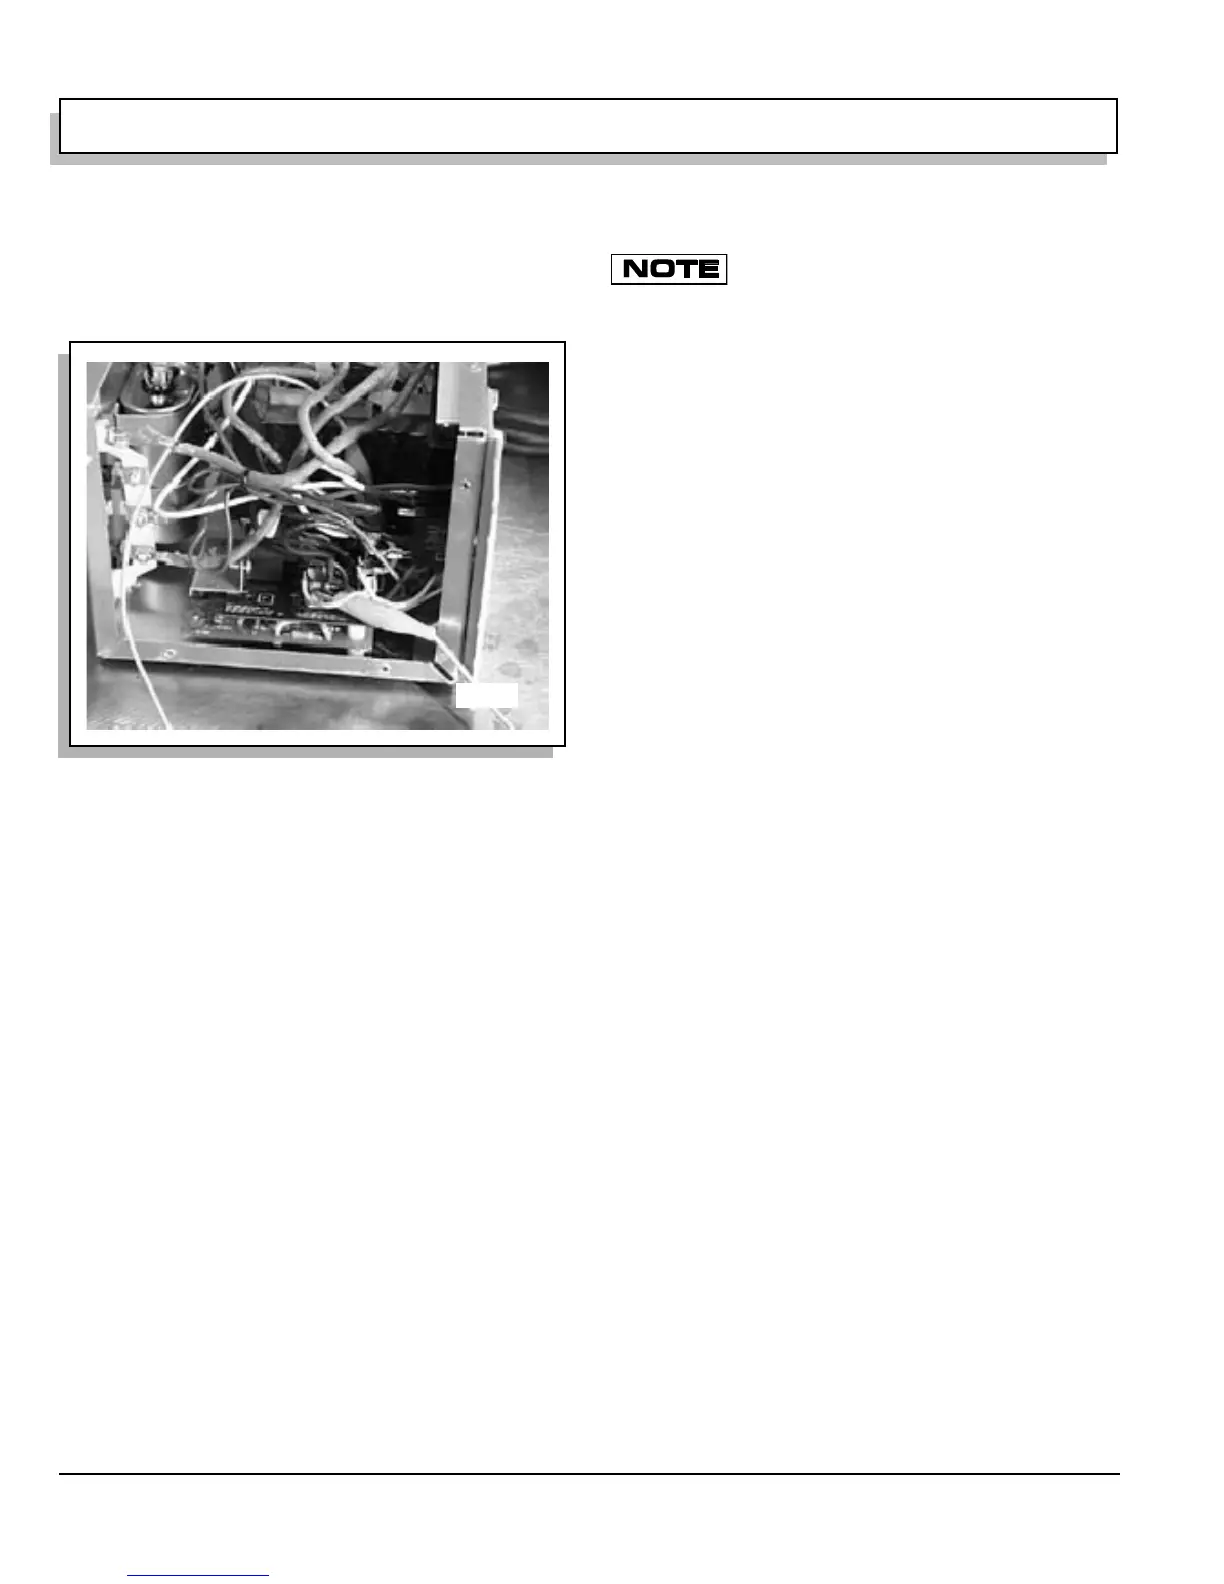
2. Place a jumper wire between #1 and #3 on the elec-
tronic timer. The AC cord is now connected directly to
the primary transformer coil and the transformer
should hum when the AC supply cord is connected to
an outlet (Ref Fig. 7 on page H-8).
3. Reconnect the charger DC output connecter to the
battery connecter and then connect the AC power
supply cord to an outlet. If the transformer hums, and
the ammeter registers normal charging current, the
electronic timer is defective and must be replaced.
Do not operate the charger with the electronic timer
bypassed. The charger will remain on as long as the
AC supply cord is connected to an outlet. Severe
overcharging and eventual damage to the batteries
will result.
If the electronic timer has been bypassed or replaced
and still no hum is noticed, a continuity test of the AC
circuit is necessary. Go to next step.
4. Disconnect the AC supply cord from the outlet and
the DC output connectors from the batteries.
5. Use a suitable continuity tester to check the circuit
across the AC plug prongs. The circuit should be
incomplete. If it is not incomplete, individually check
the AC cord, timer and all connections.
Testing The Charger
After installing the electronic timer, the charger may be
checked for proper operation as follows:
1. Install the charger in the vehicle.
2. Disconnect the DC output leads from the batteries.
Do not allow leads to contact each other or
other items.
3. Insert the AC supply cord into an outlet. The charger
should not turn on, and the voltage at the DC output
leads should be zero.
4. Unplug the AC supply cord, then connect the DC out-
put leads to the batteries. After 2 to 5 seconds, you
should hear a “Click” as the relay closes.
5. Plug the AC supply cord into an outlet. Charge batter-
ies in the normal manner, monitoring the charger to
ensure that it turns off after the charging period. If the
charger fails to charge properly, consult the wiring
diagram and check for incorrect wiring.
The Transformer Is Silent
1. Check the AC cord to be sure it is securely plugged
into a live AC outlet. Avoid two or three-pronged
adapters if possible, because these will work loose
and give a poor connection.
2. If possible, measure voltage at the outlet to ensure
power availability. Plug in a functioning electrical
device to test the power if necessary.
3. If there is AC power at the outlet, disconnect the AC
cord from the outlet and the DC output connectors
from the batteries. Bypass the electronic timer (as
described on page 40), and use a suitable continuity
tester to check continuity across the prongs of the AC
cord. With the electronic timer bypassed, the circuit
should be complete.
4. If the circuit is complete, consult the wiring diagram
and check the relay wiring and all connections.
If the circuit is not complete, check the wiring of AC
cord, the transformer primary coil leads, and the elec-
tronic timer.
If the charger is wired correctly, individually test the
continuity of the power supply cord, transformer pri-
mary coil and relay.
An AC Line Fuse Or Circuit Breaker Blows
1. Disconnect the AC supply cord.
2. Check to be sure the charger is properly wired.
3. If the wiring is correct, connect the continuity tester
across the AC plug prongs. If the circuit is complete,
the AC cord is shorted and must be replaced. If the
circuit is not complete, check the transformer by fol-
lowing the procedures under “The Transformer Has A
Short Or Burn Out”.
Fig. 7 Jumper Wire
5659