www.cuttermasters.com - Toll Free (800) 417 2171
CUTTERMASTER Professional CM-01P User’s Manual
Page 24
3.8 Bull Nose Corner Radius Set Up:
Tips to remember: the center of the arc of the corner radius is the pivot point of the radius spindle.
Remember we are bringing the tool to the wheel.
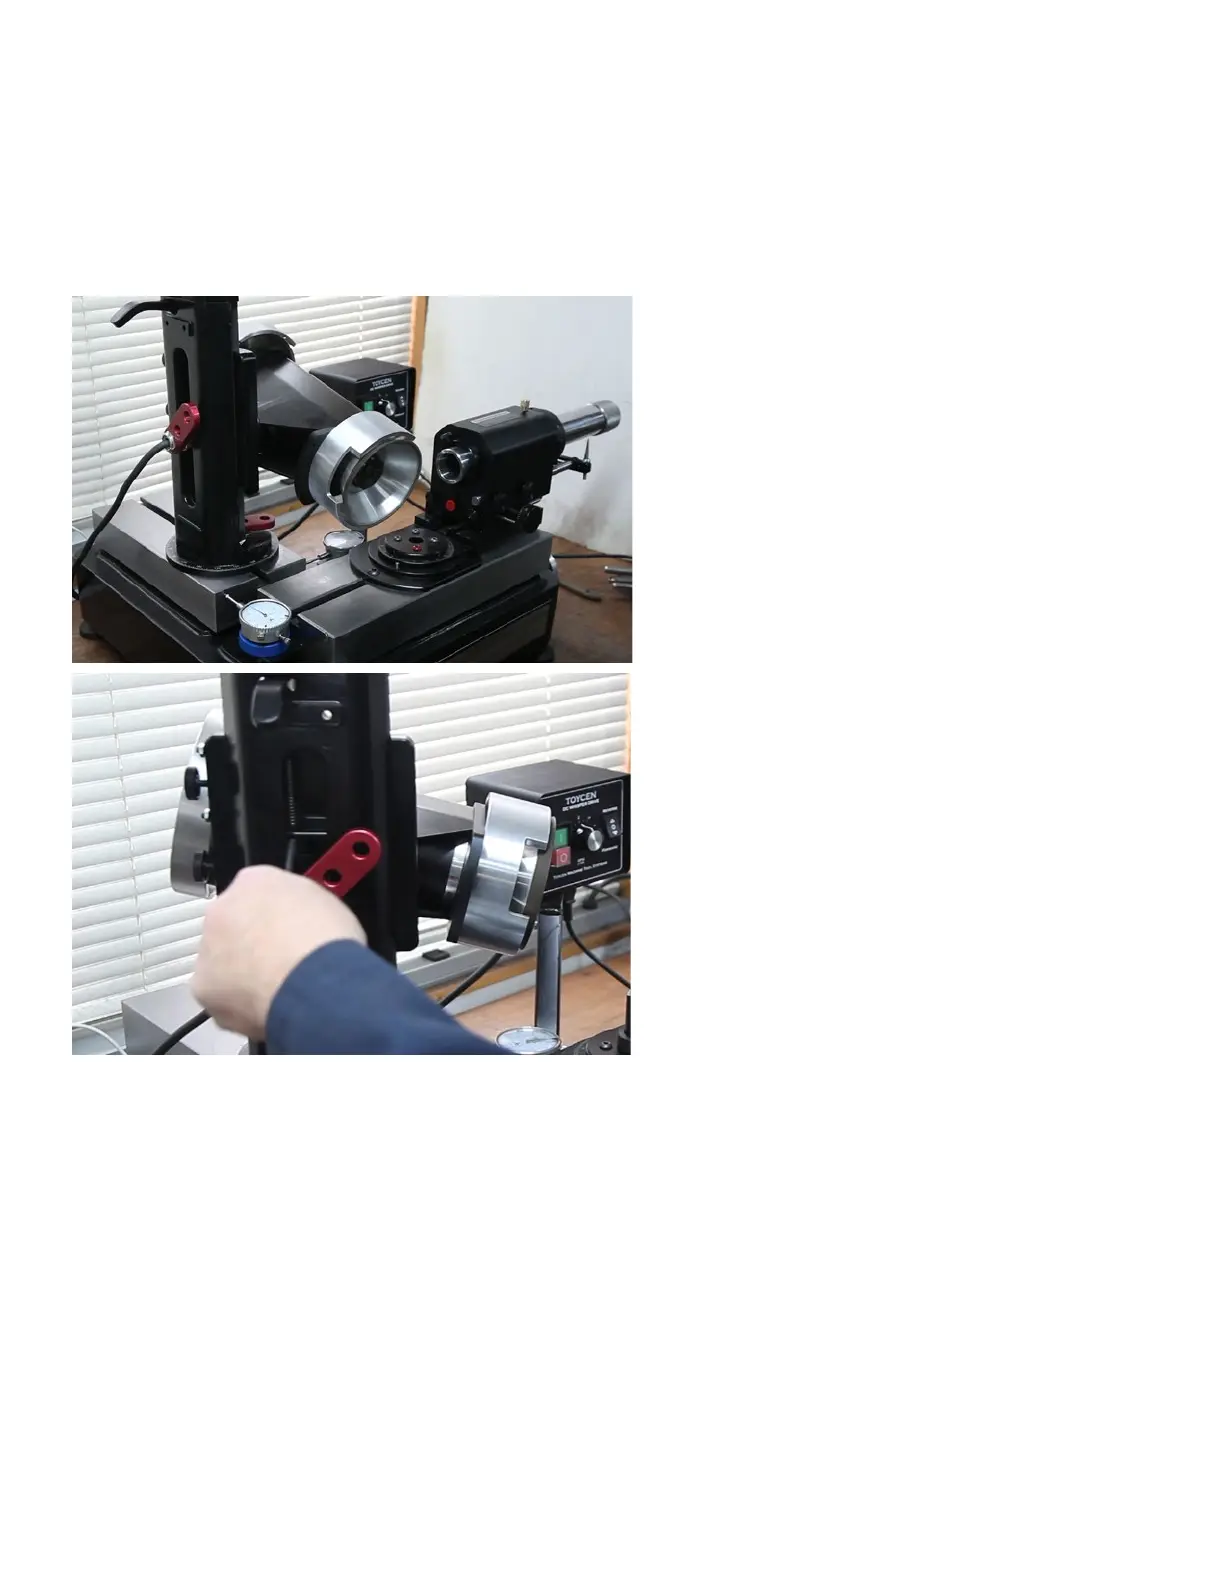
Set up your CUTTERMASTER Professional like in the image below with magnetic dial indicators in
place to keep track of both the lower x and y tables.
Tool Rest: The tool rest is not needed. The
Indexing is used to position the tool.
Park the tool rest by removing it and installing
it from the other end. This keeps the hole free
from dust and can be used as a handle for
when grinding the radius instead of holding the
tube.
Adjust backlash compensator if z axis dial dri is noticed.
Backlash Compensator for z-axis indexing.
If you nd that there is any drift in the dial
at the top of the tower
Set the Motor Rotation
Motor Tower is set clockwise ~1° to ensure the outside corner of the trued grinding wheel is proud.
We want to be sure that we know which part of the wheel is grinding. Lock the motor pivot rotation.
Set the Motor Tilt Angle (Primary radius angle)
Choose an angle that suits your needs and is generally steeper than the side primary and less than
the secondary. That is a starting point (most tools have different angles). Another way of saying this
is take the side primary angle, plus the secondary angle and dividing by two. For example if you had
a 3/4” end mill, the chart calls for 10° primary angle and a 18° clearance angle: (10° + 18°) / 2 = 14°.
Therfore, you would set the motor tilt around 14°. Lock the motor tilt. This is a general rule not critical.