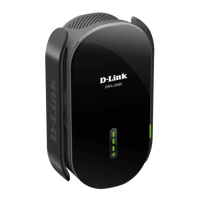
29D-Link DAP-1610 User Manual
Section 3 - Conguration
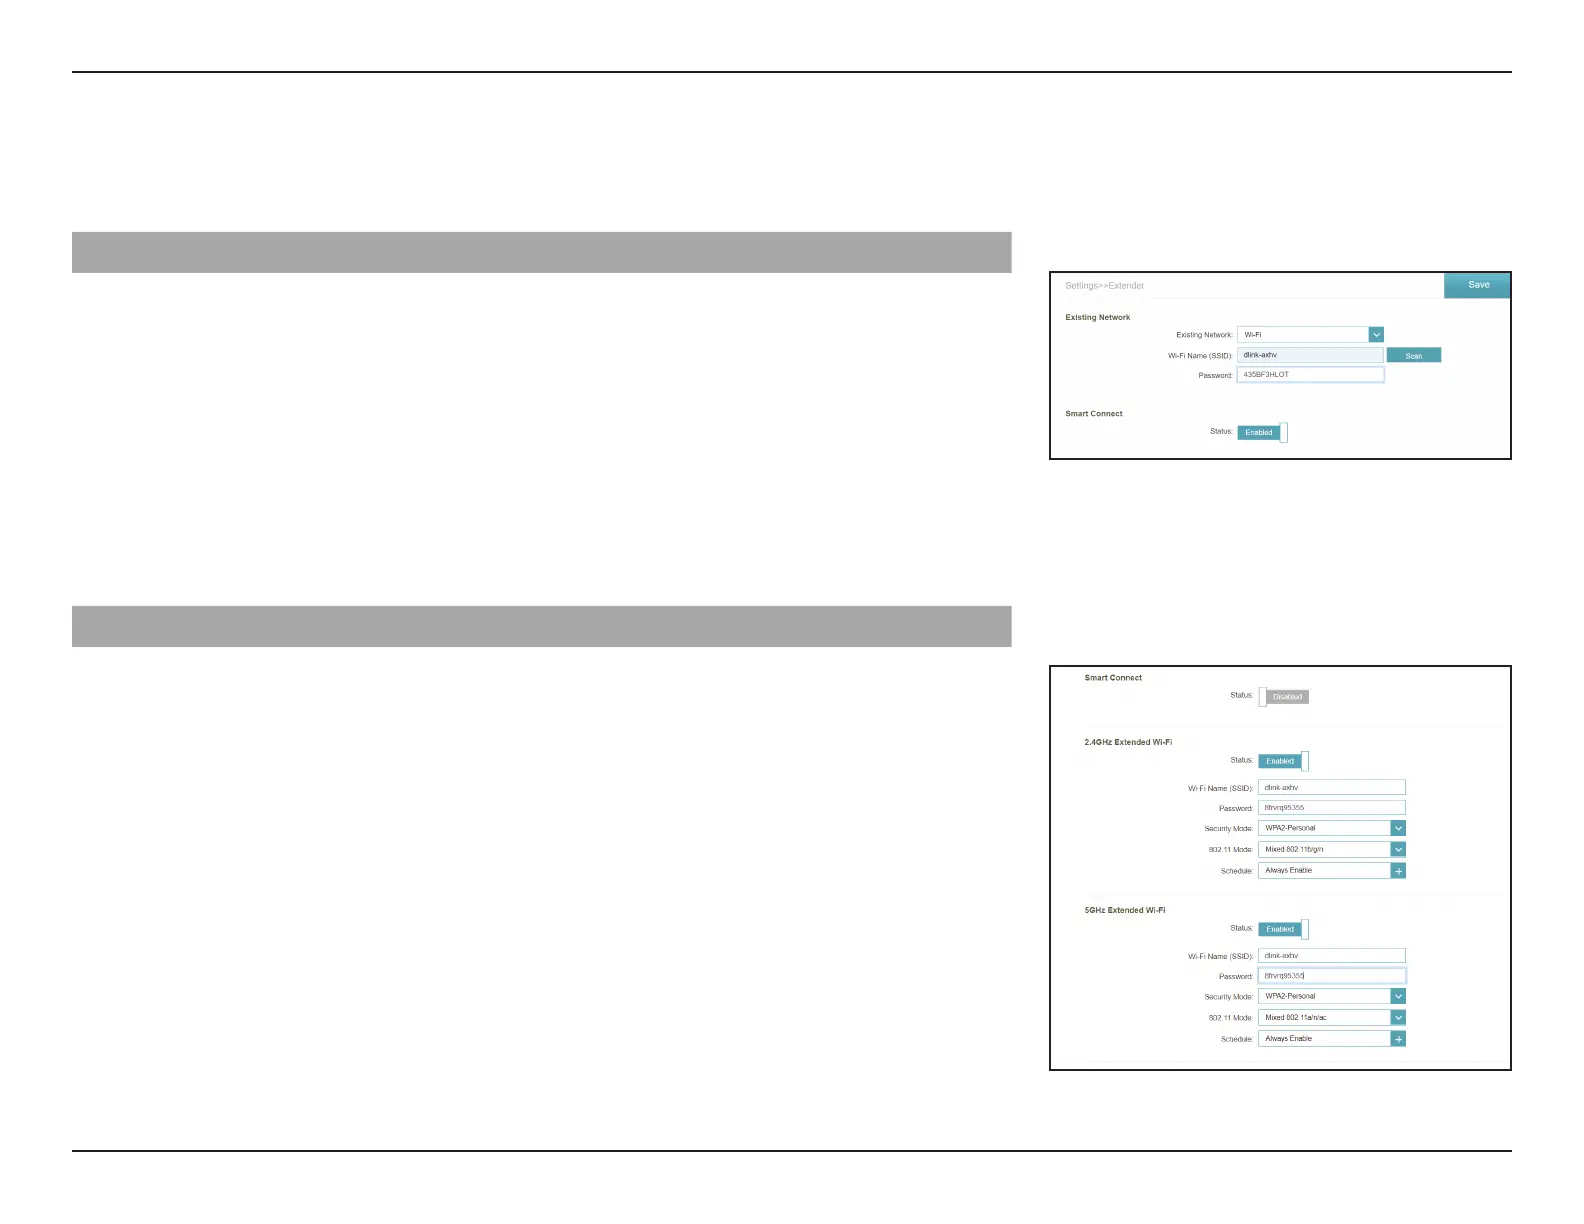
Smart Connect
Smart
Connect
Enable or disable the Smart Connect Feature. When enabled, only a few
conguration options are available to simplify conguration.
Extended Wi-Fi - Smart Connect Enabled
Status Enable or disable the Extended Wi-Fi wireless network.
Wi-Fi Name
(SSID)
This is the name of the DAP-1610’s extended network. If using Wi-Fi
, the
DAP-1610 will rebroadcast the uplink router’s Internet connection under this
SSID. You may also manually set the SSID of the extended network.
Password Enter the password or network key that you wish to use for the extended network.
Security
Mode
Choose None, WPA3-Personal, WPA2/WPA3-Personal, WPA2-Personal or WPA/
WPA2-Personal.
Schedule
Use the drop-down menu to select the time schedule that the rule will be
enabled for. The schedule may be set to Always Enable (default) or a custom
can be created by clicking the + button then selecting “add” and specifying the
times the radio will be active.
Wireless - Smart Connect Disabled
2.4 GHz Extended Wi-Fi
Status Enable or disable the 2.4 GHz network by toggling this slider.
Wi-Fi Name
(SSID)
This is the name of the DAP-1610’s extended 2.4 GHz network. If using Wi-Fi, the
DAP-1610 will rebroadcast the uplink router’s Internet connection under this
SSID. You may also manually set the SSID of the extended network.
Password
Enter the password or network key that you wish to use for the extended 2.4
GHz network.
Security
Mode
Choose None, WPA3-Personal, WPA2/WPA3-Personal, WPA2-Personal or WPA/
WPA2-Personal.
802.11
Mode
Select the desired wireless networking standards to use. The available options
for the 2.4 GHz wireless network are Mixed 802.11b/g/n, Mixed 802.11b/g, mixed
g/n, 802.11b only or 802.11n only.
Schedule
Use the drop-down menu to select the time schedule that the rule will be
enabled for. The schedule may be set to Always Enable (default) or a custom
can be created by clicking the + button then selecting “add” and specifying the
times the radio will be active.