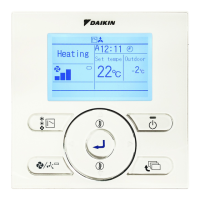
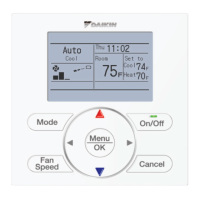
Installer reference guide BRC1E53
9
4P419250-1 – 2015.10
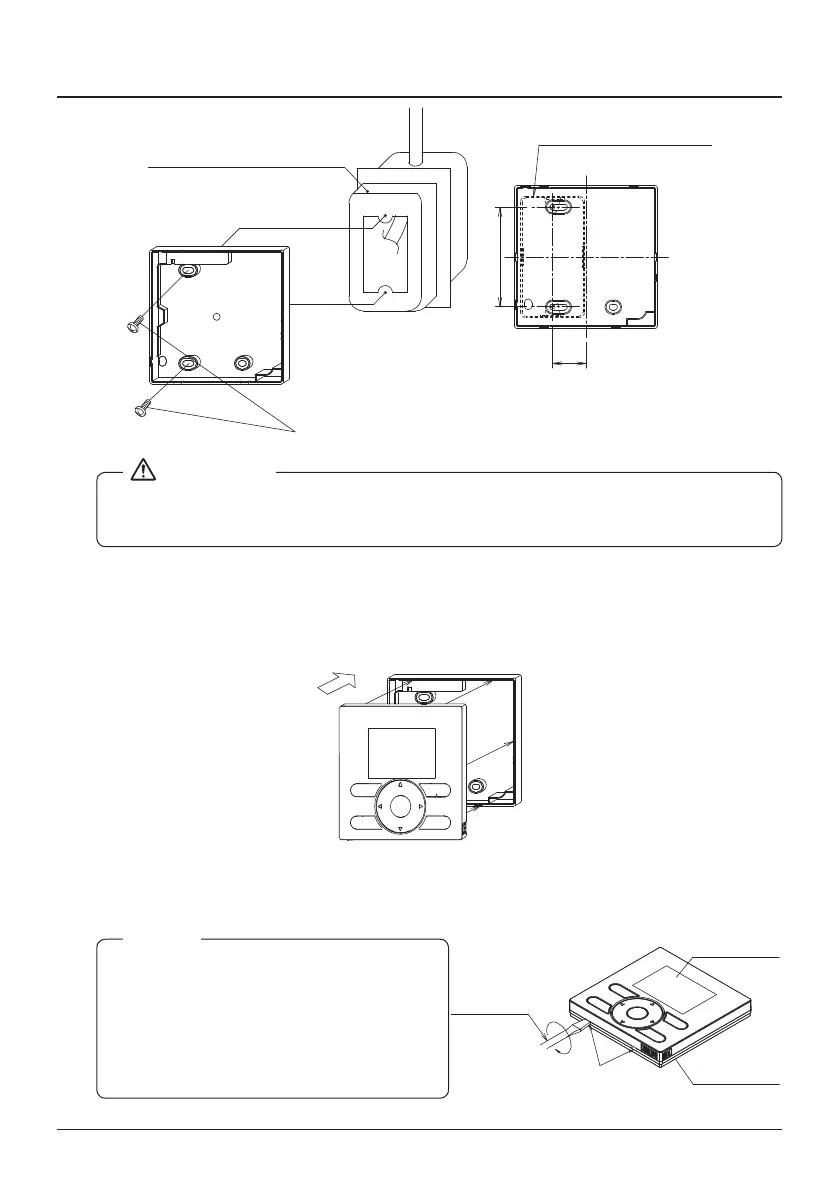
Remote controller installation procedure
(Installation pitch)
28
84
(with no cover)
Switchbox
(field supply)
(Use optional accessory
KJB111A)
● Select a at surface for installation if possible.
● Do not tighten the installation screws too much to avoid deforming the lower case.
3-6 Attach the upper case.
● Align the upper case with the tabs of the lower case (6 points) and insert the upper case.
● Be careful not to pinch the wiring when attaching.
● Peel off the protective seal which is attached to the upper case.
3-7 Remove the upper case.
Insert a slot screwdriver into the slots in the lower case (2 places) to remove the upper case.
● The remote controller PCB is installed on
the upper case. Be careful not to damage
the PCB with the slot screwdriver.
● Take care that dust or moisture does not
touch the PCB of the removed upper
case.
NOTE
Insert and twist the screwdriver
lightly to remove the upper case.
Screwdriver
Lower case
Upper case