8. Install the auxiliary pad or charge pump cover and cap screws. Using a 10mm internal hex wrench,
torque the cap screws (K400) to 92 N•m [68 ft•lb], or using a 6mm internal hex wrench (K450), torque
to 10 N•m [7 lbf•ft]. Torque in sequence below.
Ensure proper torque on aux pad screws (K400).
If necessary, replace screws.
If charge pump replacement is necessary, replace complete charge pump kit.
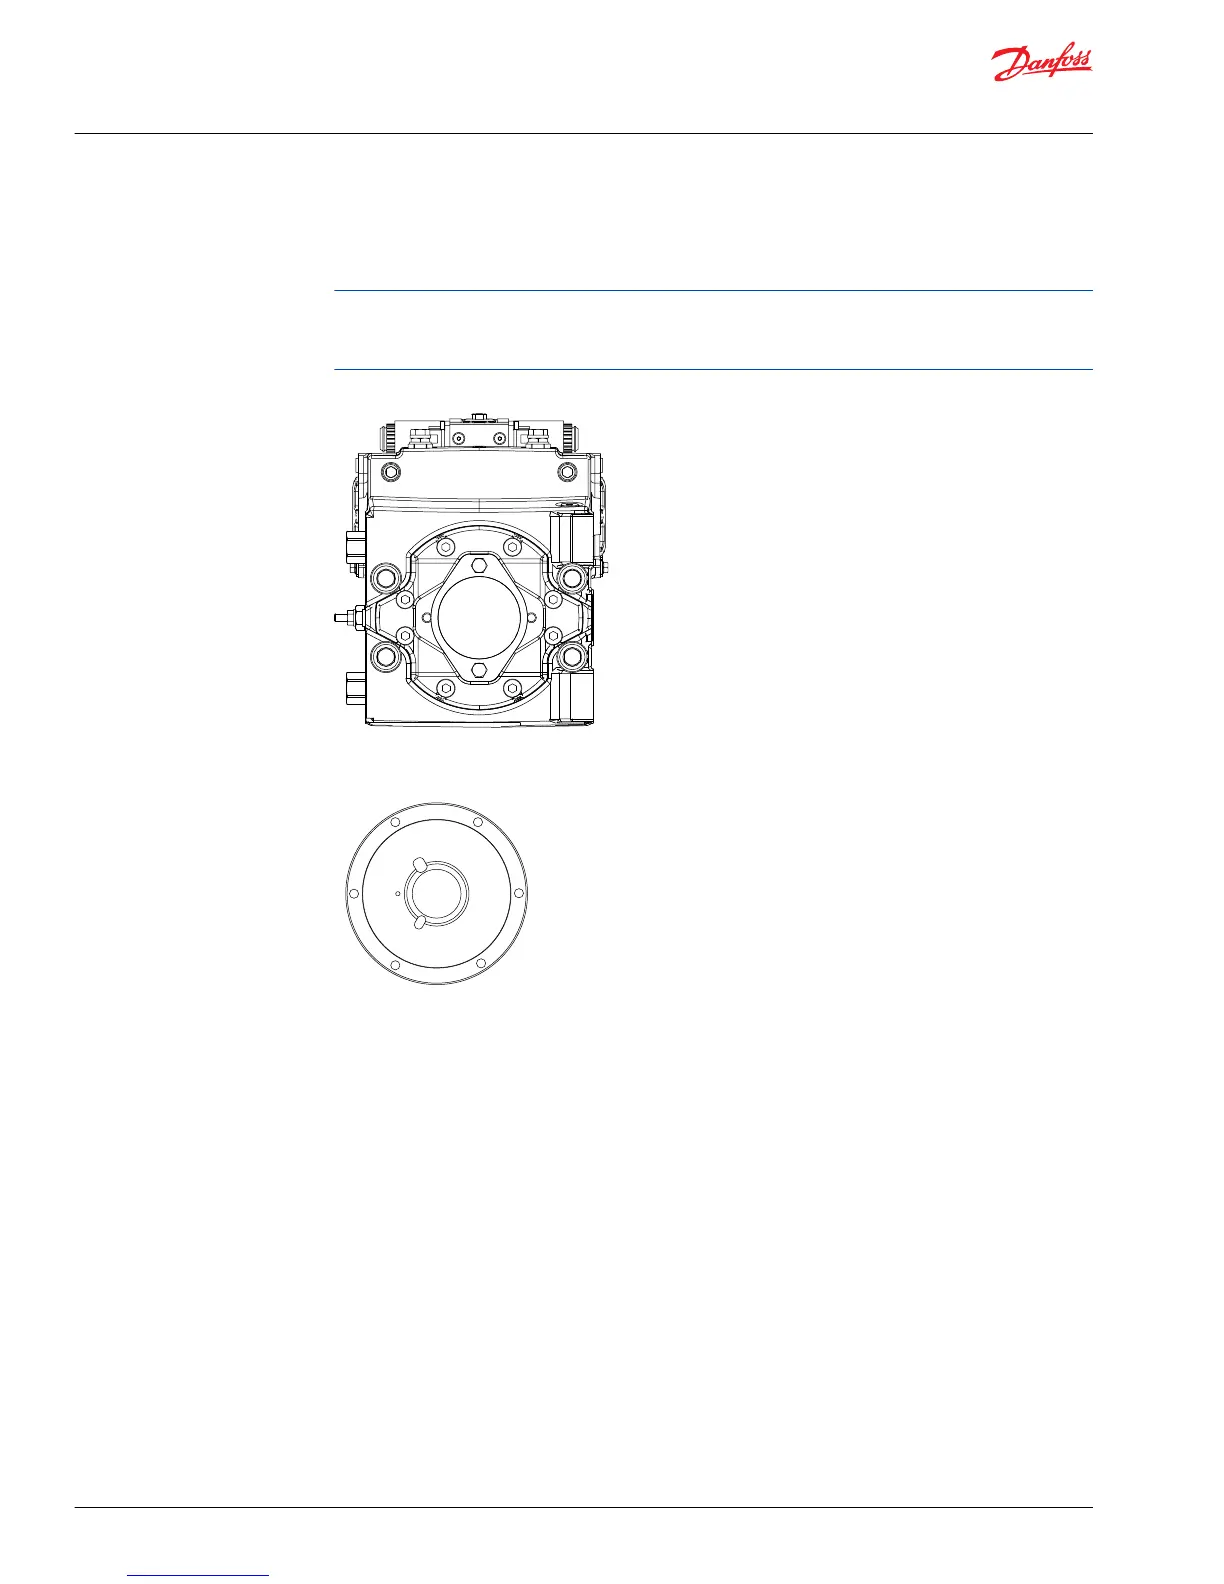
Cover (K100) Torque Sequence
High Pressure Relief Valves (HPRV)
Removal
Using a hex wrench wrench shown in the table below, remove the HPRVs (L150). Remove and discard
the O-rings (L060) and backup rings (L068).
Inspection
Inspect the sealing surfaces in the pump for nicks or scratches. Check the valves for damage. Replace
any damaged components.
Reassembly
1. Lubricate and install new backup rings (L068) and O-rings (L060).
2. Install HPRVs. Torque to the value in the table below.
Service Manual
H1 Pumps 069/078, 089/100, 115/130, 147/165, 210/250
Minor Repair
58 |
©
Danfoss | May 2018 520L0848 | AX00000087en-US0308