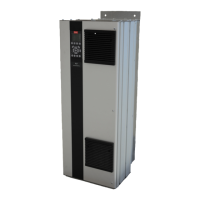
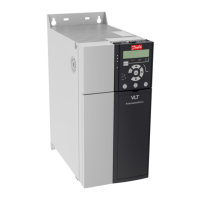
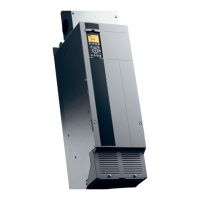
Reassembly in 240/400 V AC units
Tighten hardware according to chapter 14.1 Fastener Torque
Ratings.
NOTICE
CAPACITOR POSITIONING
For correct reassembly, ensure that the standard DC
capacitor is seated on the retaining stud at the bottom
of the capacitor slot.
1. Position the standard DC capacitors and plugs (if
any) in the capacitor bank housing.
2. Replace the capacitor locking panel and fasten 12
thread-forming screws (T25).
3. To replace the midplate:
3a Secure 1 stando (8 mm) at the location
previously marked on the midplate.
3b Replace the screws (T25) in the
remaining capacitors. Number of screws
may vary based on drive size.
4. To replace the DC(+) plate:
4a Fasten 3 thread-forming screws (T20).
4b Secure 1 stando (8 mm).
4c Fasten 2 screws (T25). Number of screws
may vary based on drive size.
5. Replace insulator sheet 2.
6. To replace the DC(-) plate:
6a Fasten 3 thread-forming screws (T20).
6b Secure 1 stando (8 mm).
6c Fasten 2 screws (T25). Number of screws
may vary based on drive size.
7. Position 3 snubber capacitors in the drive and
secure 6 screws (T30), 2 in each snubber
capacitor.
8. Position the IGBT output busbars in the drive and
secure 6 screws (T30), 2 in the top of each
busbar.
9. Fasten 3 thread-forming screws (T25), 1 in the top
of each IGBT output busbar.
10. Position the cylinder busbar support bracket in
the drive and fasten with 3 screws (T30).
11. Replace insulator sheet 1.
12. Replace the balance/high frequency card. Refer to
chapter 10.2.12 Balance/High Frequency Card.
13. Replace the gate drive card. Refer to
chapter 10.2.17 Gate Drive Card
D1h/D3h/D5h/D6h/J8 Drive Di... Service Guide
MG94A502 Danfoss A/S © 02/2019 All rights reserved. 157
10 10
 Loading...


