41
INSTALLATION & SERVICE MANUAL FOR PROFESSIONALS
Maintenance and care: Preventive maintenance
en
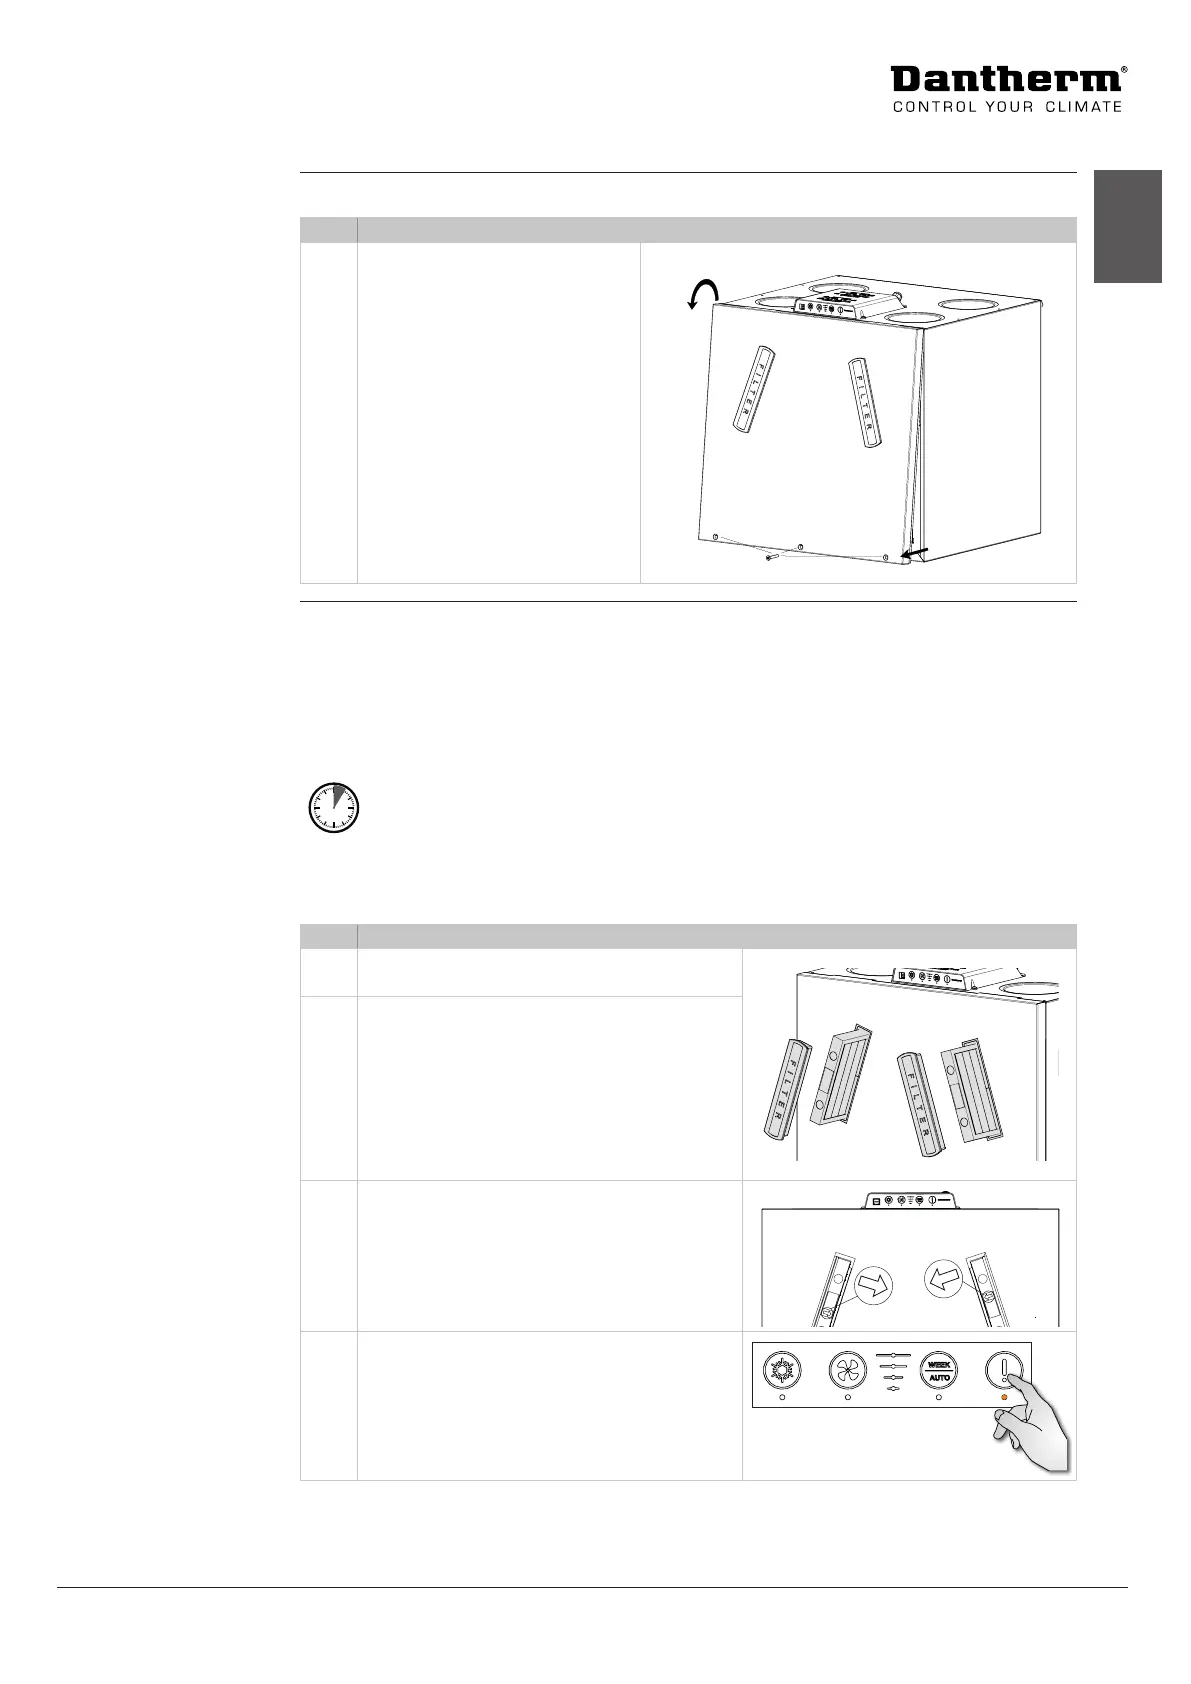
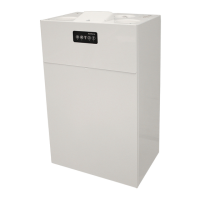
Remove the front cover for inspection.
Step Action Illustration
1 Release the three screws from
the front at the bottom of the
unit and remove the front cover.
The unit has a built-in lter alarm timer (every six months as standard). The timer period for
the lter alarm can be changed via the remote control or PC Tool, or it can be reset via the
alarm button
When the timer expires, a lter alarm is triggered. A buzzer will sound and the LED “!” will light
up orange. (If the LED lights up RED, please see Troubleshooting on page 44.)
Press for 5
sec.
Resets the lter alarm when the alarm is triggered.
Resets the lter timer without the timer having expired.
A short beep will sound, indicating that the lter alarm has been reset correctly.
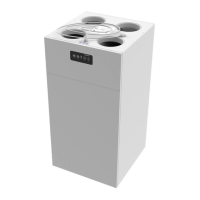
Step Action Illustration
1 Remove the lters and inspect them after
the lter alarm has been triggered.
2 Even if only one lter is clogged, we recom-
mend replacing both lters to avoid imbal-
ance in the airow through the unit.
NOTE: Replace the lters at least once a year,
regardless of whether they are clogged or an
alarm has been triggered.
3 Make sure that the lters are inserted the
right way. The arrows on the lter must point
in the direction shown here.
4 When the lters have been replaced, the
lter alarm must be reset by pressing the
alarm button for 5 seconds.
A short beep will sound, indicating that the
lter alarm has been reset correctly.
Preparation for
inspection
Filters - alarm and
inspection
(6 months - 1 year)