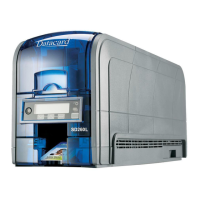
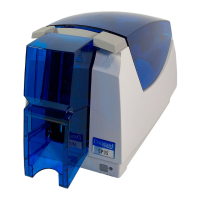
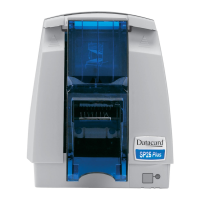
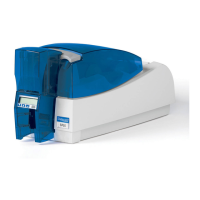
SR200 & SR300 Card Printers and LM200 & LM200 Laminators Installation Guide 11
Chapter 2: Installing the
Hardware Components
Thischapterprovidesstep‐by‐stepinstructionsforinstallingphysical
components,powercords,andcablesoftheSR200&SR300cardprinters
andoptionalLM200&LM300laminators.
Installing the Components
Usethefollowingprocedurestoconnecttheoptionallaminatortothecardprinter,andtoinstall
thecardhopperandthecardstackertotheprinterorlaminator.
Connecting the Laminator
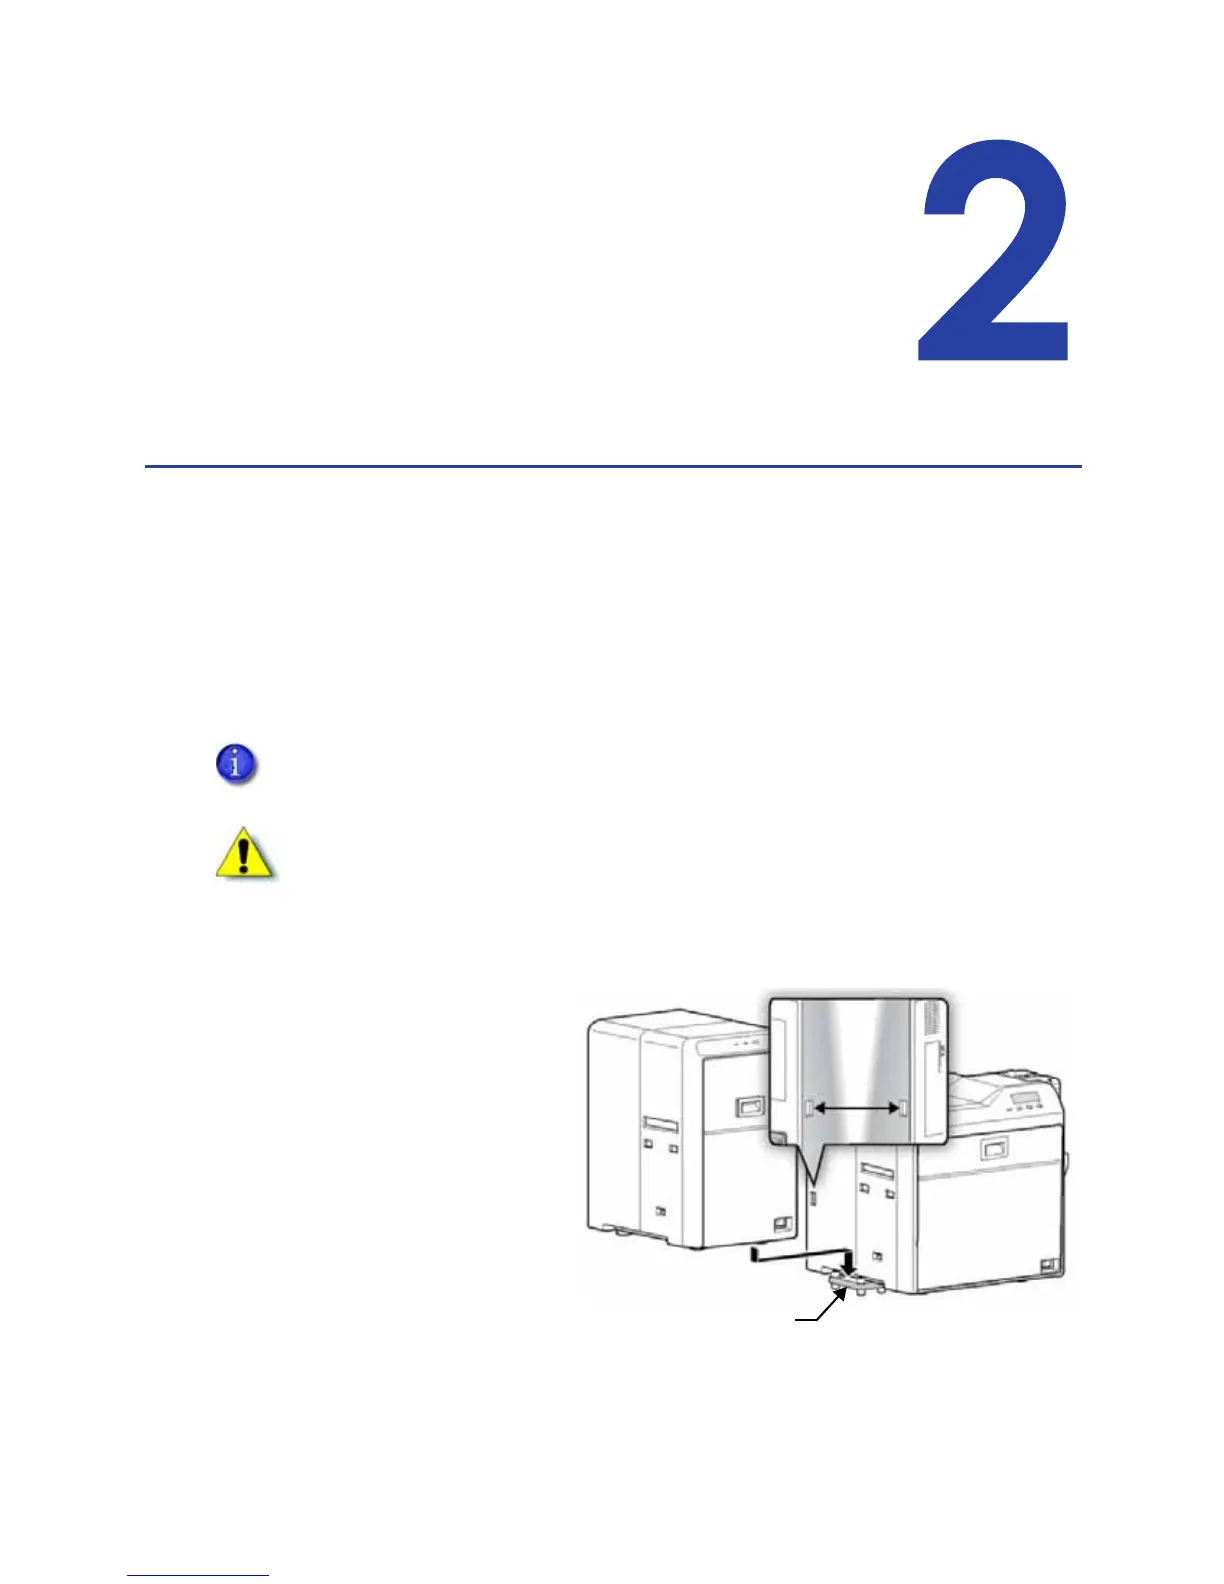
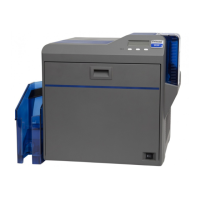
Usetheprovidedjoiningplatetoconnectthelaminator(ifused)tothecardprinter.
1. Placetheprinteronthework
surfacewiththejoiningplate
attached.
2. Mountthelaminatoroverthe
holesonthejoiningplate.
Theinfraredportsontheprinter
andlaminatormustbealignedfor
thelaminatortowork.
Make sure to install both units on a secure, level surface. Make sure the laminator and the
printer fit securely into the joining plate holes.
Caution:Makesurethatthepowerswitchisturnedoffandthepowercordisdetached
fromthereceptaclebeforeconnectingordisconnectingthelaminator.Otherwise,
electricshock,fire,ormalfunctionoftheproductmightoccur.


 To Next Page