STEP 2 – INSTALL THE LENS AND ILLUMINATOR
PRODUCT REFERENCE GUIDE
15
3. Insert the four screws and loosely tighten them in a clockwise direction.
4. Finally tighten the screws to a maximum torque of 0.8 N m.
To remove the camera micro-lens
1. Remove the cover and the illuminator. See “To remove the cover” on page 13.
2. Grasp the lens firmly, then press in until the lens stops moving.
3. Turn the lens 90º counter-clockwise.
4. Lift the lens straight up until it clears the lens housing.
To replace the camera micro-lens
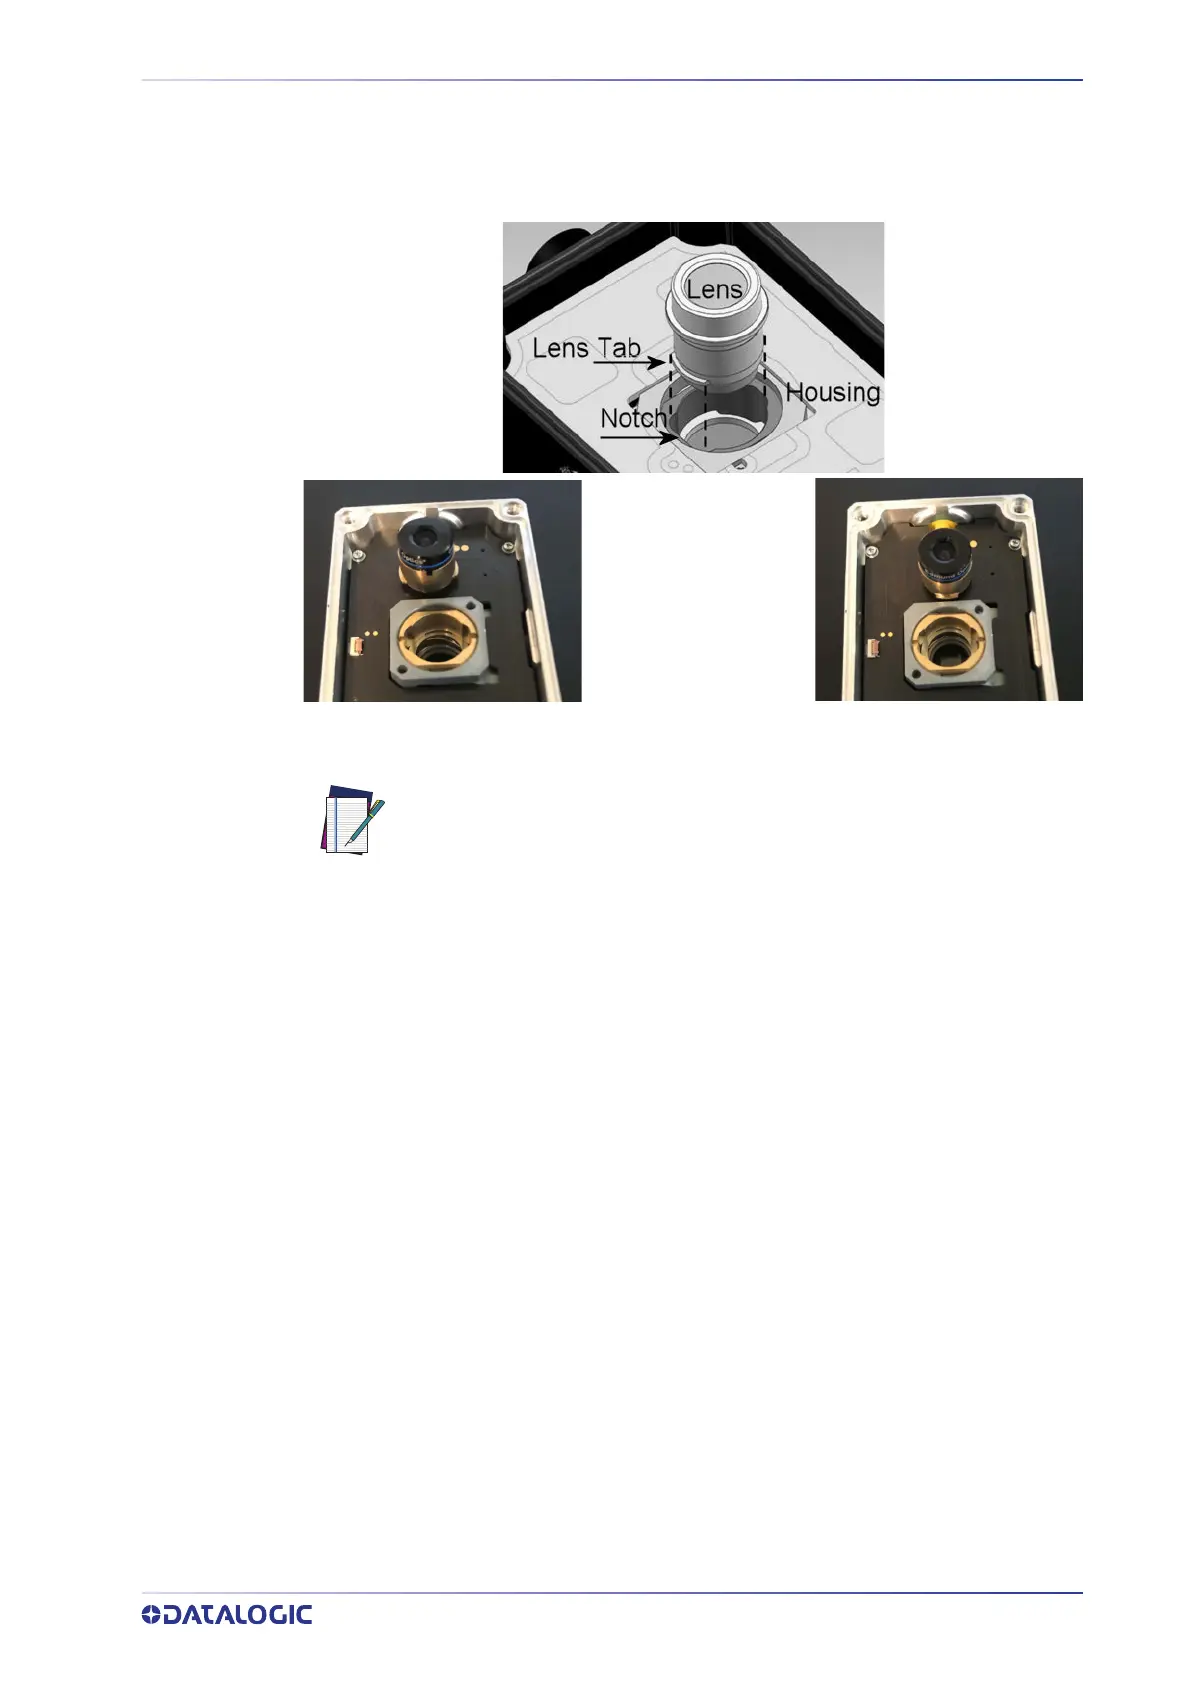
1. Align the tabs on the lens with the notches in the lens housing.
2. Grasp the lens firmly, then press in until the lens stops moving.
3. Turn the lens 90º clockwise.
4. Release the lens.
5. When the lens is mounted correctly, it should not turn in the housing.
6. Mount the illuminator or the spacer.
7. Carefully replace the cover. See “To replace the cover” on page 14.
NOTE
Adjust the focus to “NEAR” to easily handle the micro-lens.
Lens release position Lens lock position
 Loading...