3
2
2
2
P
P
P
r
r
r
i
i
i
n
n
n
t
t
t
e
e
e
r
r
r
S
S
S
e
e
e
t
t
t
u
u
u
p
p
p
2
2
2
.
.
.
1
1
1
P
P
P
o
o
o
w
w
w
e
e
e
r
r
r
C
C
C
o
o
o
n
n
n
n
n
n
e
e
e
c
c
c
t
t
t
i
i
i
o
o
o
n
n
n
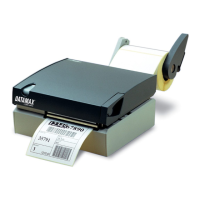
Power Connections
Before connecting Power or interface cables to the printer, ensure the Power On/Off Switch is in the
‘Off’ position.
Place the printer on a firm, level surface.
Ensure that the Power Switch on the Printer is in the ‘Off’ position.
AC Model
Connect the AC Power Cord to the receptacle on the back of the Printer, and then plug the AC Power
Cord into a properly grounded outlet. (The printer’s power supply automatically detects and then
adjusts to the applied line voltage; see Appendix A for the acceptable voltage ranges.)
DC Model (24VDC to 48VDC)
Connect the Black wire to the negative (-) pole of the battery or chassis ground. Connect both red
wires to the positive (+) pole of the battery.
Connect the white input connecter to the rear of the printer as shown. (The printer’s power supply
automatically detects and then adjusts to the applied voltage; see Appendix A for the acceptable
voltage ranges.)