22
Install the Sensor Suite
Note: Erroneous data may be permanently recorded during installation when the
WeatherLink Console or WeatherLink Live are powered and “listening” to the sensor
suite. If this concerns you, one option is to prevent rain spoon tips and spinning the
wind vane or cups, and keep the sensor suite outside.You can also power down the
WeatherLink Live or Console. See page 13 for information on how to power down the
WeatherLink Console.
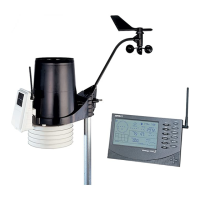
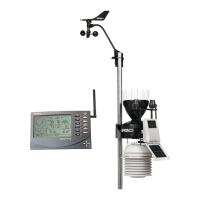
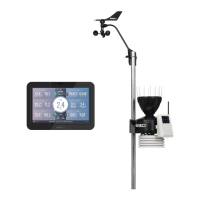
The anemometer and the main part of the sensor suite can be installed either
together as a single unit on a pole, or apart from each other. The main part of
the sensor suite includes the rain collector, the temperature and humidity
sensors, the radiation shield, and the sensor transmitter. Use the U-bolts to
install the sensor suite and anemometer together or separately on a pole. Use
the lag screws to install them separately on a flat, vertical surface.
• The anemometer comes with a 40' (12 m) cable for flexibility in positioning
the system to monitor wind conditions. For example, the anemometer could
be mounted at the highest point of a roof, and the sensor suite could be
mounted on a fence closer to ground level.
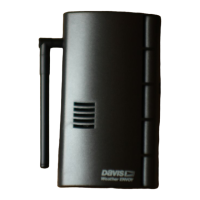
• You can install your anemometer even farther away from the sensor suite or
without using a cable, by using a Davis Solar-Powered Sensor Transmitter,
#6332.
General Sensor Suite Installation Guidelines
• Install the sensor suite as level as possible to ensure accurate rain
measurements. Use the built-in bubble level (under the rain collector cone,
near the tipping spoon mechanism) or carpenter’s level to make sure the
sensor suite is level.
• In the Northern Hemisphere, the solar panel should face south for maximum
sun exposure, and the anemometer arm should point north for proper wind
direction calibration.
• In the Southern Hemisphere, the solar panel should face north for maximum
sun exposure.
Either install the sensor suite and anemometer separately, each facing north,
or mount them as a single unit with solar panel facing north and the wind
vane re-oriented to the South. You will then need to calibrate your console.
(See “Orient the Wind Vane” on page 23.)
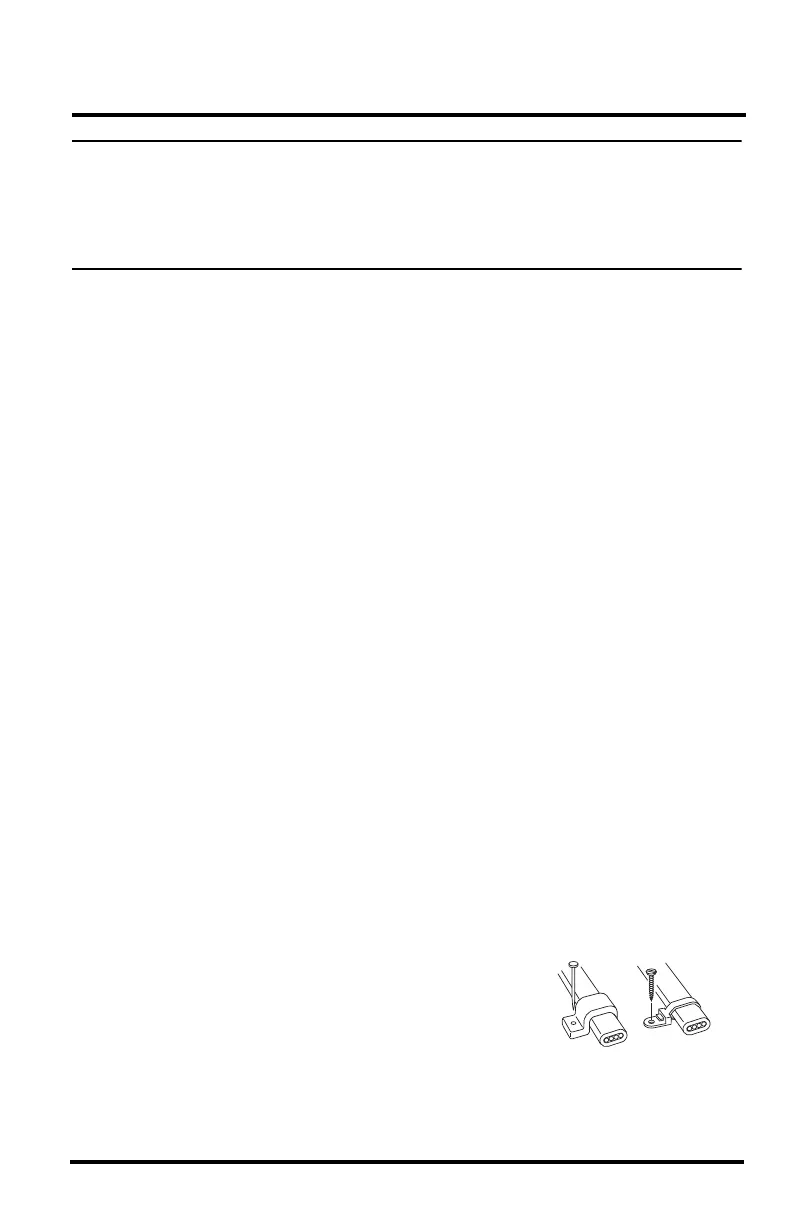
Optional: Guidelines for Securing Cables
• To prevent fraying or cutting of cables, secure
them so they will not whip about in the wind.
• Secure cable to a metal pole using cable ties or
by wrapping tape around both the cables and the
pole.
• Place clips or ties every 3' – 5' (1 – 1.6 m).
Cable Clip
Cable Tie