27
Option 2: Installing the Sensor Suite Only
1. While holding the mounting base against the pole, place the two ends of a U-bolt
around the pole and through the two holes in the base.
2. Slide the metal backing plate over the bolt ends as they stick out toward the rain
collector cone. Secure the backing plate with a washer, a lock washer, and a hex
nut on each of the bolt ends. Do not tighten the nuts yet.
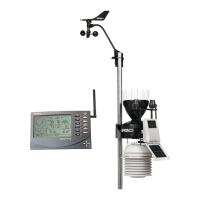
3. For the wireless sensor suite, swivel the sensor suite base so the solar panel is
facing south (in the Northern Hemisphere), or north (in the Southern
Hemisphere). (Not needed for cabled systems.)
4. Tighten the hex nuts using an adjustable wrench or 7/16" wrench.
Option 3: Installing the Anemometer Only
1. While holding the mounting base against the pole, place a U-bolt around the pole
and through the two holes in the base.
2. Place a flat washer, a lock washer and a hex nut loosely on each of the bolt ends.
3. Swivel the anemometer until the arm is pointing north.
4. Tighten the hex nuts using an adjustable wrench or 7/16" wrench.
Note: If your anemometer arm cannot be mounted aiming true north, you will need to
calibrate the wind direction on your console to display accurate wind directions. See
your WeatherLink Console User Guide.
Finish the Installation
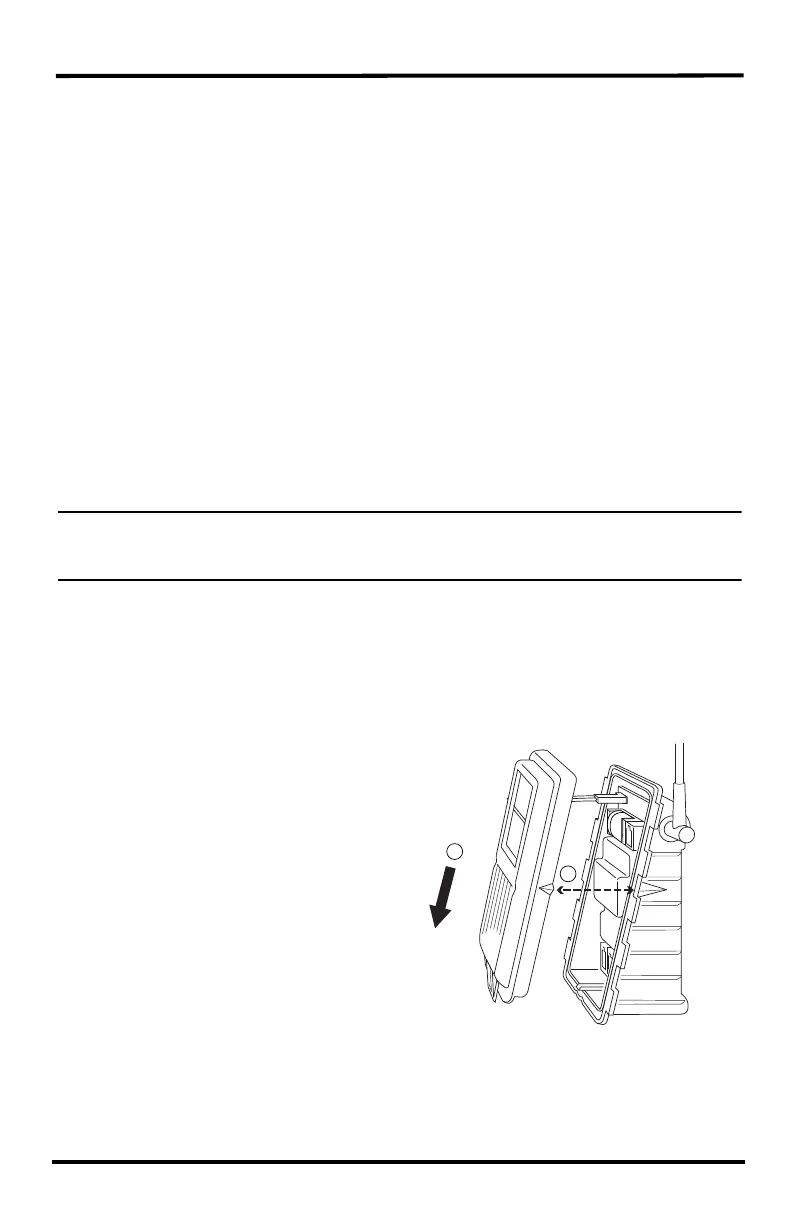
Close the Transmitter Shelter
1. If the solar panel cable (or the optional fan cable) were disconnected during
sensor suite assembly, reconnect them.
2. Find the two raised alignment
indicator lines on both the
shelter and the cover. Match
these alignment indicators as
you place the cover against the
box.
3. Slide the cover down until it
snaps securely in place.
1
2