23
• Mounting clips, cable ties or additional hardware not included with your station
can be easily obtained at a hardware or electronics store.
Note: Do not use metal staples or a staple gun to secure cables. Metal staples — especially
when installed with a staple gun — have a tendency to cut the cables.
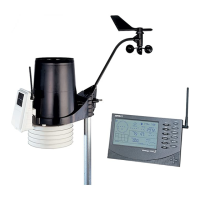
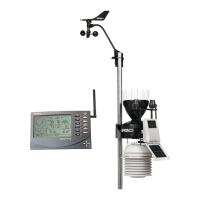
Orient the Wind Vane
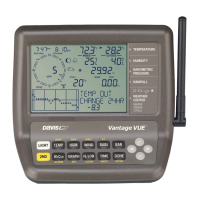
The wind vane rotates 360° to display current and dominant wind directions on the
compass rose of the console display. To obtain accurate readings, the vane must be
correctly oriented when mounting the anemometer. The wind vane is factory-
calibrated to report the correct wind direction if the anemometer arm points true
north.
To ensure correct wind direction data, mount the anemometer so that the arm points
true north.
If your anemometer arm cannot be mounted aiming true north, you will need to
calibrate the wind direction on your console to display accurate wind directions. See
your WeatherLink Console User Guide available online at
support.davisinstruments.com.
Installation Options
There are several ways to mount and install the sensor suite unit. The following
installations are recommended. Individual sensor suite locations and installations
may vary.
• Installing the sensor suite and anemometer on a post or flat surface
• Installing the sensor suite and anemometer on a pole, together or
separately
Note: All installations require that the rain collector cone be removed for assembly.
Important: Use the built-in bubble level to ensure the main part of the sensor suite
is level.
Tip: If most of the anemometer cable length is unused, the coiled cable length can be stowed once the
anemometer and sensor suite have been installed on a site. You can secure the cable to the pole using
the shorter cable ties. Use the longer cable tie to secure the coil by running it through the holes on the
rain collector shelf. Keep the anemometer cable coiled if possible during the sensor suite and
anemometer assembly so that it is easily stowed once installation is complete.