S5750E Series Installation Guide Chapter 2 Device Installation
2-2
device provides it) on the back of the switch to make it fix on the rack.
There is no back horn iron in standard configuration. If users bought it, the figure of
installation is below:
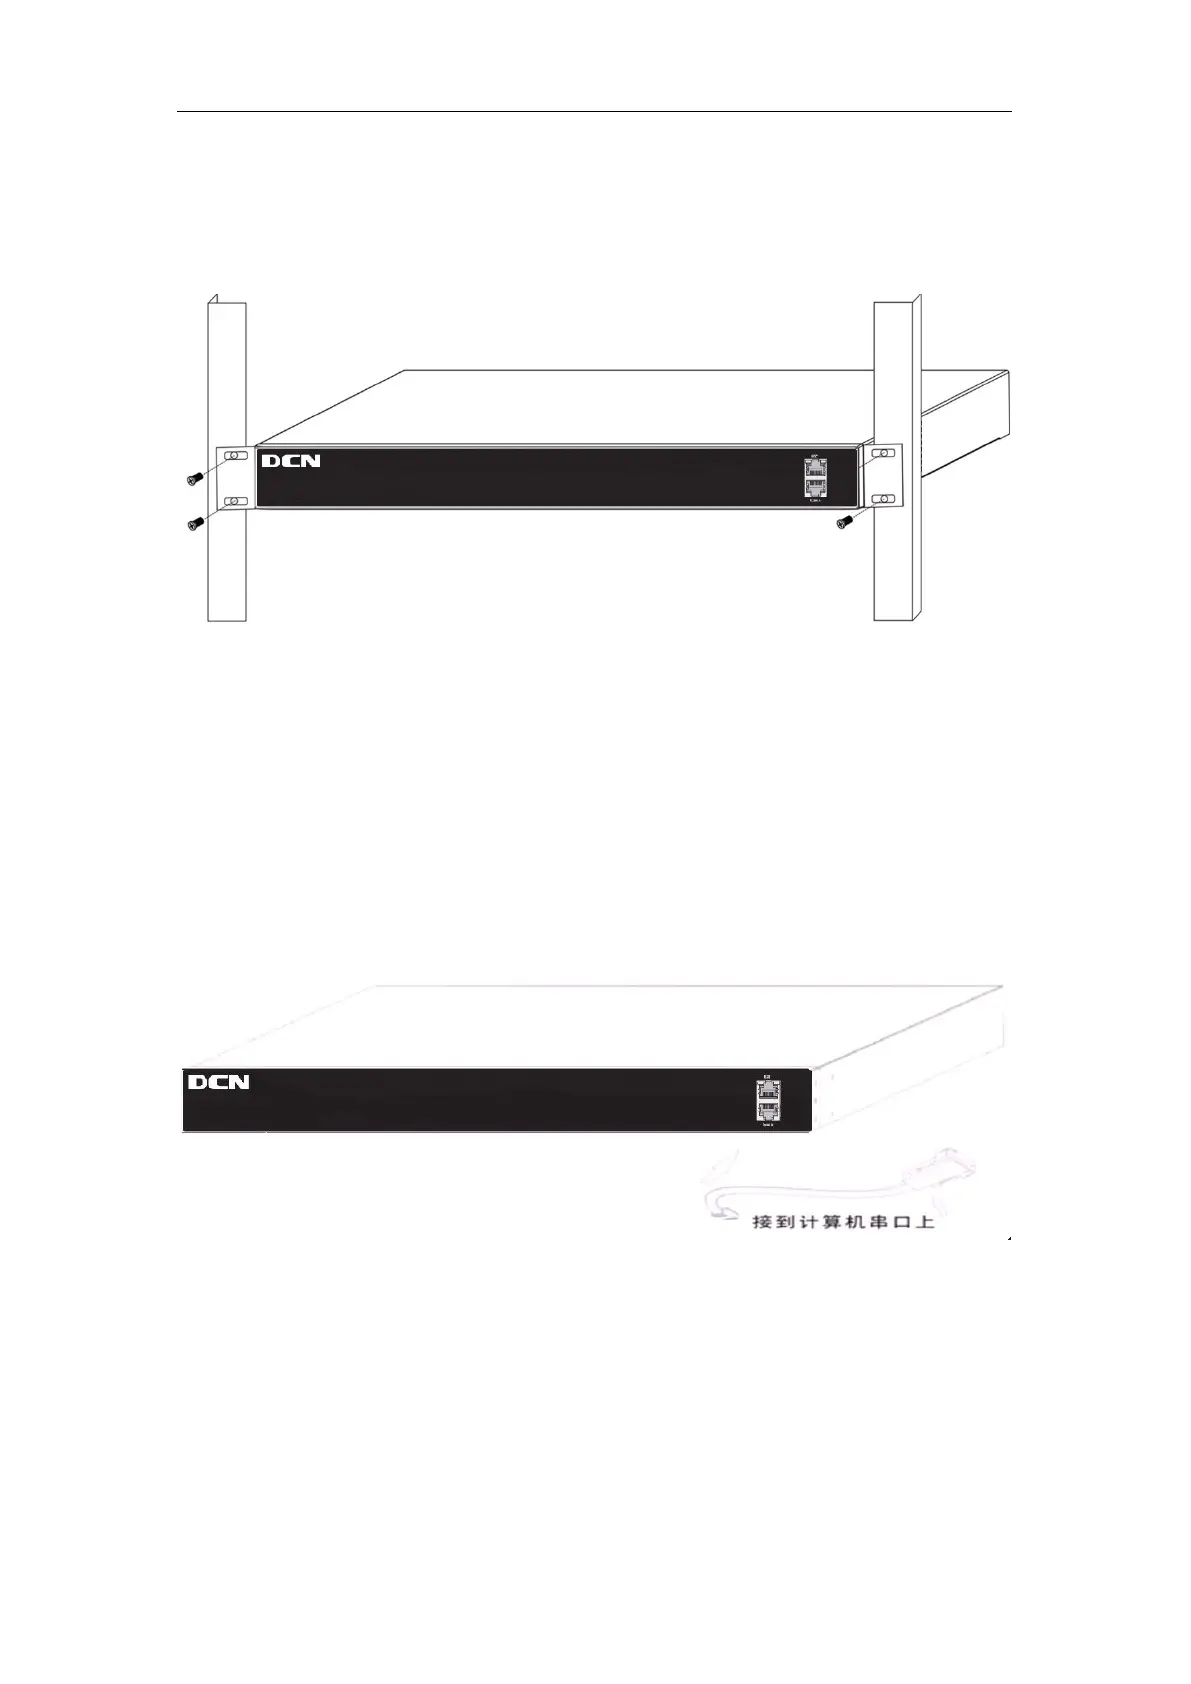
Figure 2-2 The figure of switch installing on the rack by using the front and back horn iron
Caution!
The brackets are used to fix the switch on the rack. They can’t serve as a bearing.
Please place a rack shelf under the switch. Do not place anything on top of the switch. Do
not block the blowholes on the switch to ensure the proper operation of the switch.
2.3.2 Connecting Console
switch provide a serial RJ45 console port.
Fig 2-3 Connecting Console to switch
The connection procedure is listed below:
1. Find the console cable provided in the accessory kit. Attach the RJ45 end to console
port of the switch.
2. Connect the other side of the console cable to a character terminal (PC).
3. Power on the switch and the character terminal. Configure the switch through the
character terminal.
 Loading...