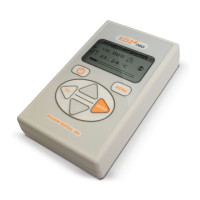
2 KD2 PRO OVERVIEW KD2 Pro
2.5 Installing the Sensors
We designed all four KD2 Pro sensors for ease of installation and
use. Please observe the following considerations when installing the
sensors.
• Insert the needle all the way into the material.
• We included a drill bit for the TR-1 sensor that you can use
to drill a pilot hole in material such as wood or hard soil. You
should use the optional RK-1 sensor for rock (or cured con-
crete). Drill a
5
32
” or 4 mm hole with a hammer drill and fill
it with thermal grease to provide optimal contact between the
RK-1 sensor and rock or concrete.
• For the dual-needle sensor, the needles must remain parallel
to each other during insertion to make an accurate reading.
Therefore, take care in tough material, which can splay the
prongs and adversely affect readings. Use the provided red tab
with pilot holes to make sure that the needles have the correct
spacing. Sample size depends on your sample material thermal
properties, contact Decagon for assistance in taking difficult
measurements.
• Because the sensors give off a heat pulse, you must allow a
minimum of 1.5 cm of material parallel to the sensor in all di-
rections, or errors occur.
Note: Bending the needles can damage the sensor beyond re-
pair. If the needle becomes bent, do not bend it back; contact
Decagon for a replacement.
• Good thermal contact between the sensors and the measured
medium is critical for accurate measurements if you drill a hole
for sensor insertion. Make sure that the sensor fits tightly into
the hole. Use the thermal grease included with your KD2 Pro
to improve contact in drilled holes or grainy samples.
16