17 HOMEDEPOT.COM
Please contact 844-212-0200 for further assistance.
Installing the Sensors (continued)
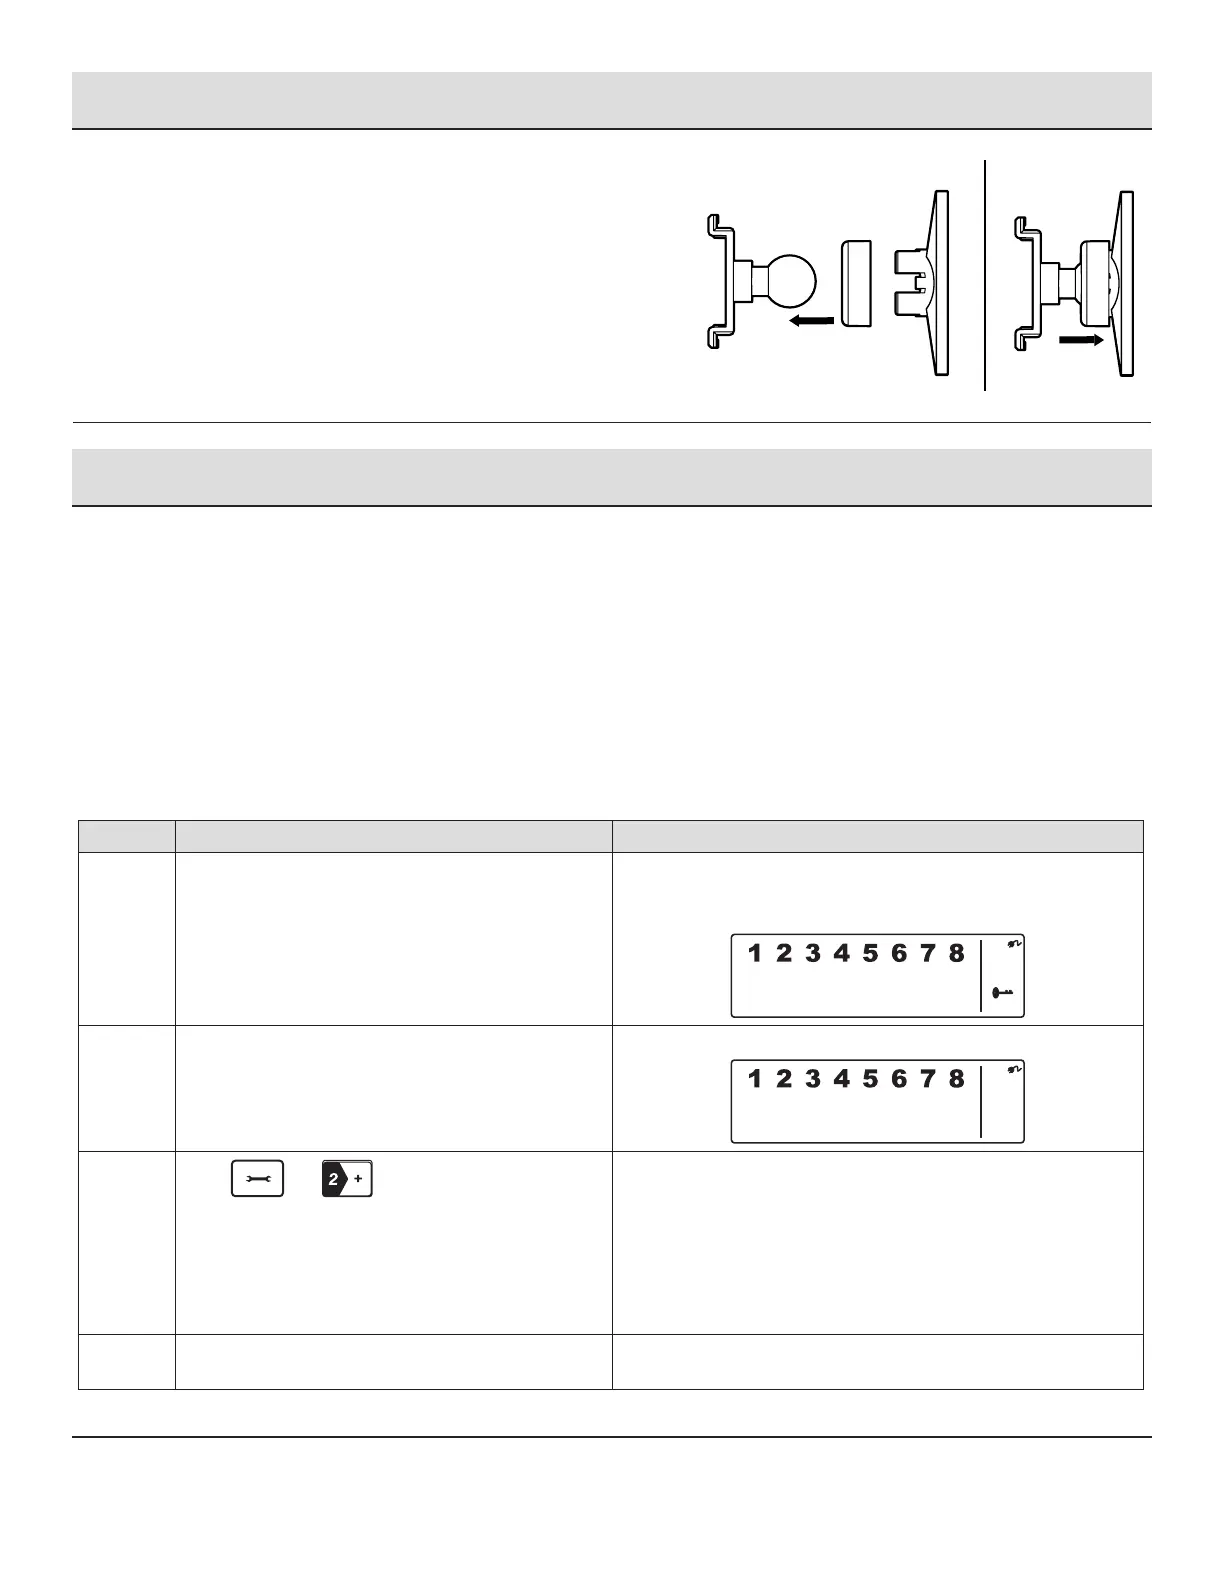
Step 5: Mounting using Screws
□ Hold the enclosed mounting template against the wall at the selected
location and mark the points for drilling.
□ Drill the holes and insert wall plugs.
□ Attach the bracket to the mounting surface with the screws provided.
□ Attach the Motion Sensor to the Mounting bracket by sliding the O-ring
over the round ball on the back of the sensor, then snap the ball into the
mounting bracket and push the O-ring over the bracket to hold it in place.
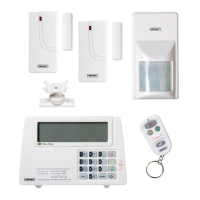
Using the Key Fob Remote Control
The Wireless Home Protection System Remote Control allows you to operate the system’s Smart Panel remotely, from inside or outside
the property. Using the control, the system can be armed or disarmed and the siren can be activated instantly if required (using the Panic
function).
POWERING UP THE KEY FOB REMOTE CONTROL
The Remote Control includes a 12V alkaline battery. To activate, unscrew and remove the back of the Remote Control, and carefully remove
the clear plastic insulation tab from the battery. If the battery is dislodged, replace it noting the correct polarity as shown inside the battery
compartment. Replace the battery cover.
ADDING THE REMOTE CONTROL TO THE SMART PANEL SYSTEM
Before you can use the Key Fob Remote Control supplied with the system, or any additional Remote Controls, they rst need to be enrolled
(added onto the system) as follows:
Step Procedure Example
1 Ensure you are in STANDBY mode by entering the
default PIN of 1 2 3 4 OR your new 4-digit PIN and
pressing the Enter button.
The Smart Panel displays this image when in STANDY mode. One
beep indicates that you entered a valid PIN. Three beeps indicate
that an invalid operation was performed.
2 Enter the 4-digit PIN followed by pressing the Enter
button.
The Smart Panel displays this image:
3
Press and to enter the Remote Control
Enroll mode. Then press any key on the new Remote
Control to enroll it onto the system.
The LCD display ashes the ID number of the remote to be
enrolled. For example, when enrolling the rst remote ID no. “01”
will ash. Once the rst remote is enrolled the “02” will ash
ready for a second remote to be enrolled. One beep indicates that
the remote was enrolled to the Smart Panel successfully.
It is recommended that the ID No. is marked on the remote in case
it needs to be deleted at a later stage.
4 Press the Enter button to conrm the enrollment and
return the Smart Panel to STANDBY.