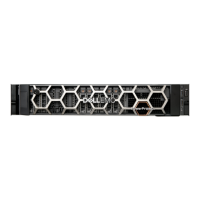
Unpack replacement server
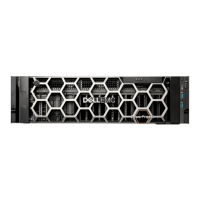
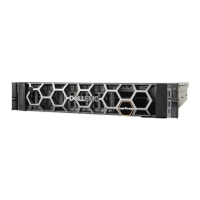
The server is heavy and should be removed from the packing by two people. To
avoid personal injury and/or damage to the equipment, do not attempt to unpack
the server without help from another person.
The disk drives, SD module, and inner rails from the faulted server will be transferred
to the replacement server. You will need suitable work surface(s), capable of
supporting the weight of the servers while the transfer is accomplished.
Procedure
1. Unpack the replacement server.
Save the packing material to return the faulted server.
2. Place the replacement server on a suitable work surface where the disk drives,
SD module, and inner rails will be transferred from the faulted server to this
server. Ensure the work surface(s) is capable of supporting weight of the
servers.
PowerEdge disk layout
When transferring disks from the failed server to the replacement server, place the
disk in the same slot in the replacement server where it resided in the failed server.
The following table shows the disk layout.
Table 9
Disk layout
Front panel - No disks Slot 2 - HDD Slot 4 - HDD Slot 6 - Blank
Slot 0 - HDD Slot 1 - HDD Slot 3 - HDD Slot 5 - SSD Slot 7 - Blank
Place the old server chassis and the new server chassis side-by-side when moving
disks, to ensure proper disk placement in the new server.
Transferring a disk drive for server replacement
Procedure
1. Press the release button to open the disk drive carrier release handle.
2. Slide the disk drive carrier out of the hard drive slot.
Dell PowerEdge R630 Server FRUs
DELL EMC CONFIDENTIAL
Unpack replacement server 53
 Loading...


