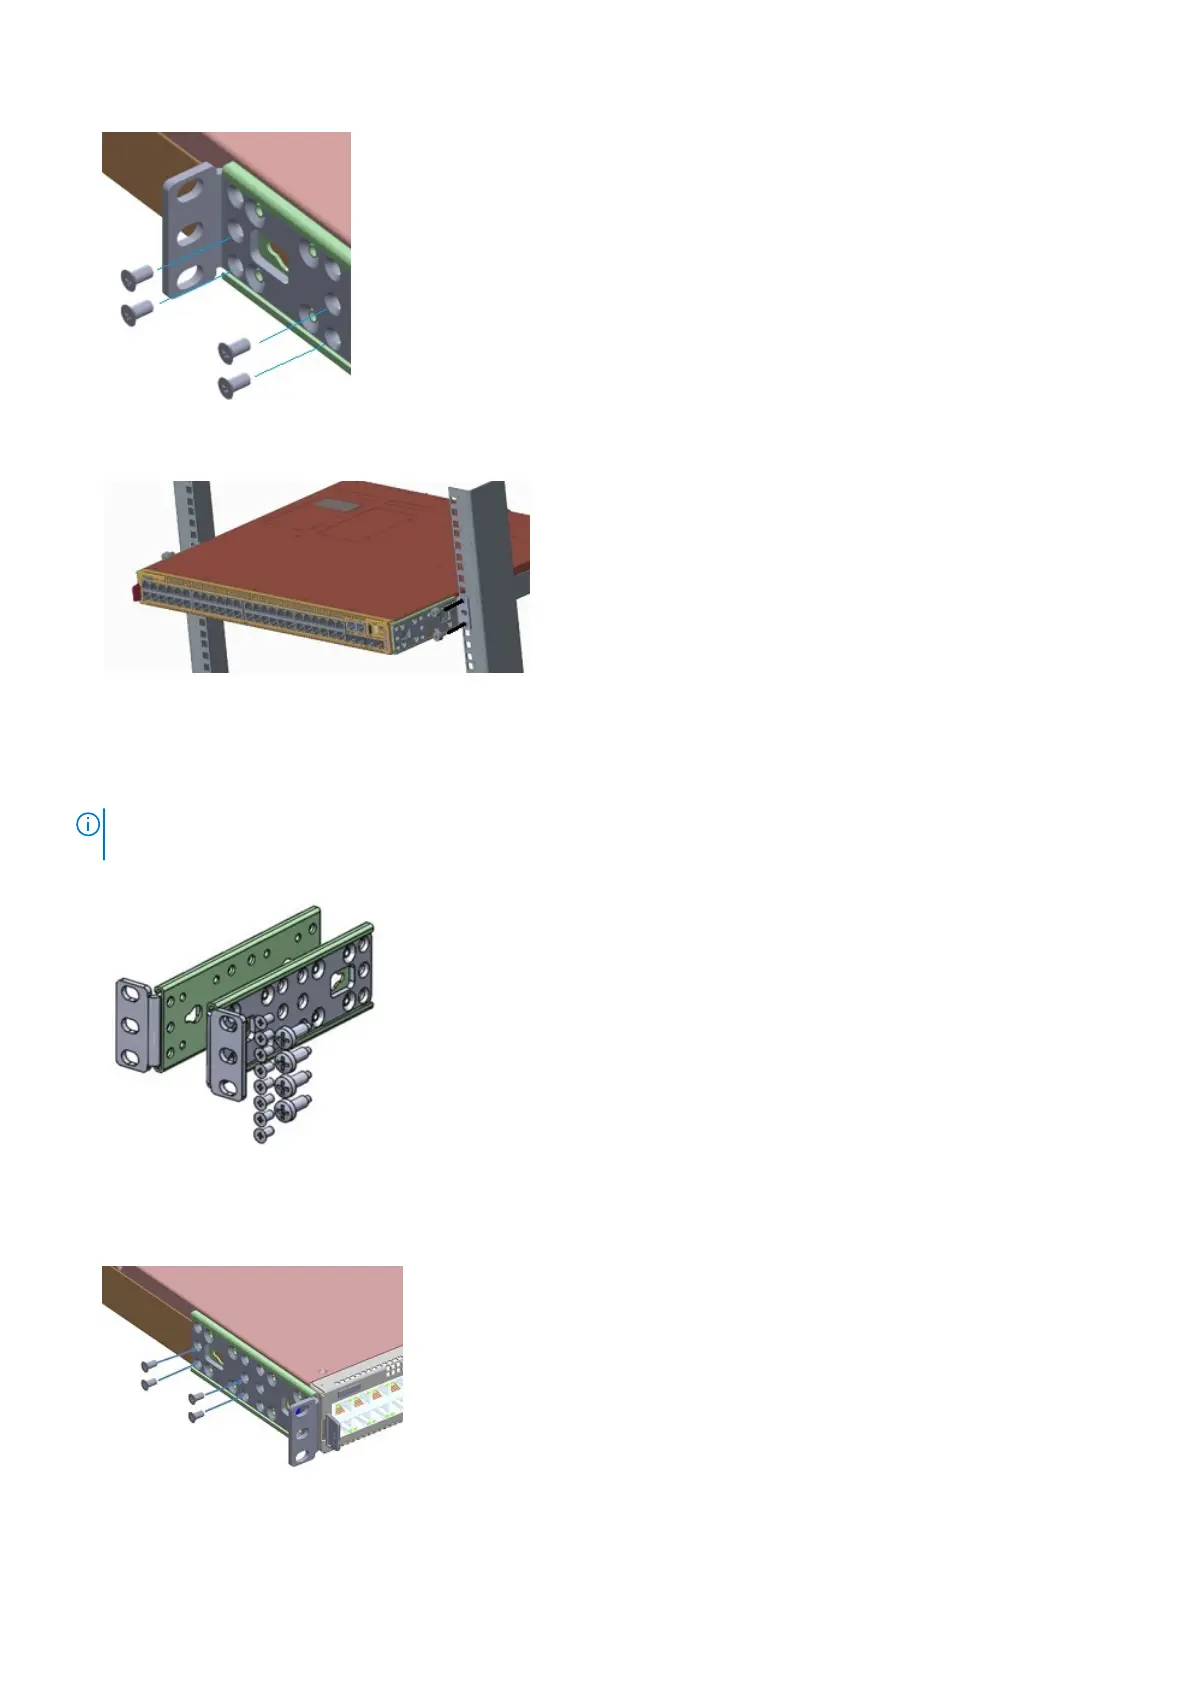
4. Slide the switch into the two-post rack until the mounting bracket ears line up with the rack.
5. Attach the switch to the two-post rack using two number 12-24 screws on each side.
To uninstall the switch from the rack, unscrew the four number 12-24 rackmount screws.
Two-post flush-mount switch installation
NOTE:
To install an external power supply, see the
External Power Supply (EPS) Installation for the Dell EMC
PowerSwitch N2200-ON and N3200-ON Series Switches
at www.dell.com/support.
1. Locate the included mounting brackets and screws.
2. Insert the mounting brackets onto the mushroom head on each side of the switch and slide the mounting bracket back to lock it into
place.
The mounting bracket ears face the I/O-side of the switch.
3. Attach the mounting brackets to the switch using four screws for each bracket.
4. Slide the switch into the two-post rack until the mounting bracket ears line up with the rack.
N2200-ON Series switch installation
23
 Loading...