Steps
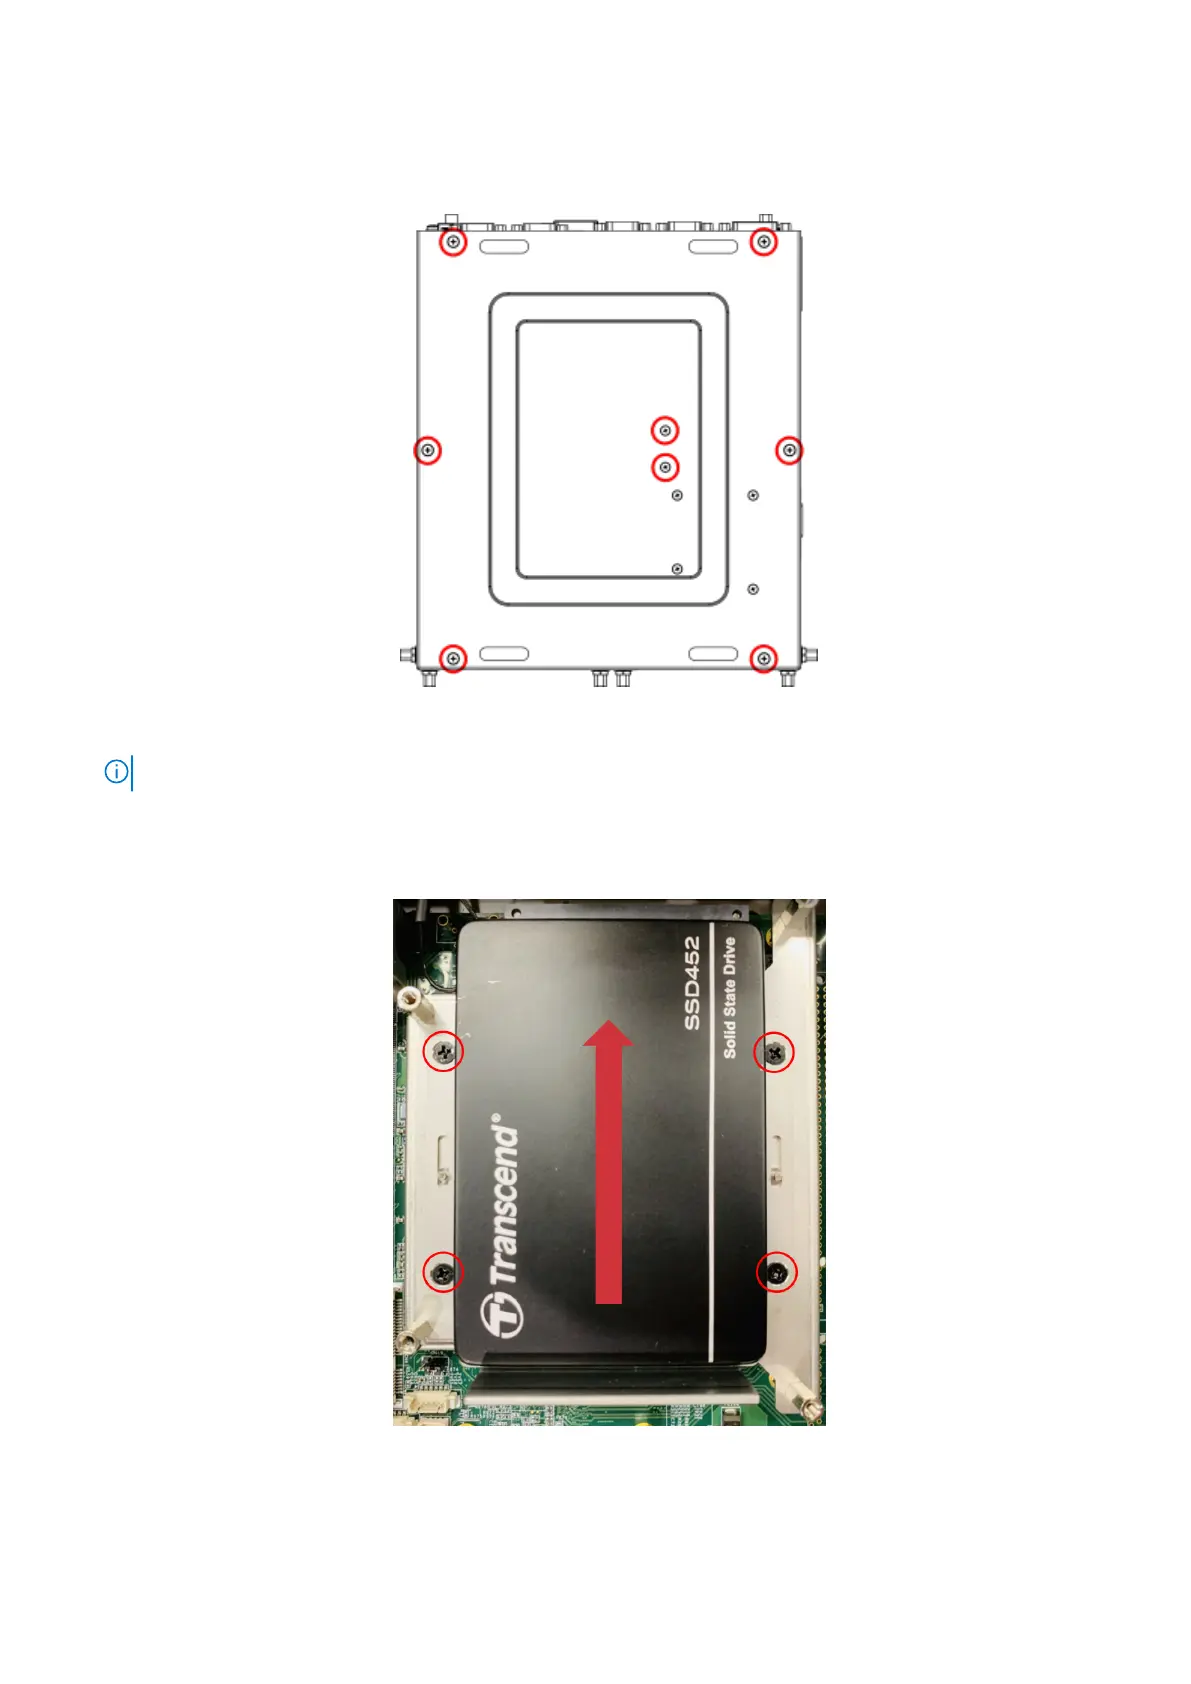
1. Remove the eight screws from the bottom panel of the EGW-5200, as shown in the following figure, and remove the bottom
panel.
Figure 6. Bottom panel screw locations
NOTE: If 4G or 5G is installed, you must also remove the remaining four screws from the bottom panel.
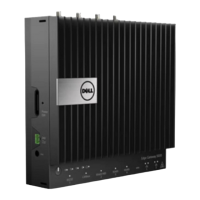
2. Use four screws to mount the default 2.5" SSD to the lower SSD bracket.
3. Slide the lower SSD assembly into place with the SSD back to the device, and use four screws to secure the bracket in
place, as shown in the following figure.
Figure 7. Lower SSD assembly installation
4. Use four screws to install the upper SSD holder to the unit.
8
Keep your hard drive