Adding and Replacing Parts 125
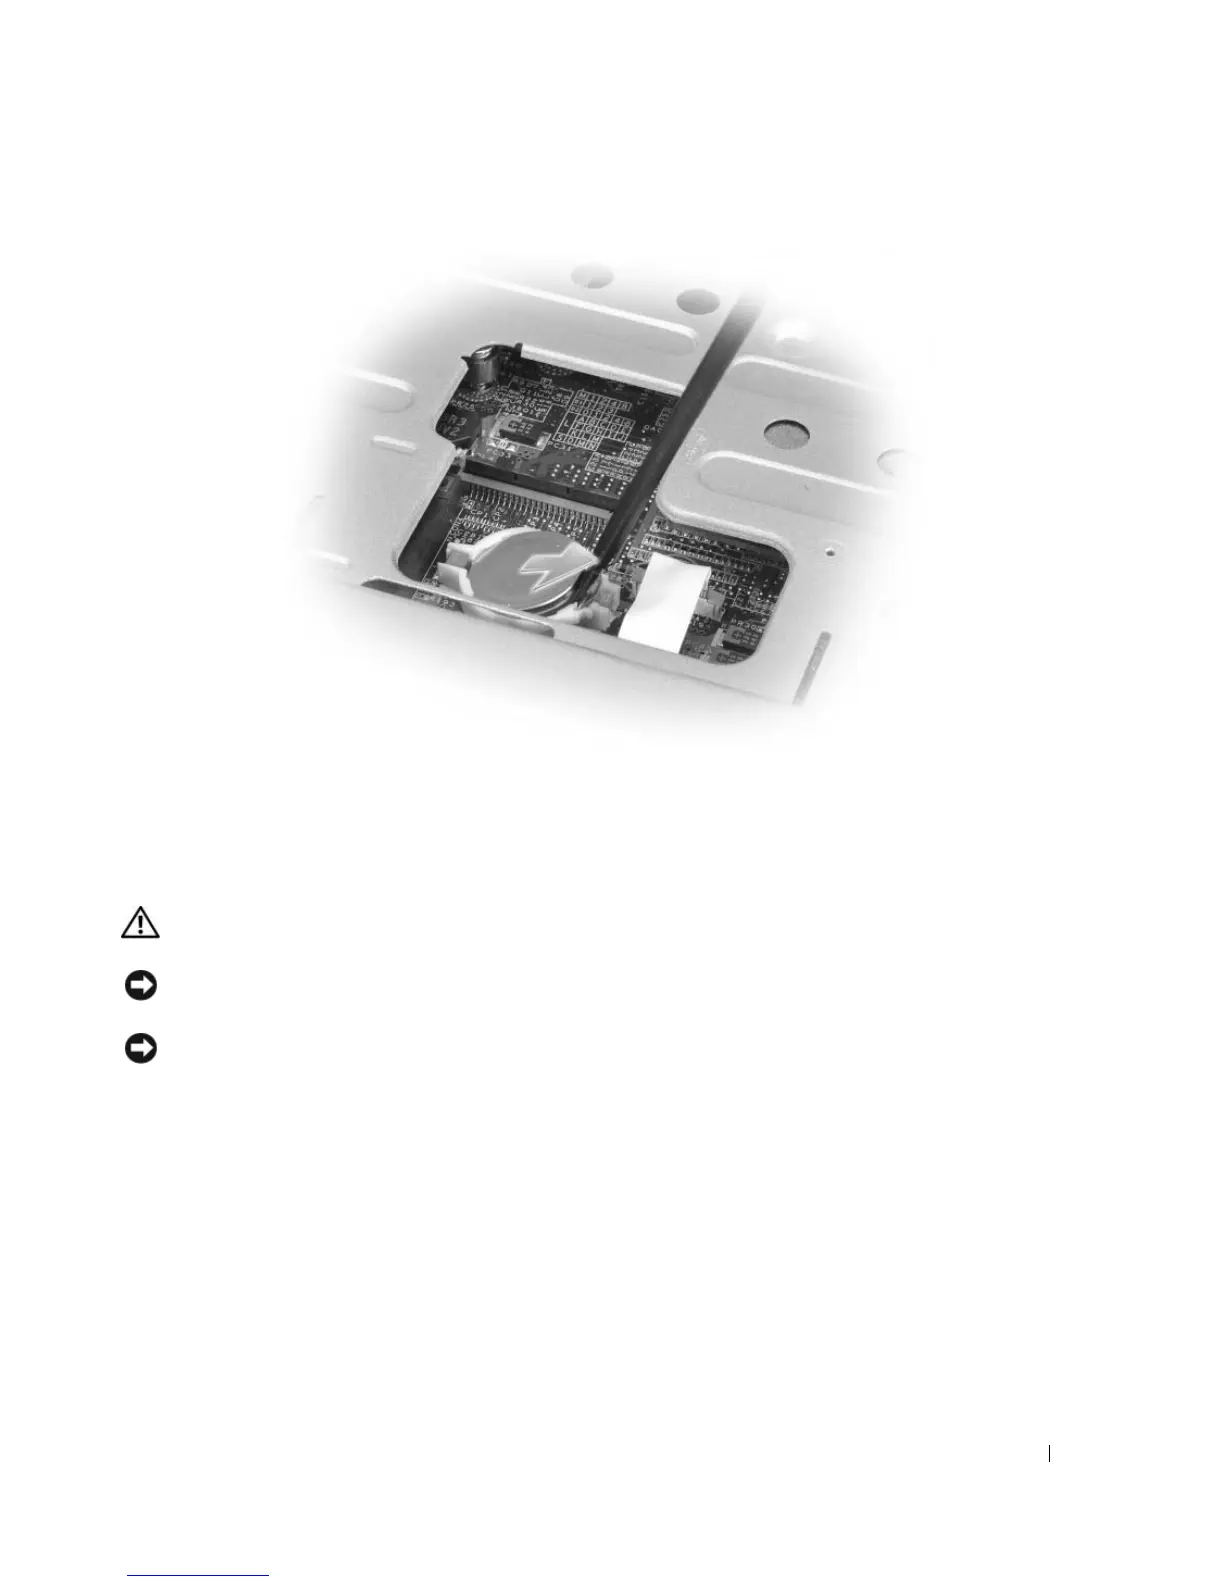
When you replace the battery, insert it at a 30-degree angle under the clip with the positive (identified by
a plus [+] symbol) side up, and then push it into place.
Display
CAUTION: Before you begin any of the procedures in this section, follow the safety instructions in the
Product Information Guide.
NOTICE: To avoid electrostatic discharge, ground yourself by using a wrist grounding strap or by periodically
touching an unpainted metal surface (such as a connector on the back of the computer).
NOTICE: To help prevent damage to the system board, you must remove the battery from the battery bay before
you begin working inside the computer.
1
Follow the procedures in "Before You Begin" on page 109.
2
Remove the hinge cover. See "Hinge Cover" on page 118.
3
Remove the six screws securing the display (two on the top, two on the bottom, and two on the back).
4
Disconnect the antenna cables from the Mini-Card.
5
Loosen the captive grounding-wire screw.
6
Disconnect the display cable, using the pull-tab.
7
Dislodge the display cable from the display cable channel.