31
Setting up the monitor
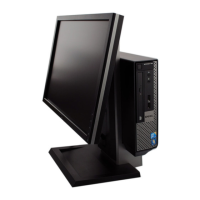
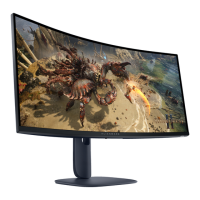
Organizing your cables
After attaching all required cables to your monitor and computer (see Connecting your monitor for cable attachment), route the
cables through the cable-management slot on the stand.
If a cable does not reach your computer when routing it through the slot, then connect the cable directly to the computer instead.
Figure 20. Organizing cables
Connecting your monitor
WARNING: Before you begin any of the procedures in this section, follow the Safety instructions.
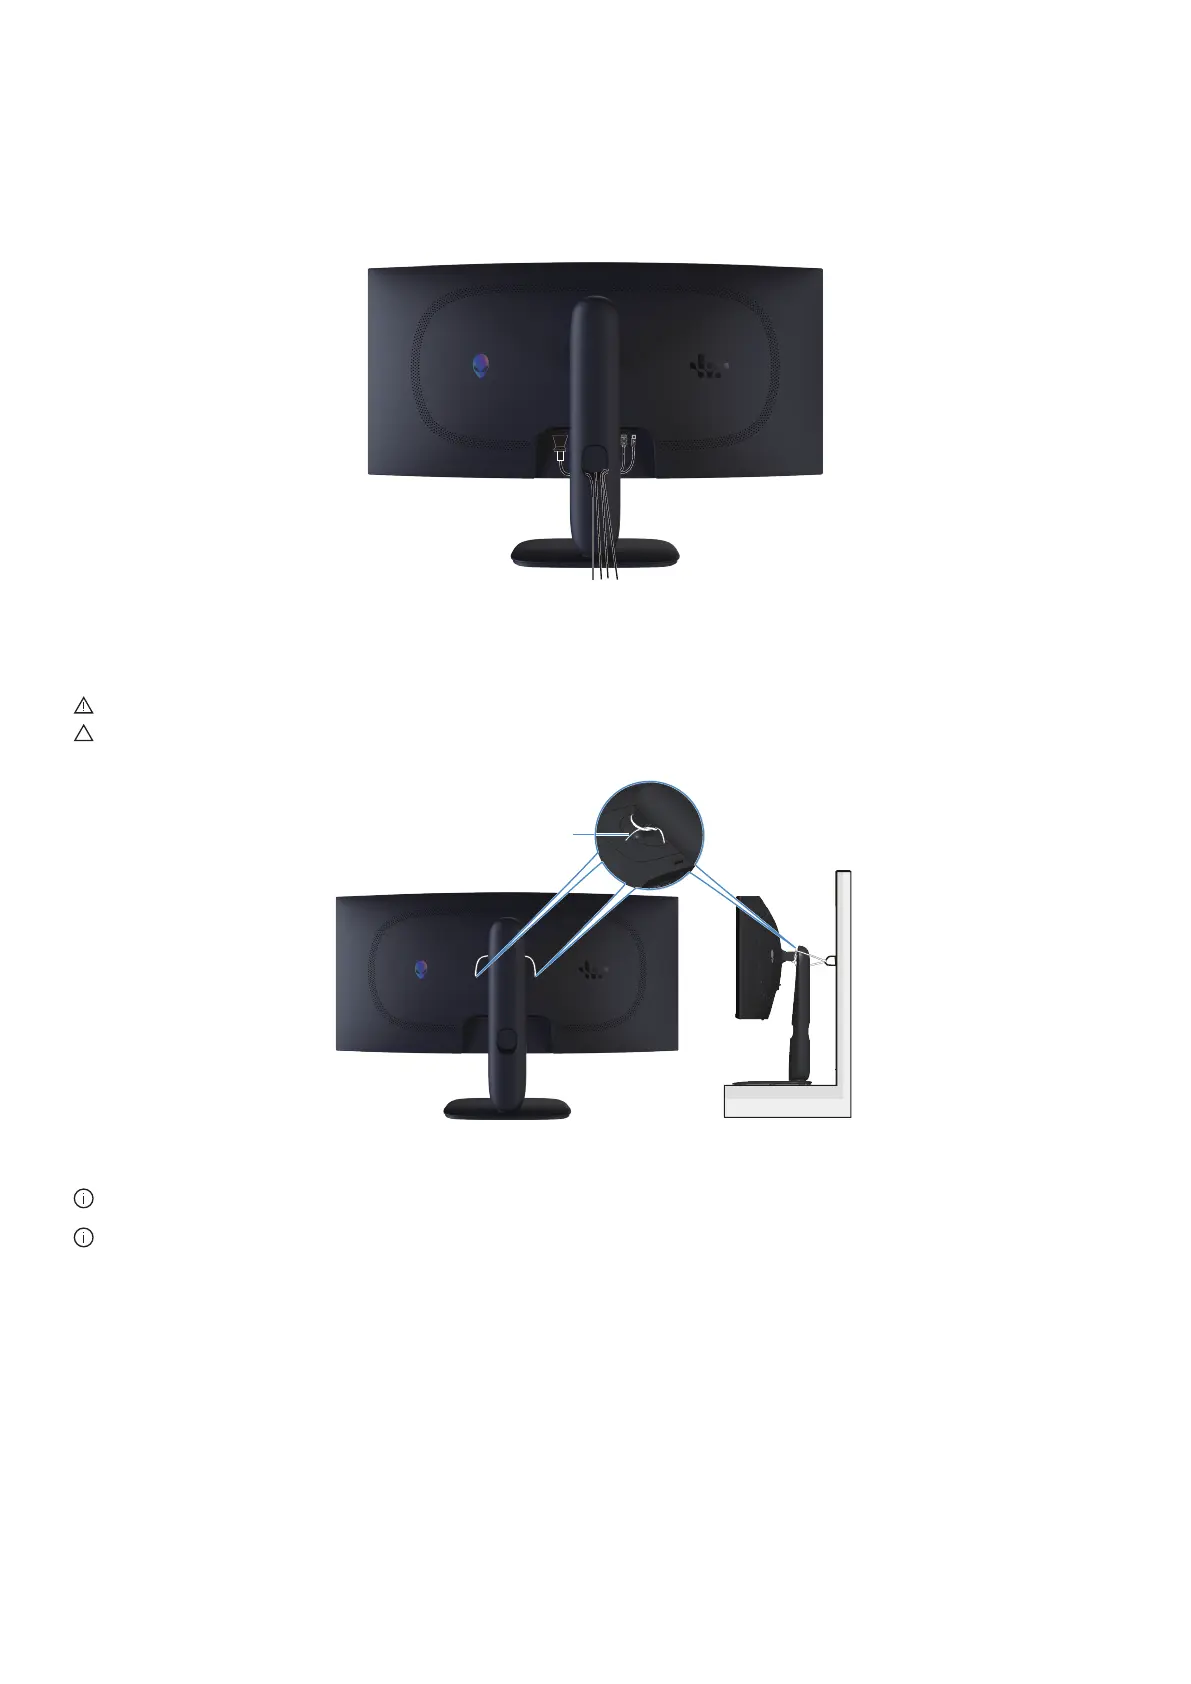
CAUTION: Before using the monitor, it is recommended to fasten the stand riser to a wall using cable tie or a cord that can
support the weight of the monitor in order to prevent the monitor from falling.
Cable tie or Cord
Figure 21. Securing your monitor
NOTE:
Do not connect all cables to the computer simultaneously.
NOTE:
The images are for illustration only. The appearance of the computer may vary.
To connect your monitor to the computer:
1.
Turn off your computer and disconnect the power cable.
2.
Connect the DisplayPort to DisplayPort cable or HDMI cable from your monitor to the computer.
3.
Connect the USB Type-B end of the upstream cable to the monitor and the USB Type-A end of the cable to the computer.
4.
Connect the USB peripherals to the USB 5Gbps downstream ports on the monitor.
5.
Connect the power cables of your computer and monitor into a wall outlet.
6.
Turn on the monitor and the computer.
If your monitor displays an image, installation is complete. If it does not display an image, see Common problems.