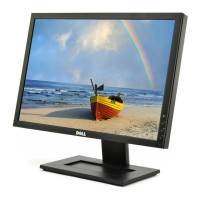
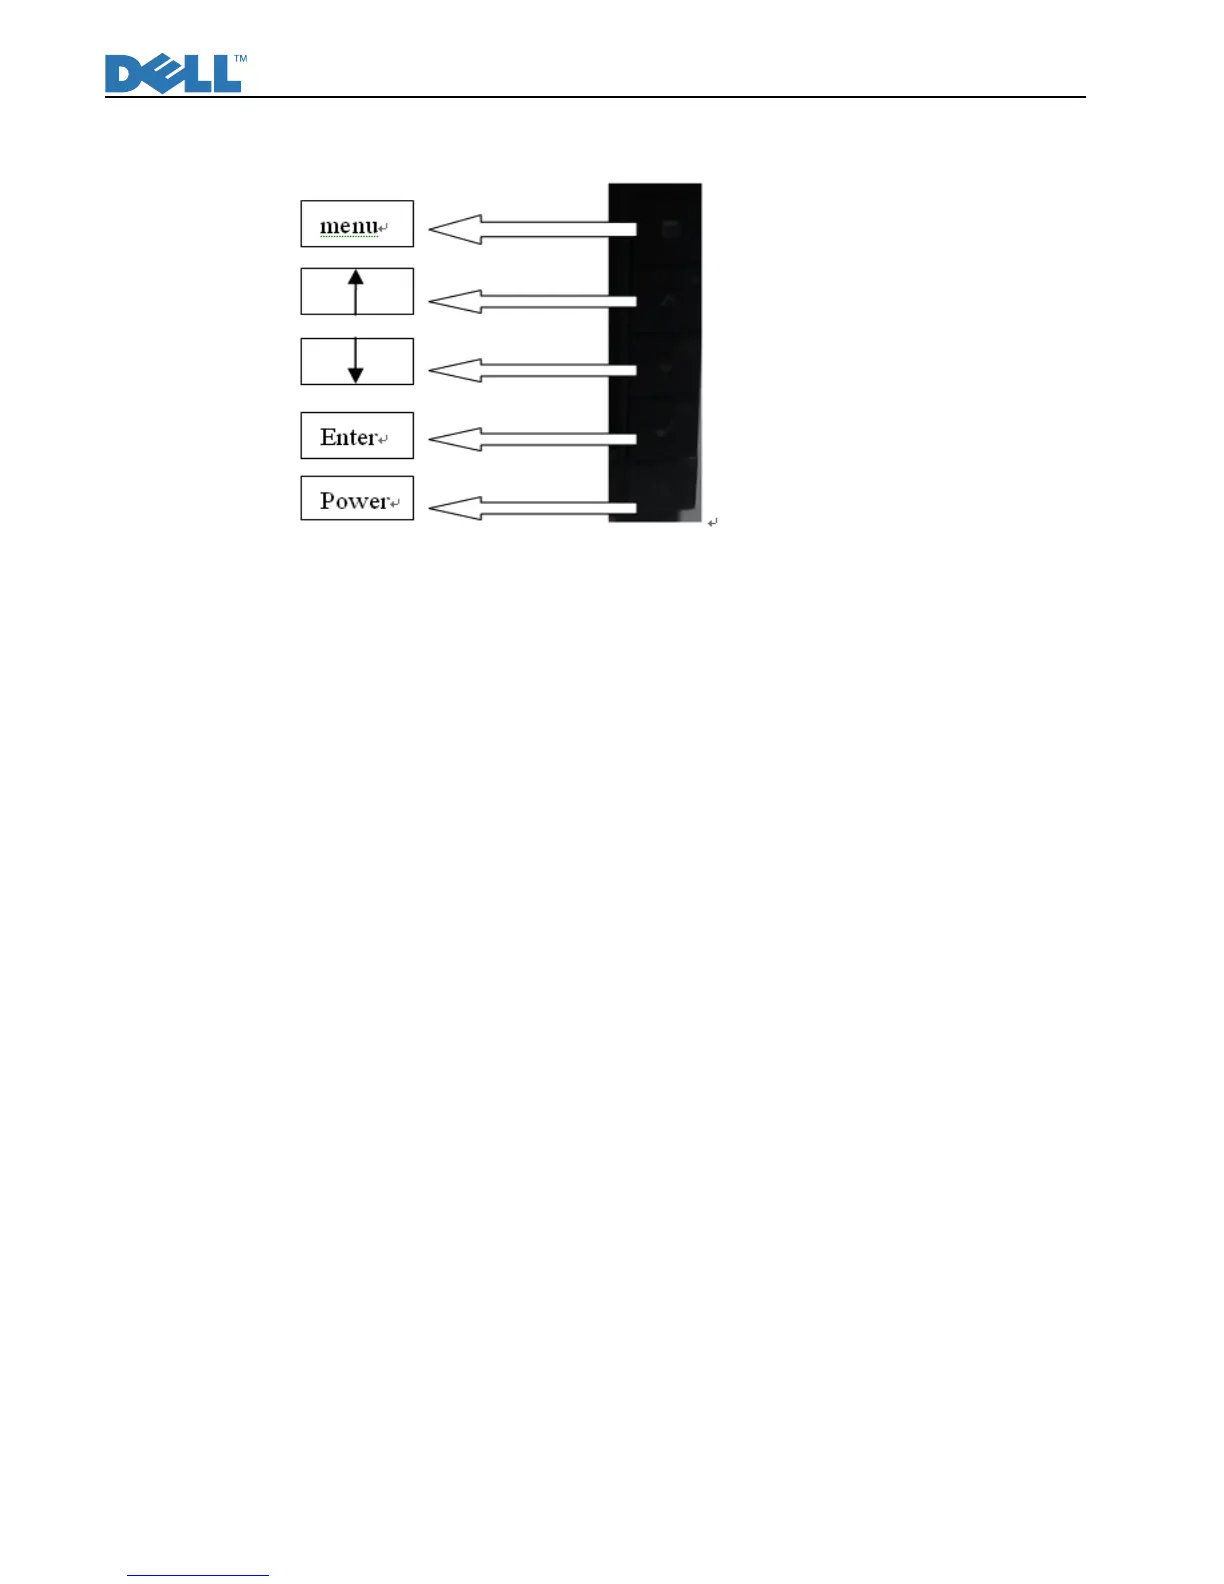
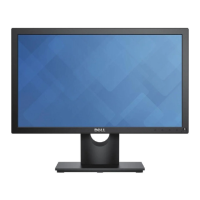
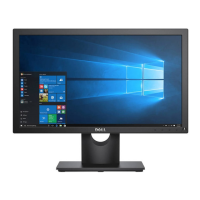
1. Menu: Call out OSD Menu and choose
2. (+): symbol molded into button, calls out brightness/Contrast, move up the
highlight bar.
3. (--)symbol molded into button, move down the highlight bar
4 .Input select: Select input signal
Auto Color Balance
Purpose: Automatically calibrate chip ADC parameter by using chip internal
DAC.
Process: If we want to do “Auto Color Balance” again, please confirm the
following steps.
1) Connect the VGA cable with the standard video pattern generator and
display the pattern with blackest and whitest colors.
2) Press “Power Key”, to power off the monitor.
3) Press “Menu Key” and “Up Key” simultaneously, and then press
“Power Key” to power on the monitor.
4) Press “Plus Key”, and choose factory at bottom
5) Set Auto Color item to ON, then execute “Auto color” item.
6) After the “Auto Color Balance” process finished, go back to the
submenu of “Other Settings”, and press “Factory Reset” to exit
Factory mode.