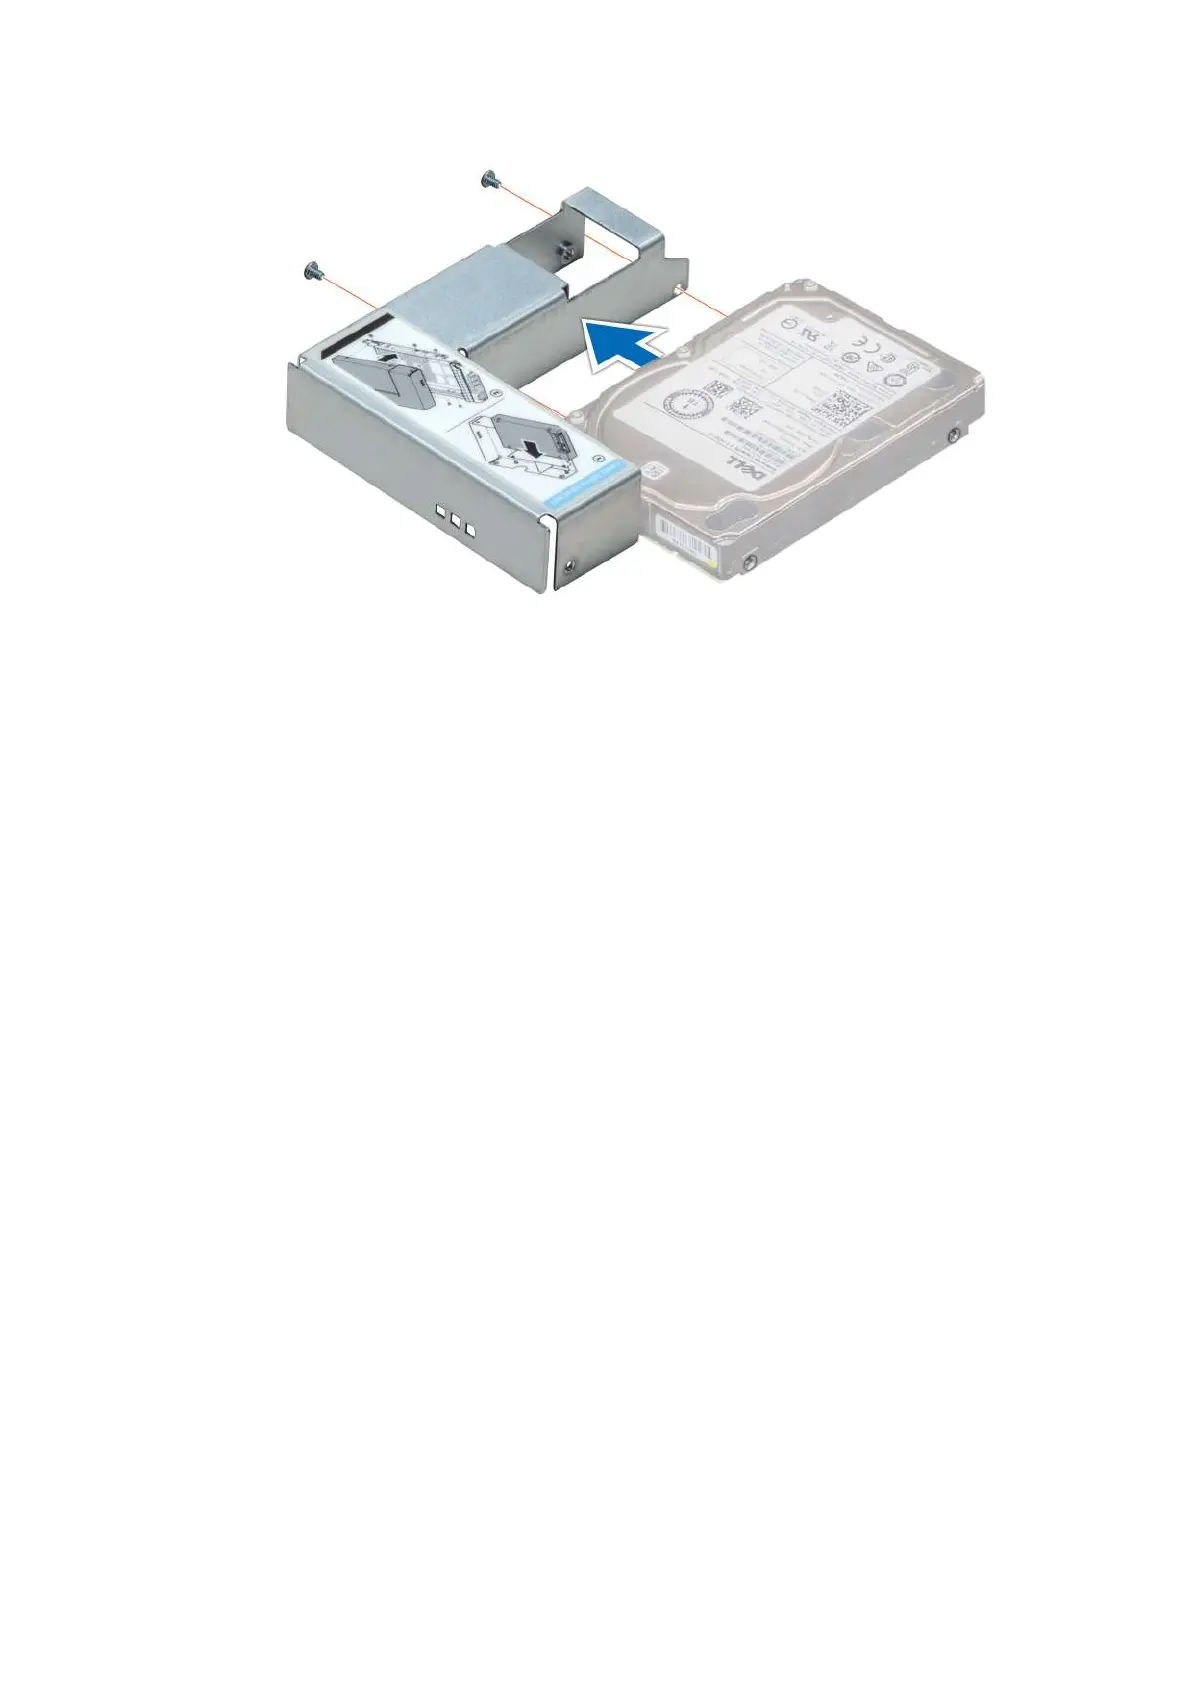
Figure 31. Installing a 2.5-inch drive into the 3.5-inch drive adapter
Next steps
1. Install a 3.5-inch adapter into the 3.5-inch drive carrier.
2. Install the drive carrier.
Optional optical drive
This is a service technician replaceable part only.
Removing the optical drive blank
Prerequisites
1. Follow the safety guidelines listed in Safety instructions.
2. Follow the procedure that is listed in Before working inside your system.
3. Remove the front bezel.
Steps
Press and push the release latch towards the front of the system to remove the optical drive blank.
Installing and removing system components
47