6. Check all cable connections, and fold cables out of the way to provide airflow for the fan and cooling vents.
7. Replace the computer cover (see Replacing the Computer Cover).
8. Update your configuration information by setting the appropriate Drive option (0 or 1) under Drives. See System Setup for more information.
9. Verify that your computer works correctly by running the Dell Diagnostics (see Dell Diagnostics).
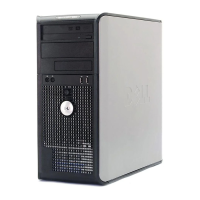
Floppy Drive
Removing a Floppy Drive
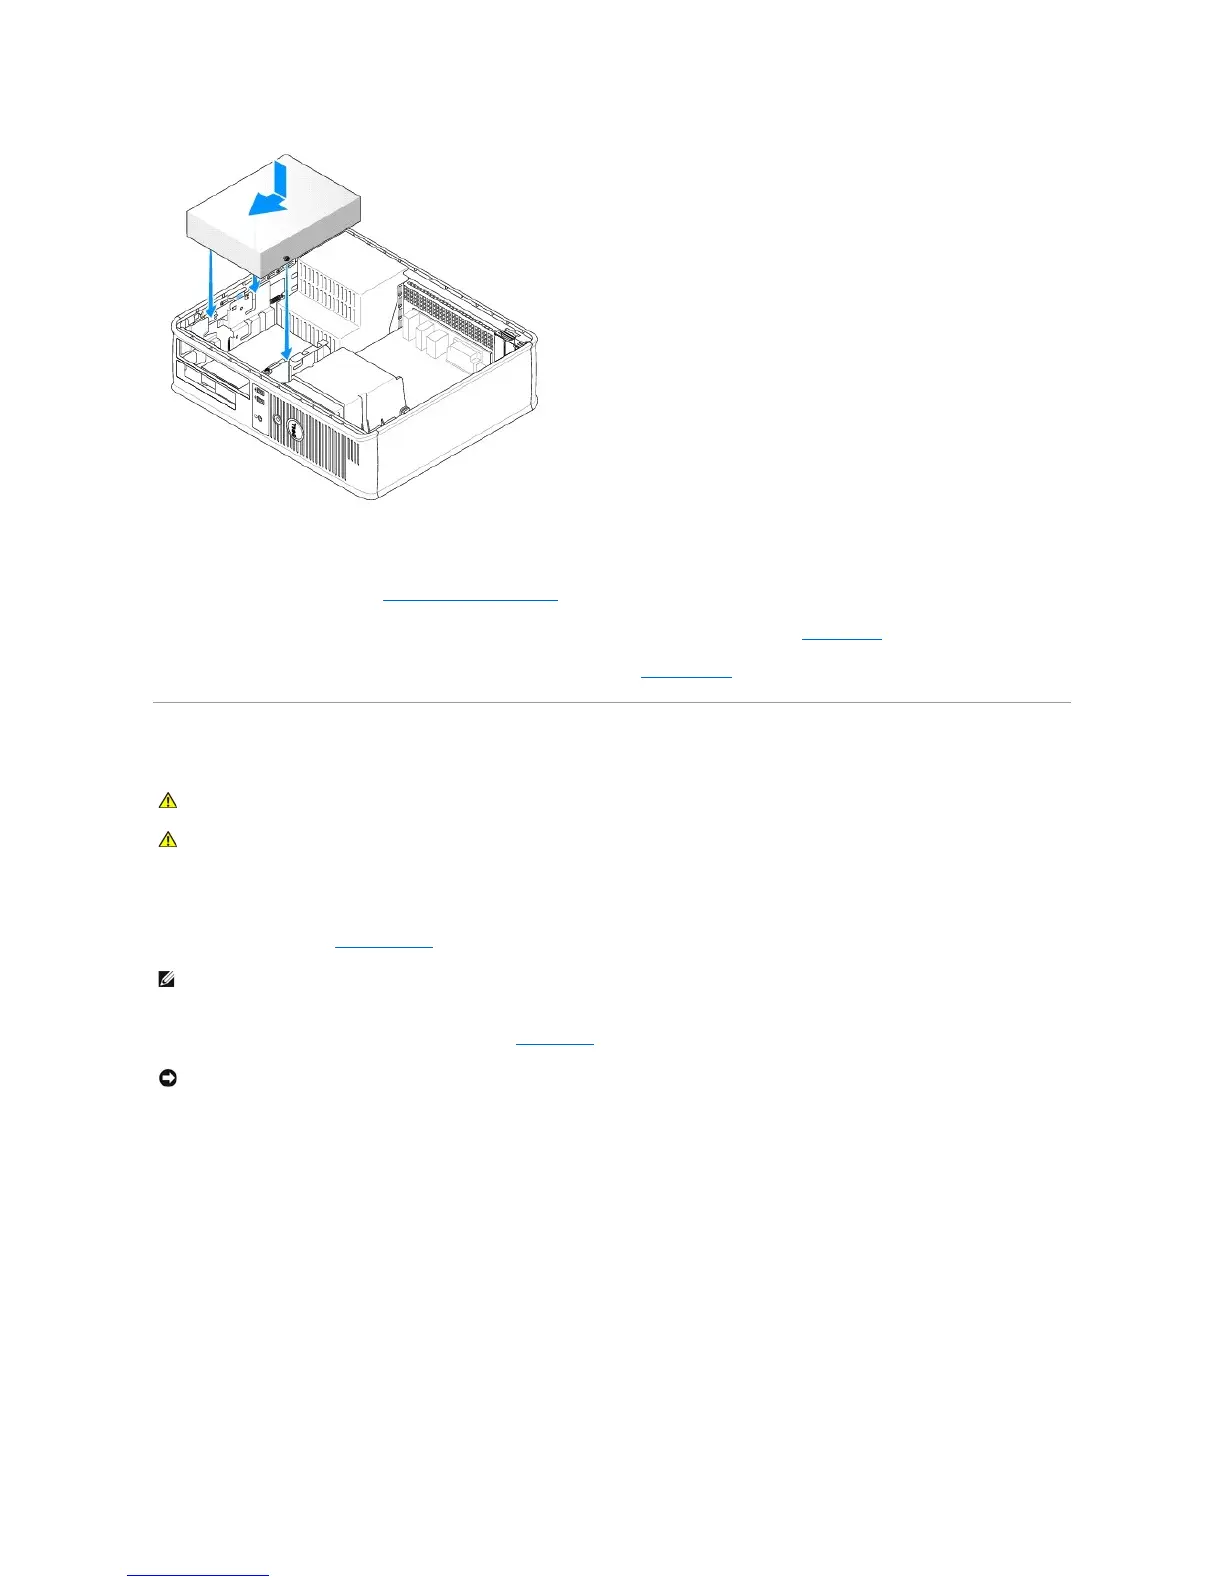
1. Follow the procedures in Before You Begin.
2. Remove the CD/DVD drive and carefully set it aside (see CD/DVD Drive).
3. Pull up on the drive release latch and slide the floppy drive towards the back of the computer. Then, lift up to remove the drive from the computer.