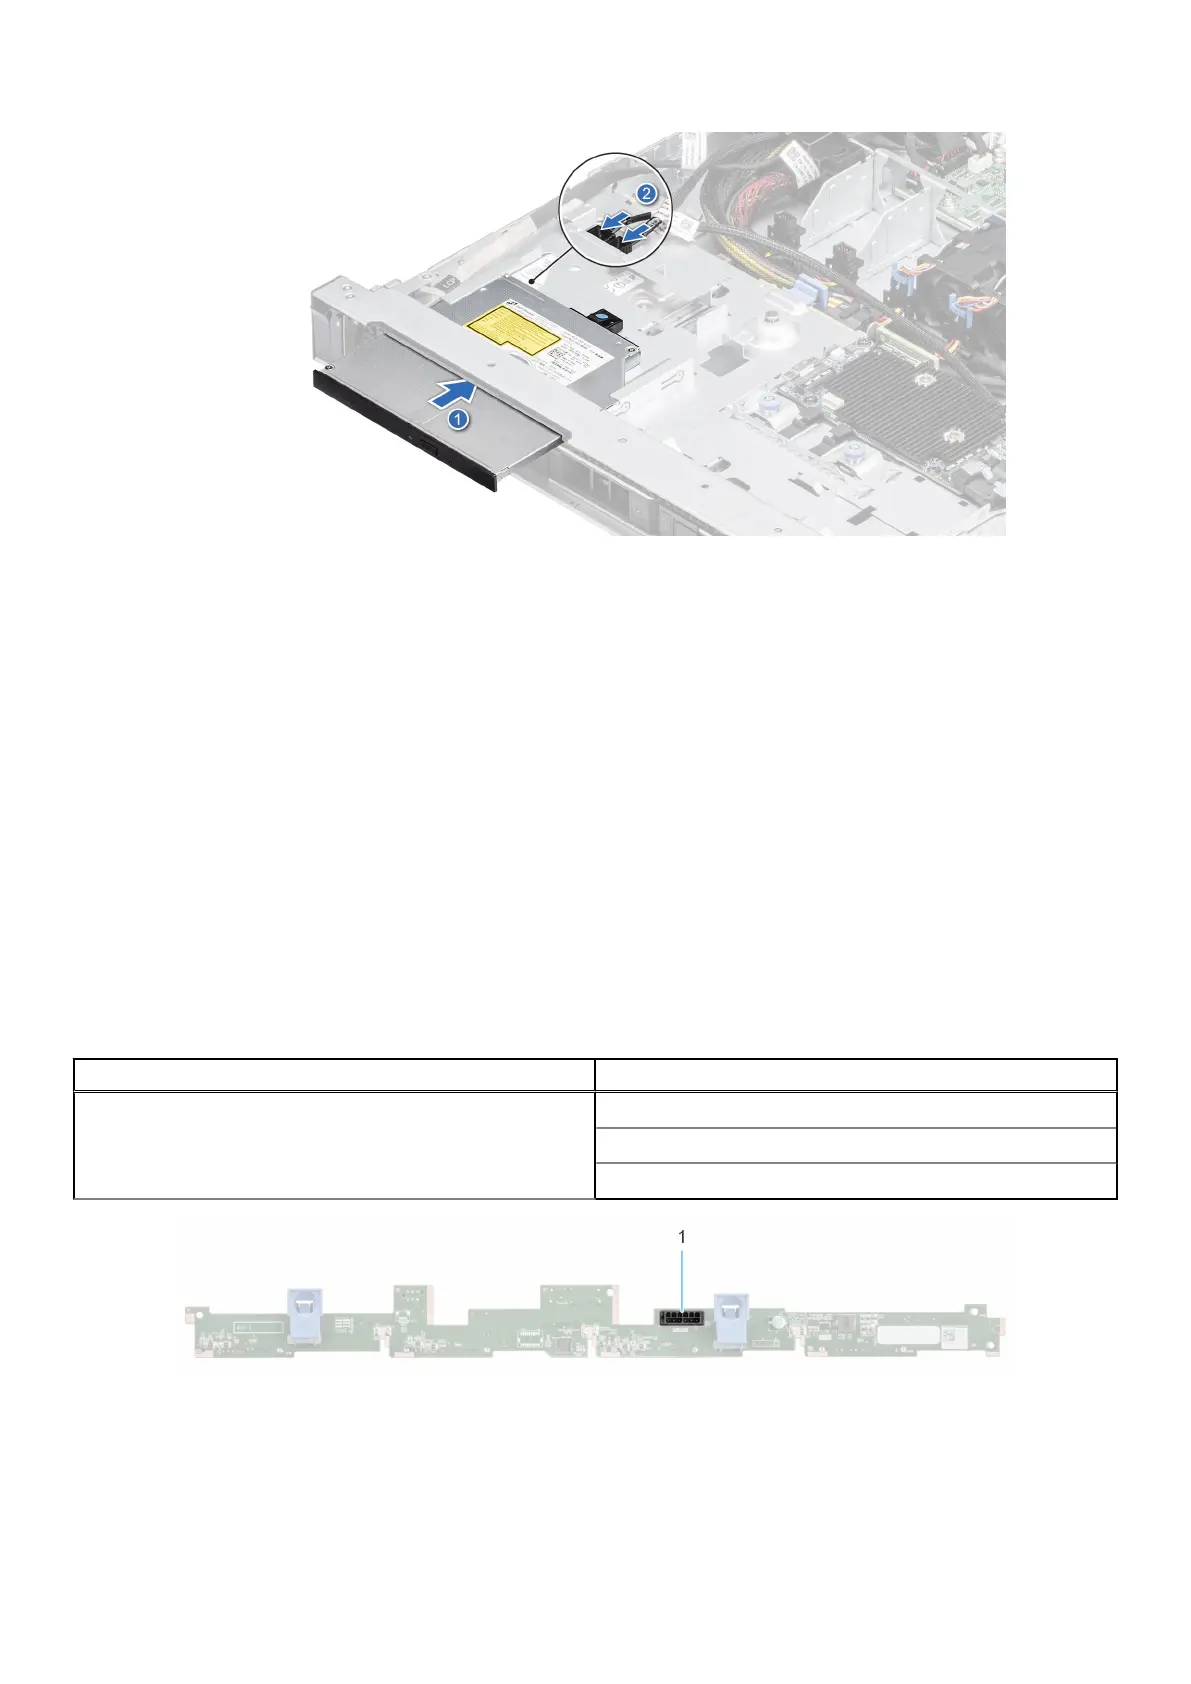
Figure 31. Installing the optical drive
3. Connect the power and data cables to the connectors on the system board.
Next steps
1. If removed, install the front bezel.
2. Install the drive backplane cover.
3. Follow the procedure listed in After working inside your system.
Drive backplane
This is a service technician replaceable part only.
Drive backplane
Depending on your system configuration, the drive backplanes supported are listed here:
Table 14. Supported backplane options
System Supported hard drives options
PowerEdge R650xs
Up to 4 x 3.5-inch SAS/SATA (HDD/SSD) backplane
Up to 8 x 2.5-inch SAS/SATA/NVMe (HDD/SSD) backplane
Up to 10 x 2.5-inch SAS/SATA/NVMe (HDD/SSD) backplane
Figure 32. 4 x 3.5-inch drive backplane
1. BP_PWR_1 (backplane power and signal cable to PIB)
46
Installing and removing system components
 Loading...


