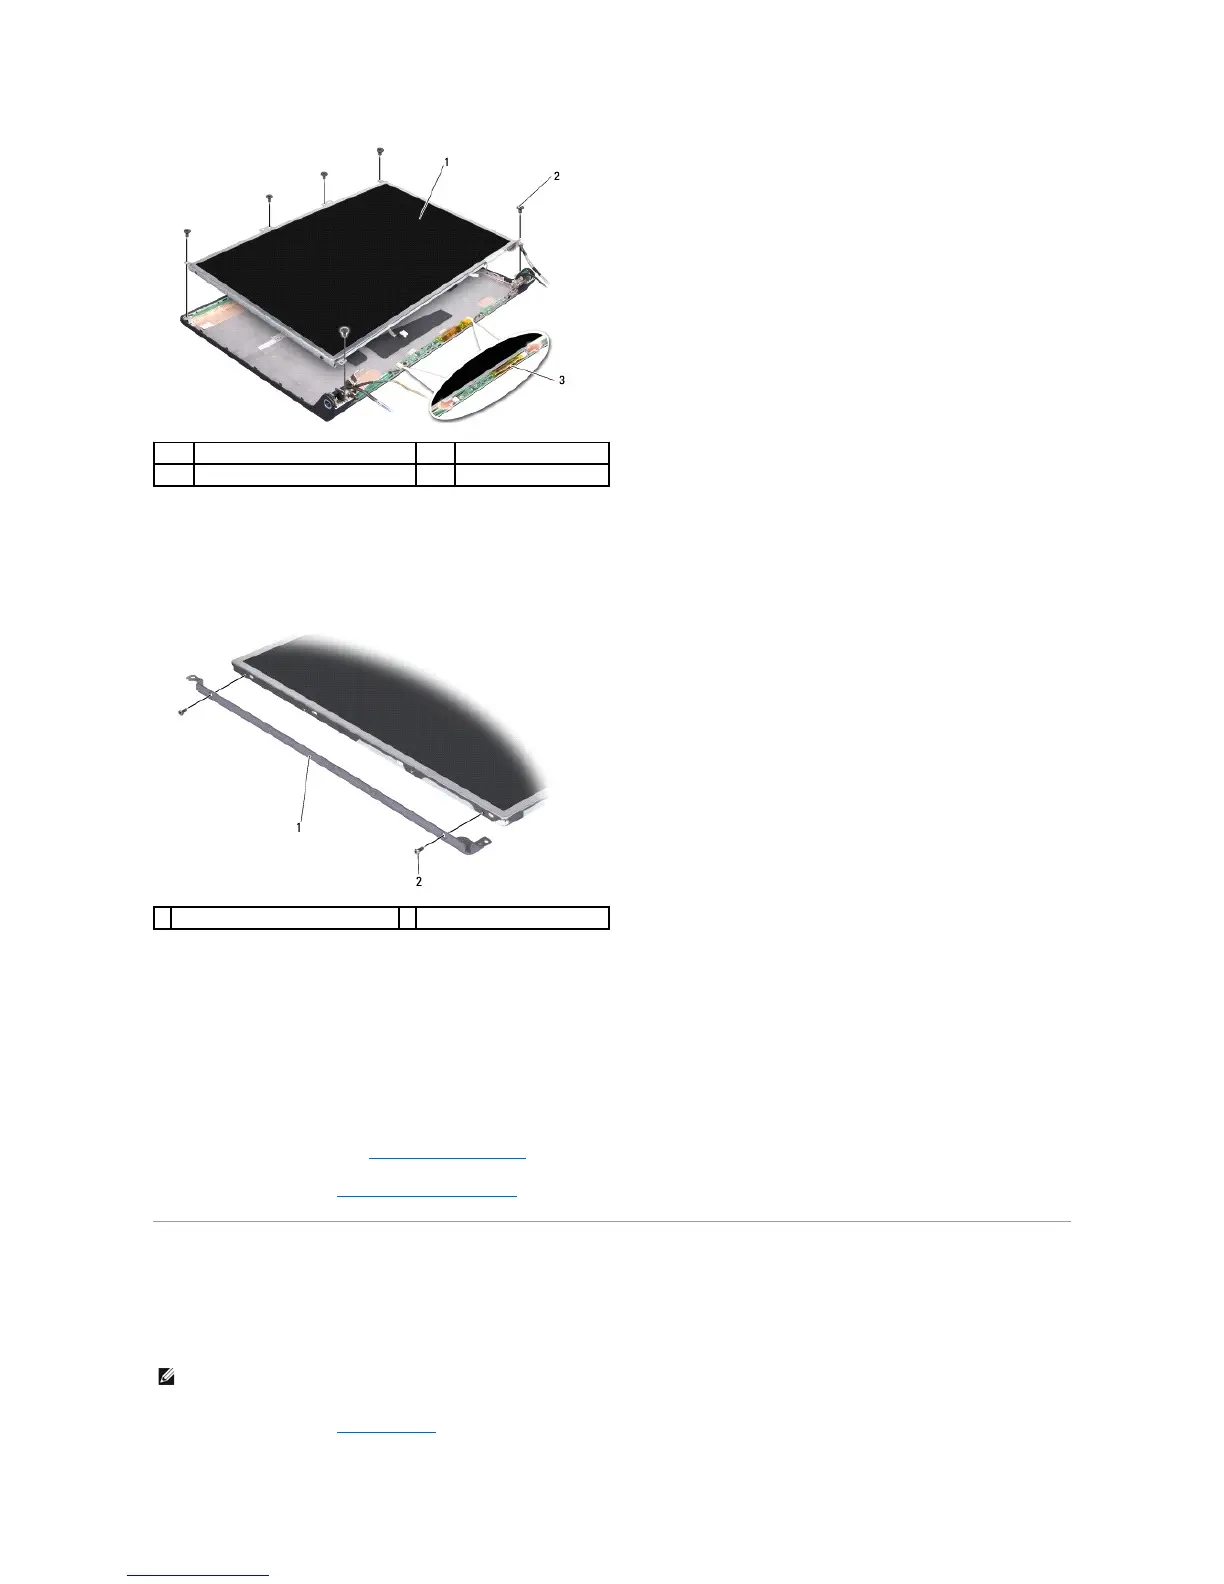
4. Disconnect the cables from the connectors on either side of the inverter board.
5. Remove the display panel.
6. Remove the four screws (two on each side) that secure the display panel brackets to the display panel.
Replacing the Display Panel
1. Attach the display bracket to the display panel by replacing the two screws on each side of the display panel.
2. Align the display panel with the display back and connect the cables to the connectors on either side of the inverter board.
3. Replace the six screws to secure the display panel to the display cover.
4. Replace the display bezel (see Replacing the Display Bezel).
5. Follow the instructions in Replacing the Display Assembly.
Display Panel Cable
Removing the Display Panel Cable
1. Follow the instructions in Display Assembly.