you want to print photos stored on the memory card or USB key in a different file format, the photos must be
transferred to your computer before printing. For more information, see
Saving Photos to Your Computer.
2. Use the left and right Arrow buttons to scroll to Proof Sheet, and then press the Select button .
3. Use the left and right Arrow buttons to scroll to Print Proof Sheet, and then press the Select button
.
4. Use the left and right Arrow buttons to specify which photos on the memory card or USB key to print on
the proof sheet.
5. Press the Start button .
The proof sheet prints.
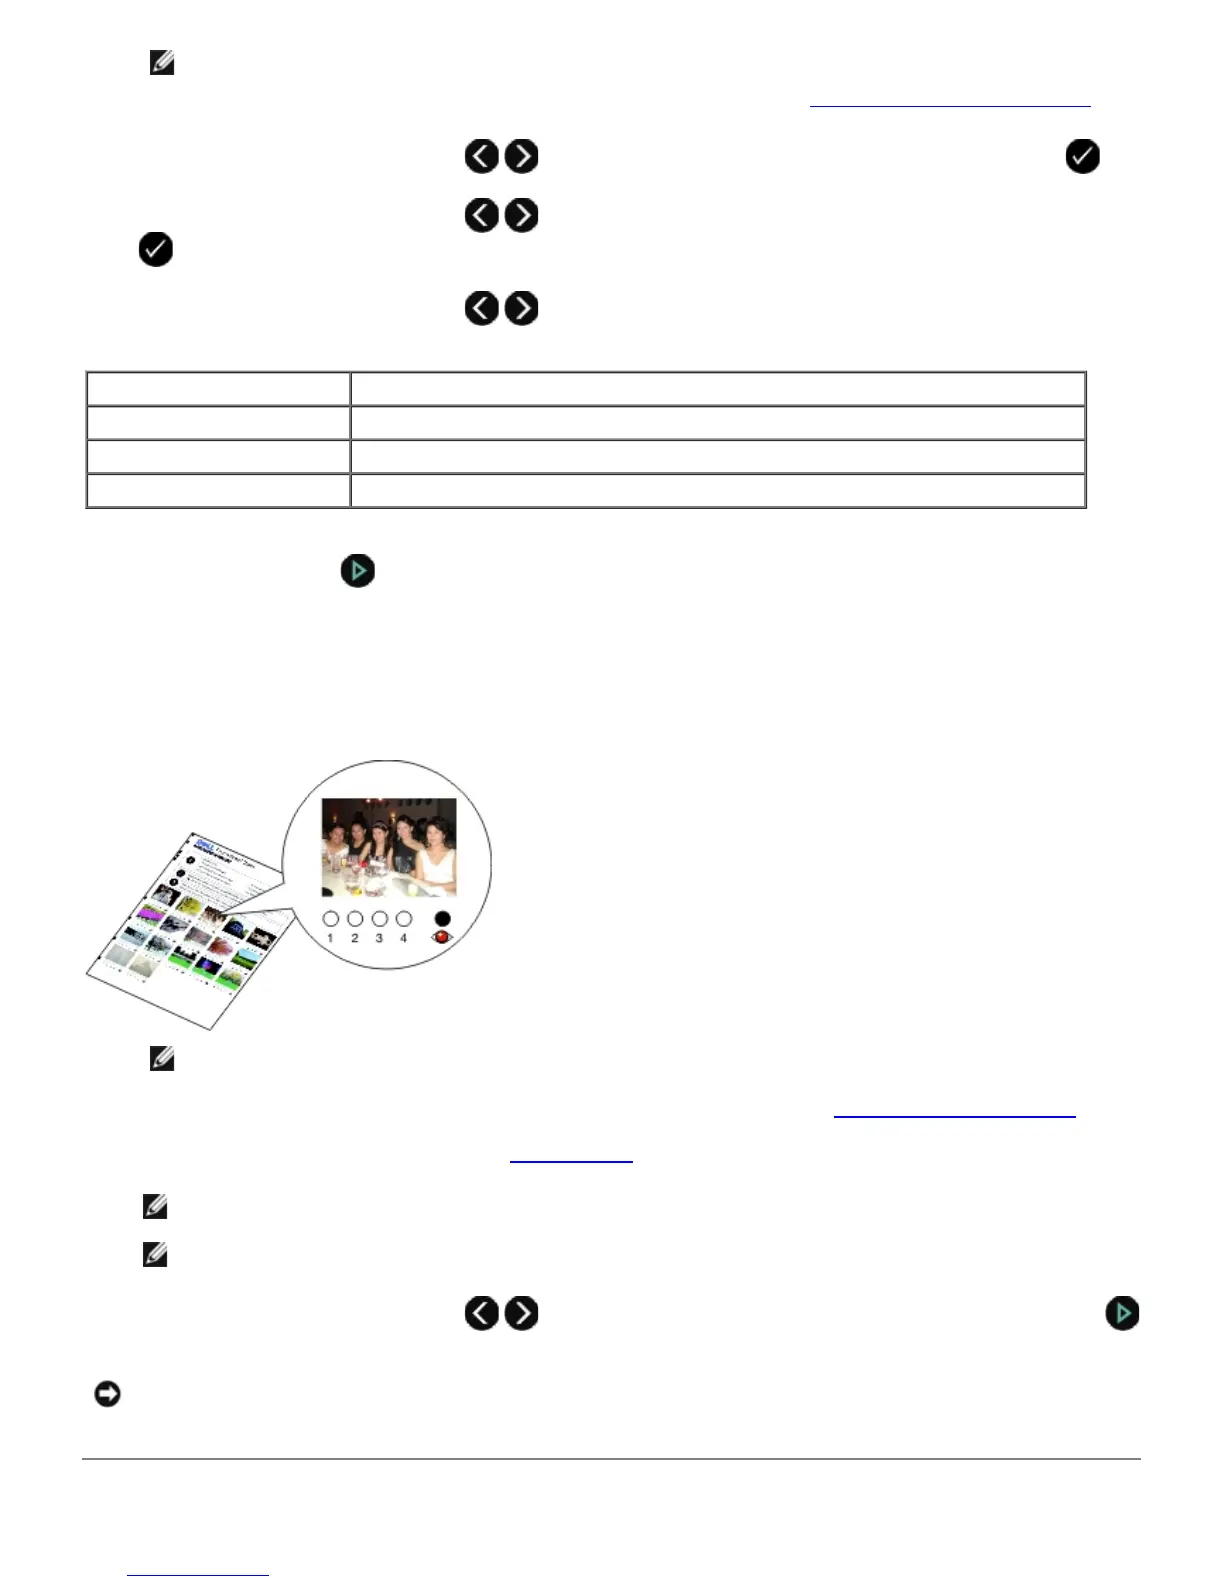
6. Follow the instructions on the proof sheet to select which photos to print, and to choose a layout and paper type to
use.
Fill in the circle with the red-eye icon below a photo to reduce the red-eye effect on the printout.
NOTE: Make sure you completely fill in the circles when making selections.
7. Load the proof sheet face down on the scanner glass. For more information, see
Loading Original Documents.
8. Load the paper. For more information, see
Loading Paper.
NOTE: Make sure the size of the paper you loaded in the printer matches the paper size you specified in the
proof sheet.
NOTE: Photo/glossy paper is recommended for printing photos.
9. Use the left and right Arrow buttons to scroll to Scan Proof Sheet, and then press the Start button
.
You can choose from To
All Print all photos on the memory card or USB key on the proof sheet.
Last 25 Print the 25 most recent photos on the proof sheet.
Date Range Print only photos created in a certain date range.
NOTICE: Do not remove the memory card or turn off the printer until the photos you selected in the photo proof
sheet have been printed. The proof sheet becomes invalid when the memory card is removed from the printer or
anytime the printer is turned off.