Chapter 3 Interface Introduction
3-15
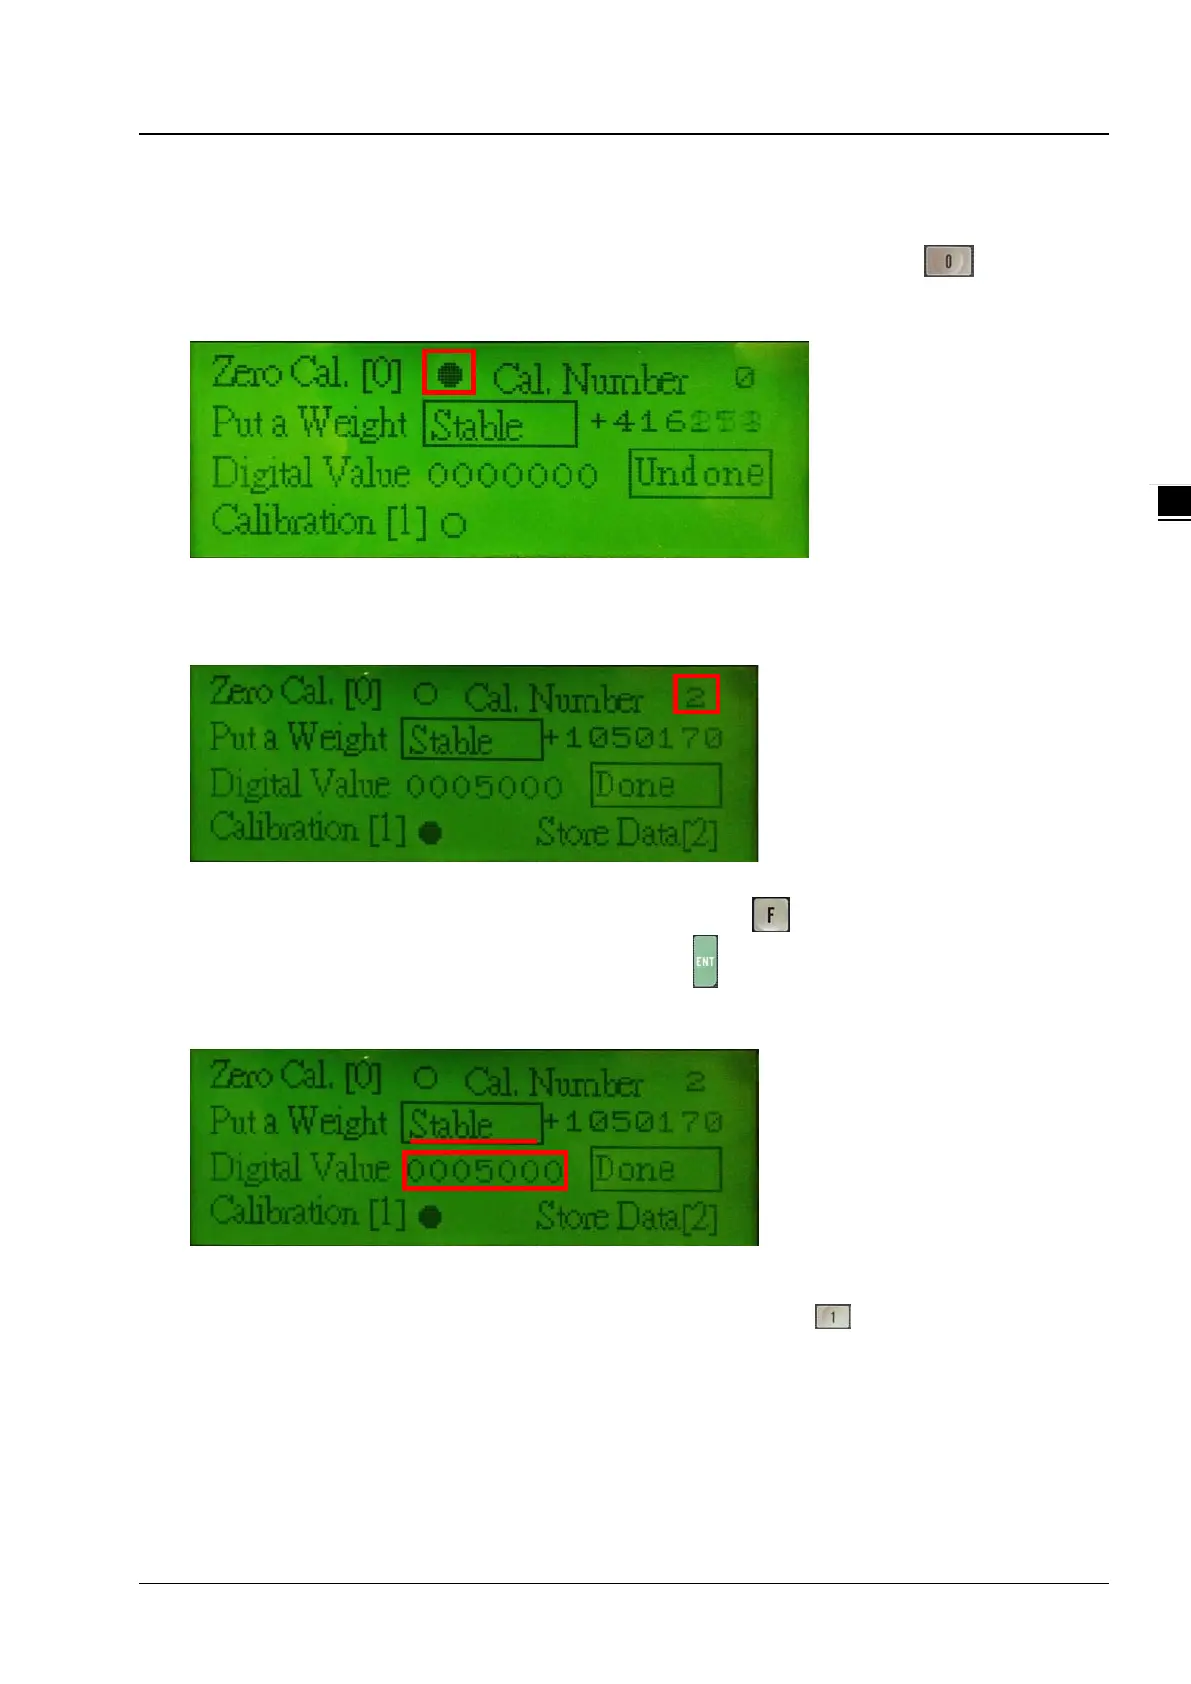
(3) Zero Cal.
Before performing zero calibration, the system checks if the environment is stable. When it is stable, the status
besides Put a Weight shows Stable instead of Unstable as the image shown below. Press
to start
calibration. When the circle besides Zero Cal. becomes a dot as the image shown below, it indicates the calibration
is complete.
(4) Put a Weight
After zero calibration is complete, the number 2 is the next to be calibrated, see the image below for reference; the
Cal. Number is in the upper right corner. You can use a standard weight for calibration.
(5) Digital Value:
Put an object that you know its weight on the load cell sensor and use to enter the setting mode and then use
numerical keys 0-9 to enter its digital value for calibration. Use
to save the setting and go to the next item. The
image below shows an example of using a 100g weight for calibration. Enter the digital value 1000 in the field of
Digital Value Setup. After the value is settled, the status shows Stable and then you can start calibration.
(6) Calibration [1]:
The Stable shown in the upper right corner indicates the value is settled. Press
to calibrate the number 1
(shown as number 0 on the screen). When the circle besides Calibration [1] becomes a dot as the image shown
below, it indicates the calibration is complete.
If the number 0 (shown as number 0 on the screen) is not the final point set for calibration, the next number appears
for calibration. Repeat steps (4) - (6) to complete calibration for all the points. The example below shows that 2-points
setting is set for calibration. Thus the number 2 appears for calibration. The image below shows an example of using
a 200g weight for calibration. Enter the digital value 2000 in the field of Digital Value Setup. After the value is settled,
the status shows Stable and then press the Calibration button to complete the calibration for the number 2.
 Loading...