Rev. F, December 2020
Page 8 Pro-Wedge VM-20 Operator’s Manual
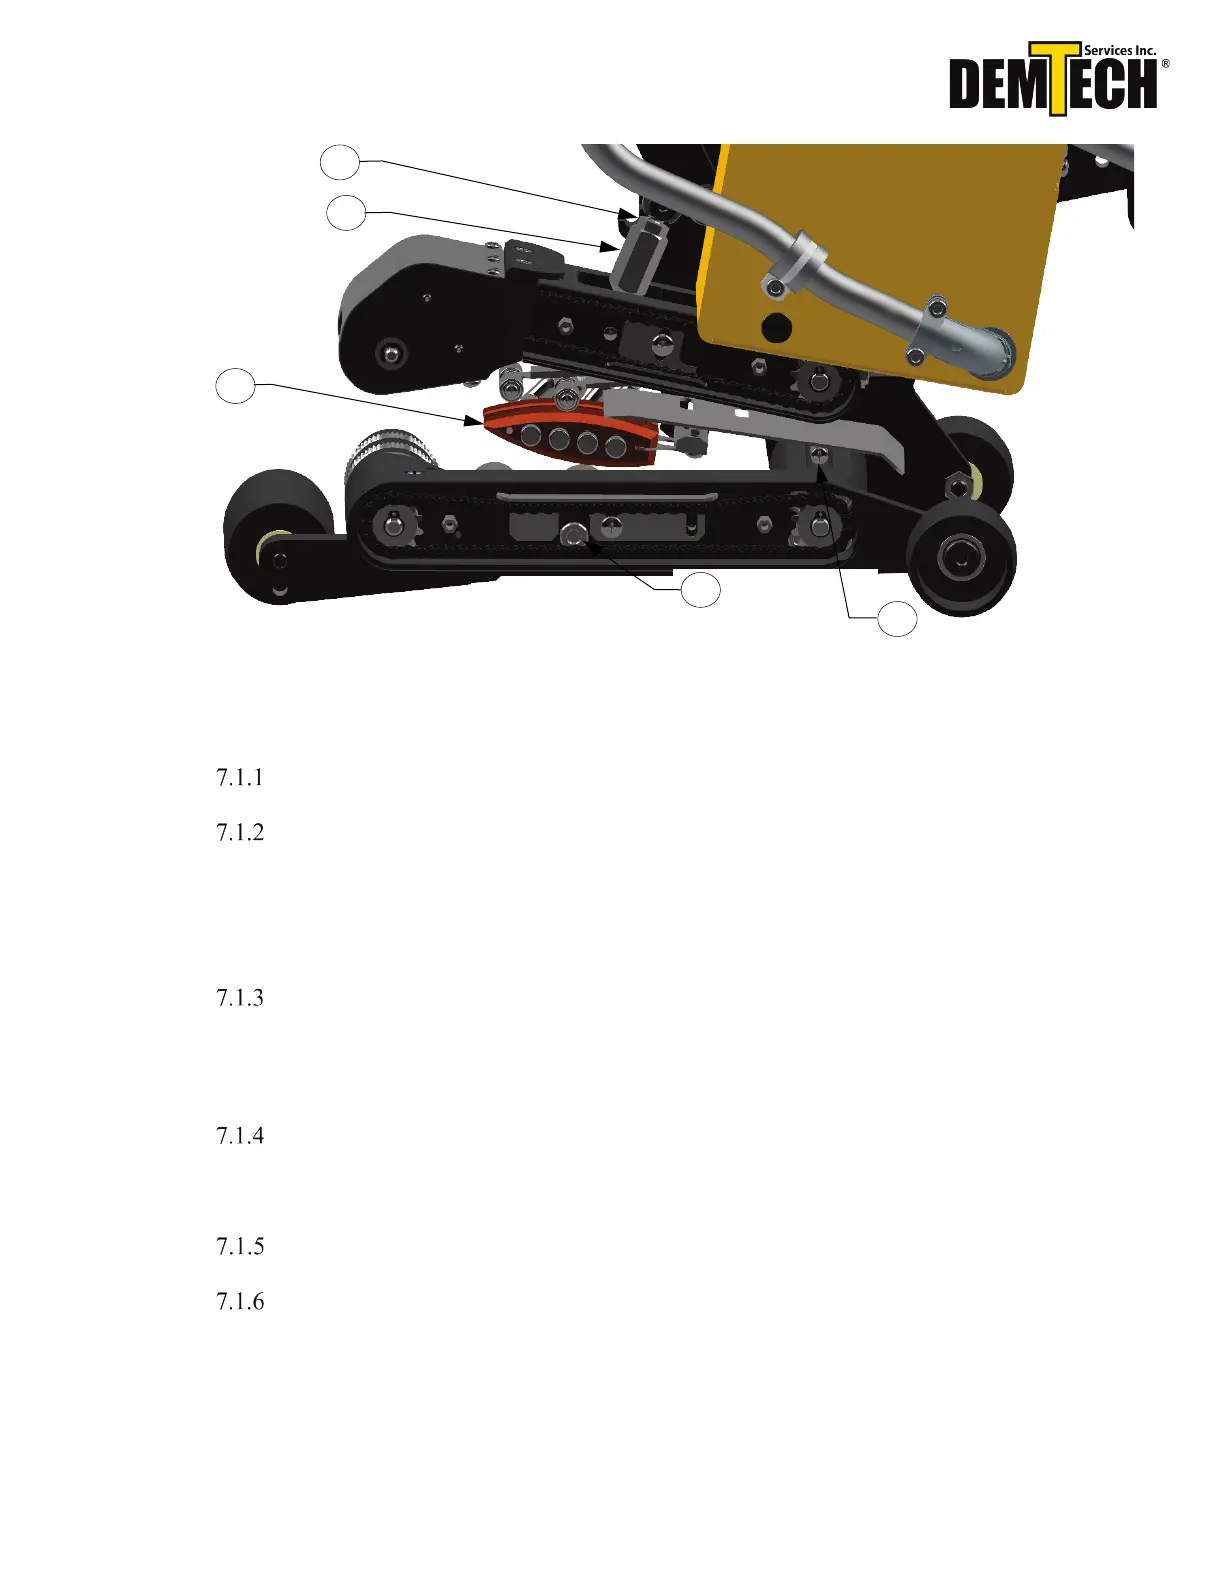
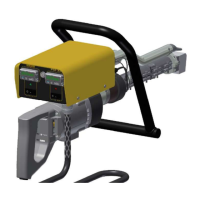
Figure 7.2
Make sure the heating wedge (#7, Figure 7.2) is in the disengaged position.
Loosen the top hex nut (#14, Figure 7.2). Turn the nip pressure adjustment hex
nut (#11, Figure 7.2) clockwise while looking down from above several turns,
raising the nip arm up to give a fresh starting point for this adjustment. Tighten
the top hex nut (#14, Figure 7.2) up against the nip pressure adjustment hex nut
(#11, Figure 7.2).
Place one end (one thickness) of your adjustment material between the nip rollers
and into the unit about 1” inch. Engage nip rollers by pushing down on the nip
lever until it has “clicked” into place. At this point the material should move
around freely between the nip rollers.
Turn the hex nut (#11, Figure 7.2) counter clockwise until the nip rollers begin to
pinch down on the material and you cannot turn the nut by hand anymore. This
zeroes the adjustment.
Disengage nip rollers and turn the hex nut counter clockwise one full rotation.
Insert the adjustment material (the opposite end of the fold, two thicknesses)
between the nip rollers and engage nip rollers together until the upper nip arm
locks into place (Figure 7.3). Check pressure by attempting to move the material
side to side. If you are able to move the material or pull the material straight out
without the nip rollers turning, disengage the nip pressure and turn adjustment nut
7
11
14