EasyManua.ls Logo

Denon DP-450USB User Manual

Denon DP-450USB
44 pages
To Next Page IconTo Next Page
Page #1 background imageLoading...
Page #1 background image
.
DP-450USB
TURNTABLE
Owner’s Manual
Contents Preparations Connections
Playback and recording
Tips Appendix
1
Front panel Rear panel

Other manuals for Denon DP-450USB

Question and Answer IconNeed help?

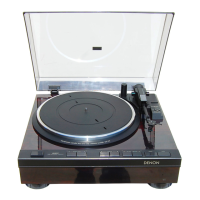
Do you have a question about the Denon DP-450USB and is the answer not in the manual?

Denon DP-450USB Specifications

General IconGeneral
TypeBelt-drive audio turntable
EqualizerYes
OperationManual
Motor typeDC motor
Stylus typemm
Belt materialRubber
CertificationCE
Product colorBlack
Wow & flutter0.08 %
Nominal speeds33 1/3, 45, 78 RPM
Volume controlRotary
Signal-to-Noise Ratio (SNR)65 dB
Frequency range20 - 20000 Hz
Quantity1
ShapeS-shaped tonearm
USB version2.0
Weight and Dimensions IconWeight and Dimensions
Depth342 mm
Width414 mm
Height132 mm
Weight5800 g

Summary

Part names and functions

Rear panel

Assembly

Mounting the turntable

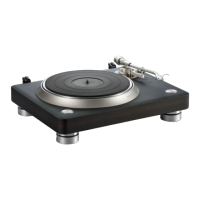
Mount the turntable onto the center spindle and attach the belt to the roller.

Mounting the counterweight

Insert the counterweight into the shaft on the back of the tone arm.

Mounting the head shell with cartridge

Insert the head shell into the tip of the tone arm.

Adjustments

Adjusting the stylus pressure

Apply constant pressure to follow grooves and pick up sound.

Adjusting anti-skating

Counteract force pulling stylus tip inside due to record rotation.

Connections

Playback and recording

Record playback

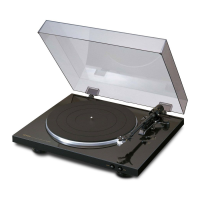
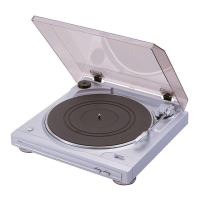
Instructions for placing a record and starting playback.

Stopping playback

Steps to safely stop playback and return the tone arm.

Recording to a USB memory device

Convert analog audio to digital formats and save to USB.

Troubleshooting

Power does not turn on/Power is turned off

Check power connection and operation if unit is off or turns off.

The turntable does not spin

Check power and belt attachment if turntable fails to spin.

No sound comes out

Check connections, stylus attachment, and equalizer settings.

Replacing the stylus

Removing the stylus

Steps to safely remove the stylus from the cartridge.

Attaching a stylus

Steps to safely attach a new stylus to the cartridge.

Related product manuals