17
7.2 Menu Operation
1. The measuring instrument is basically in Standby-mode if not used.
The display shows:
"STANDBY"
Press any key to activate the measuring instrument.
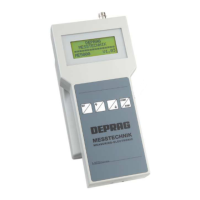
2. If the measuring instrument is ready, the display shows:
"DEPRAG MEASURING TECHNOLOGY ME5000"
3. Press the SET - Key
The display shows the first menu item
• "MEASURING TRANSDUCER"
Select a new measuring transducer.
Press the SET-key and use the UP or DOWN arrows to select the new transducer
(keep buttons pressed for a faster selection process). If a new transducer is selected,
make sure to also input the appropriate calibration value. Use the START / STOP-key
to return to the menu.
• "MEASURING RANGE"
Select a new measuring range.
Press the SET-key and use the UP or DOWN arrows to select the new measuring
range. Confirm your selection with the SET-key. Use the START / STOP-key to return
to the menu.
The measuring ranges are dynamically matched to the calibration values. The ex-
pected measuring value should be within the upper third of the measuring range.
• "CALIBRATION VALUE"
Input a new calibration value.
Press the SET-key and use the UP or DOWN arrows to select the new calibration
value. Use the START / STOP-key to return to the menu.
• "MEASURING SERIES"
Use this area to select already stored measuring series for printing and to adjust the
number of measurements per each series.
Press the SET-key and use the UP or DOWN arrows to make a selection and to input
a value (for measurements per series). Use the START / STOP-key to return to the
menu.
• "SIGNAL RECOGNITION"
Select between automatic signal-recognition and START/STOP signal-recognition.
Press the SET-key and use the UP or DOWN arrows to select between signal-
recognition options. Confirm selection with SET-key. Use the START / STOP-key to
return to the menu.