4.1 95-8661K-4
cAlibrAtion
To initiate calibration of the C706X sensor from the
UD10 Display:
1. Using the magnet to activate the switches on the
UD10 display, navigate to the “Calibrate” menu.
2. Activate “Execute”
(Enter/Select)
to start calibration.
3. The UD10 will display “Waiting for Zero” on the main
display screen as it performs zero calibration.
4. When zero calibration is complete, the UD10 will
display “Waiting for Gas” on the screen.
5. Apply calibration gas to the sensor.
6. The UD10 will display “Waiting for Span” on
the screen while the span calibration is being
performed.
7. When the UD10 displays “Remove Cal Gas” on the
screen, remove the calibration gas from the sensor.
8. When calibration is complete, “Remove Cal Gas” is
no longer displayed on the screen and the UD10
automatically returns to the normal operating
mode.
menu structure
UD10 with C706X Series Sensor
Refer to the following menu when using the UD10’s
LCD display and internal magnetic switches.
When connecting a HART Communicator to the UD10’s
4-20 mA output, refer to the “UD10 HART” menu in
Appendix E.
MENU HELP
Status menus only allow the user to view the data.
The Setup menus allow the user to both view and
edit the data.
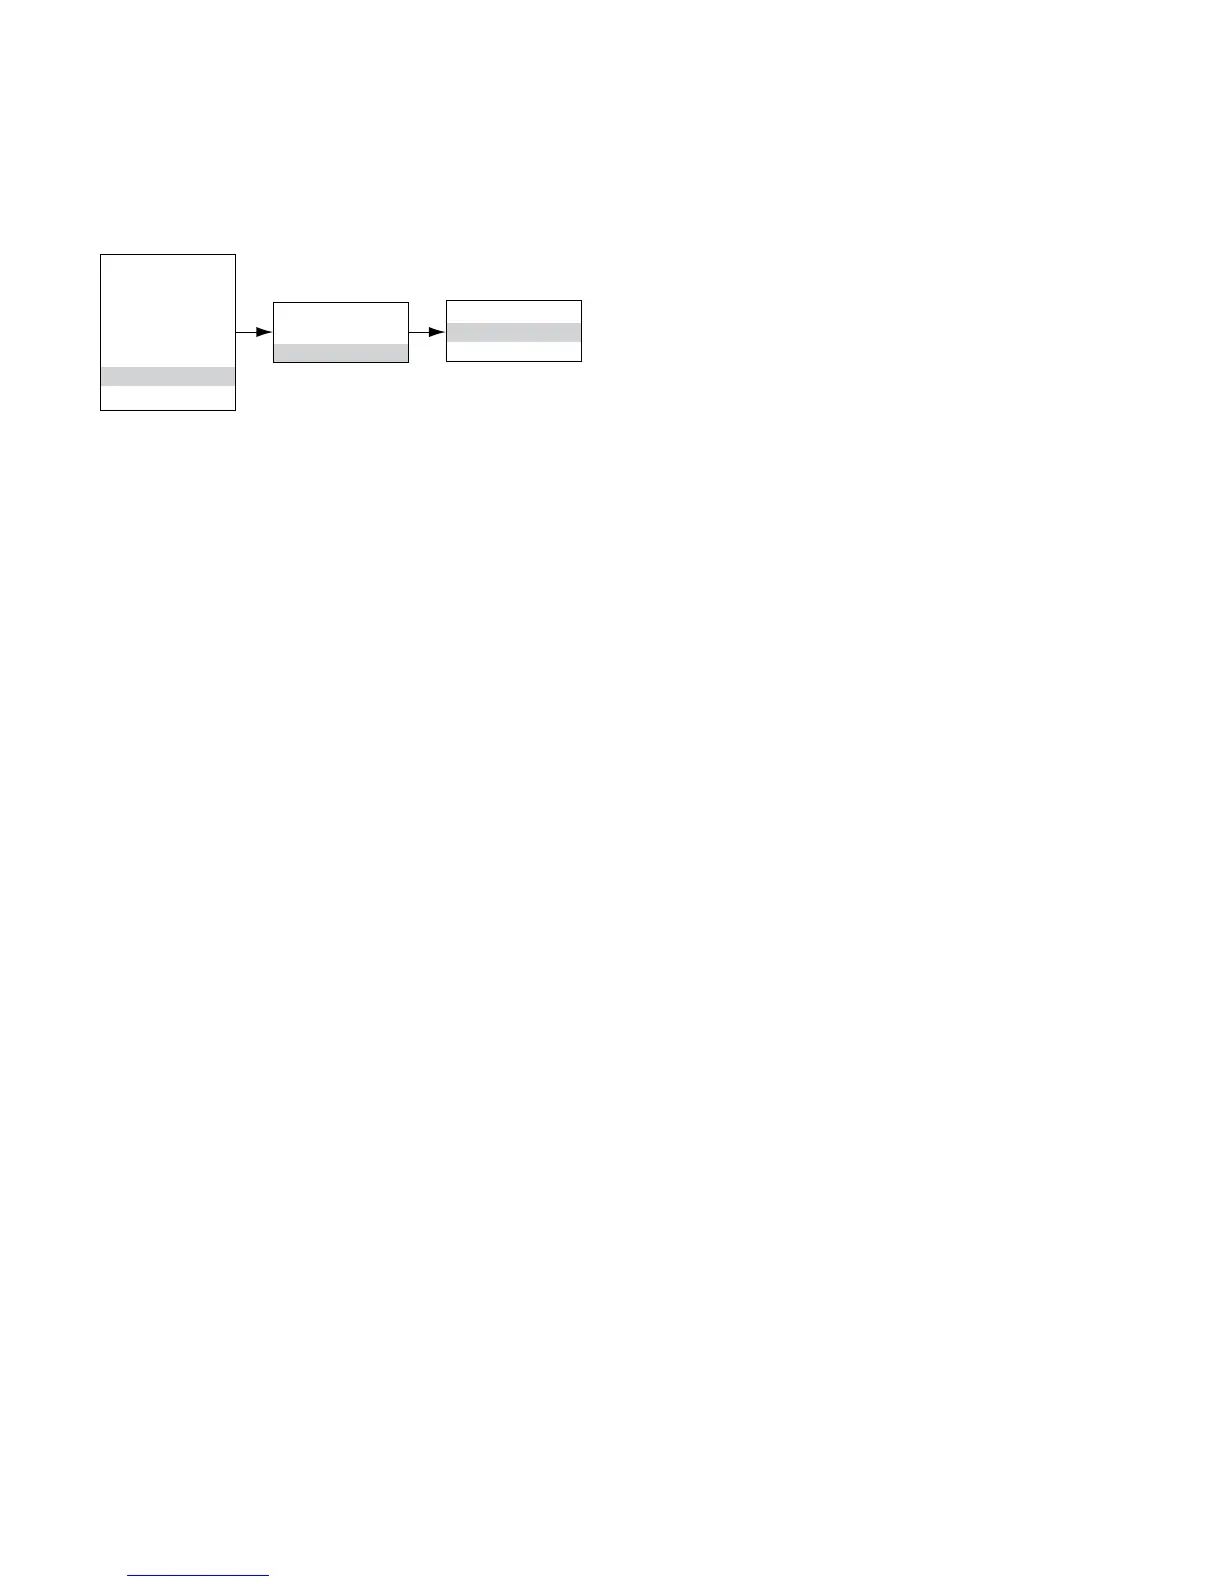
Main Menu
Process Vars
Display Status
Device Status
Display Setup
Device Setup
Device Cal
Display Test
Device Cal
Cal Gas Conc
Calibrate
Calibrate
Execute
Abort