Fig.
42
(v)
Now,
tilt
the
motor
to its 90°
position
on the
bevel
scale
so
that
the
Shaping
Head
is
horizontal.
(vi)
Before operating
the
machine
you
should
now
mount
the
special Shaping Head
guard
and
adjust
its
position depending
on the
depth
of
knife
profile
you
intend
to use
(Fig. 39).
Position
the
yoke assembly
on the arm so
that only
the
amount
of
knife profile required
extends
in
front
of
the
fence.
The
height
of the
Shaping
Head
above
the
table will depend
on the
height
of
your
material
and
the
position
the
moulding
is to
trace
on it. If the
Shaping Head needs
to be in a
position
otherwise
obstructed
by the
fence,
you
have
the
following
two
options:
EITHER
A. Cut
away
a
section
of the
existing
fence
to
provide sufficient space
for the
block
and
guard
to
protrude through it*.
OR
B.
Position
two
pieces
of
timber
(of the
same
thickness
as the
fence provided)
in the
fence position,
one on
either side
of the
moulding
block.
"Note:-
If you
choose option
A, it is
recommended that
you
replace
the
modified fence with
a
complete
new
fence
for
normal sawing operations.
(viii)
Having locked
the
yoke assembly into position
on the
arm
with
the rip
lock
and
positioned
the
guard
so
that
it
just clears
the
material, feed
the
material firmly
and
evenly
along
the
fence from
the
right into
the
shaper
cutters. Maintain positive pressure.
IMPORTANT:Use
a
piece
of
waste wood
as a
pusher (Fig.
41) to
make sure your
hand keeps
a
safe distance from
the
knives.
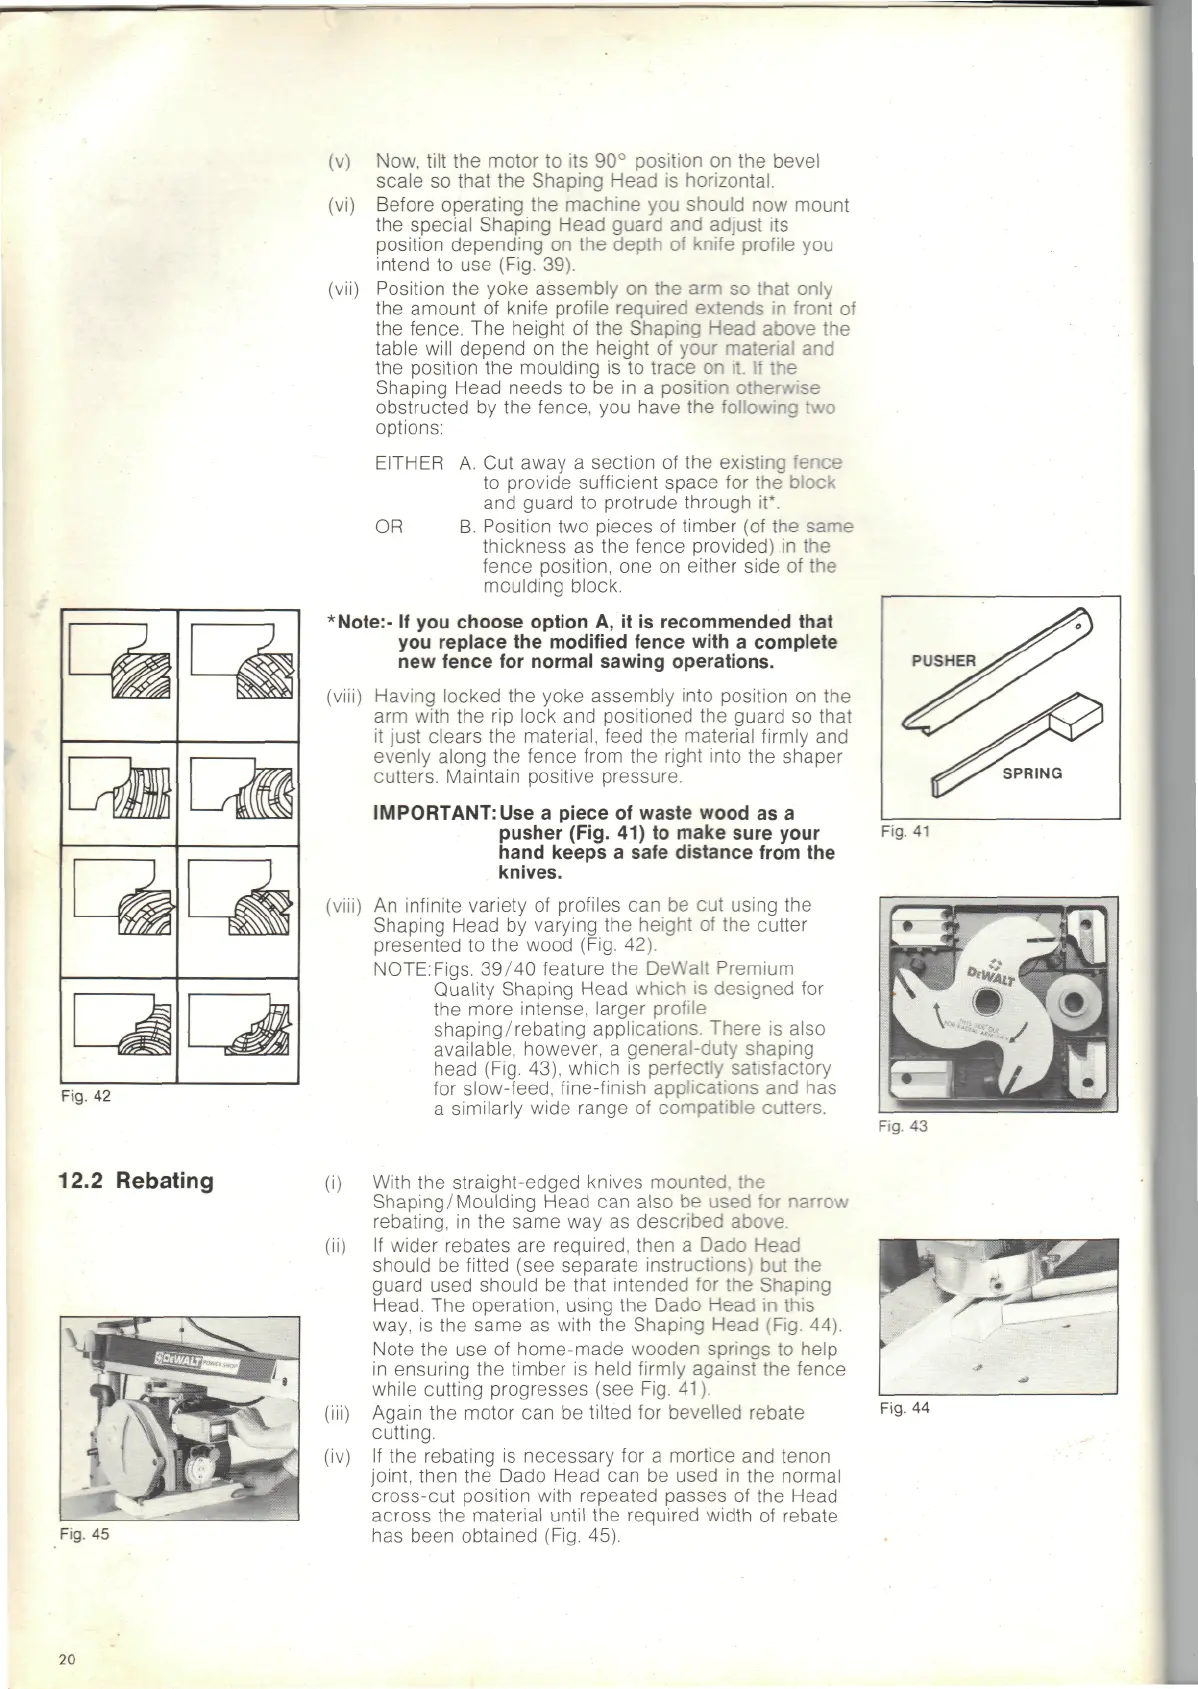
(viii)
An
infinite variety
of
profiles
can be cut
using
the
Shaping Head
by
varying
the
height
of the
cutter
presented
to the
wood (Fig. 42).
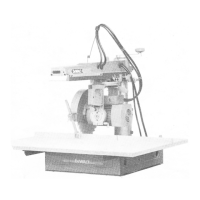
NOTE:Figs.
39/40
feature
the
DeWalt
Premium
Quality Shaping
Head
which
is
designed
for
the
more intense, larger
profile
shaping/rebating applications.
There
is
also
available,
however,
a
general-duty
shaping
head (Fig. 43), which
is
perfectly satisfactory
for
slow-feed,
fine-finish
applications
and has
a
similarly wide range
of
compatible
cutters.
PUSHER
SPRING
Fig.
41
Fig.
43
12.2 Rebating
Fig.
45
(i)
With
the
straight-edged knives
mounted,
the
Shaping/Moulding
Head
can
also
be
used
for
narrow
rebating,
in the
same
way as
described
above.
(ii)
If
wider rebates
are
required, then
a
Dado Head
should
be
fitted (see separate instructions)
but the
guard used should
be
that intended
for the
Shaping
Head.
The
operation,
using
the
Dado
Head
in
this
way,
is the
same
as
with
the
Shaping Head (Fig. 44).
Note
the use of
home-made wooden springs
to
help
in
ensuring
the
timber
is
held firmly against
the
fence
while cutting progresses (see Fig.
41).
(iii)
Again
the
motor
can be
tilted
for
bevelled
rebate
cutting.
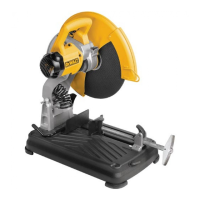
(iv)
If the
rebating
is
necessary
for a
mortice
and
tenon
joint,
then
the
Dado Head
can be
used
in the
normal
cross-cut position with repeated passes
of the
Head
across
the
material until
the
required
width
of
rebate
has
been obtained (Fig. 45).
Fig.
44
20