PPC2 AF OPERATION AND MAINTENANCE MANUAL
© 1998 DH Instruments, Inc. Page 76
OPERATION
Poor control can also be caused by excessive leaks and restrictions in the test line.
These problems should be eliminated before determining whether or not to run the Cfg
function.
Before running a user Config, remove any external volume, plug the test port, and connect a
supply pressure of 1 100 psia to the rear panel SUPPLY port. No vacuum source is needed.
To run the Cfg function, press 3Cfg under the SPECIAL menu.
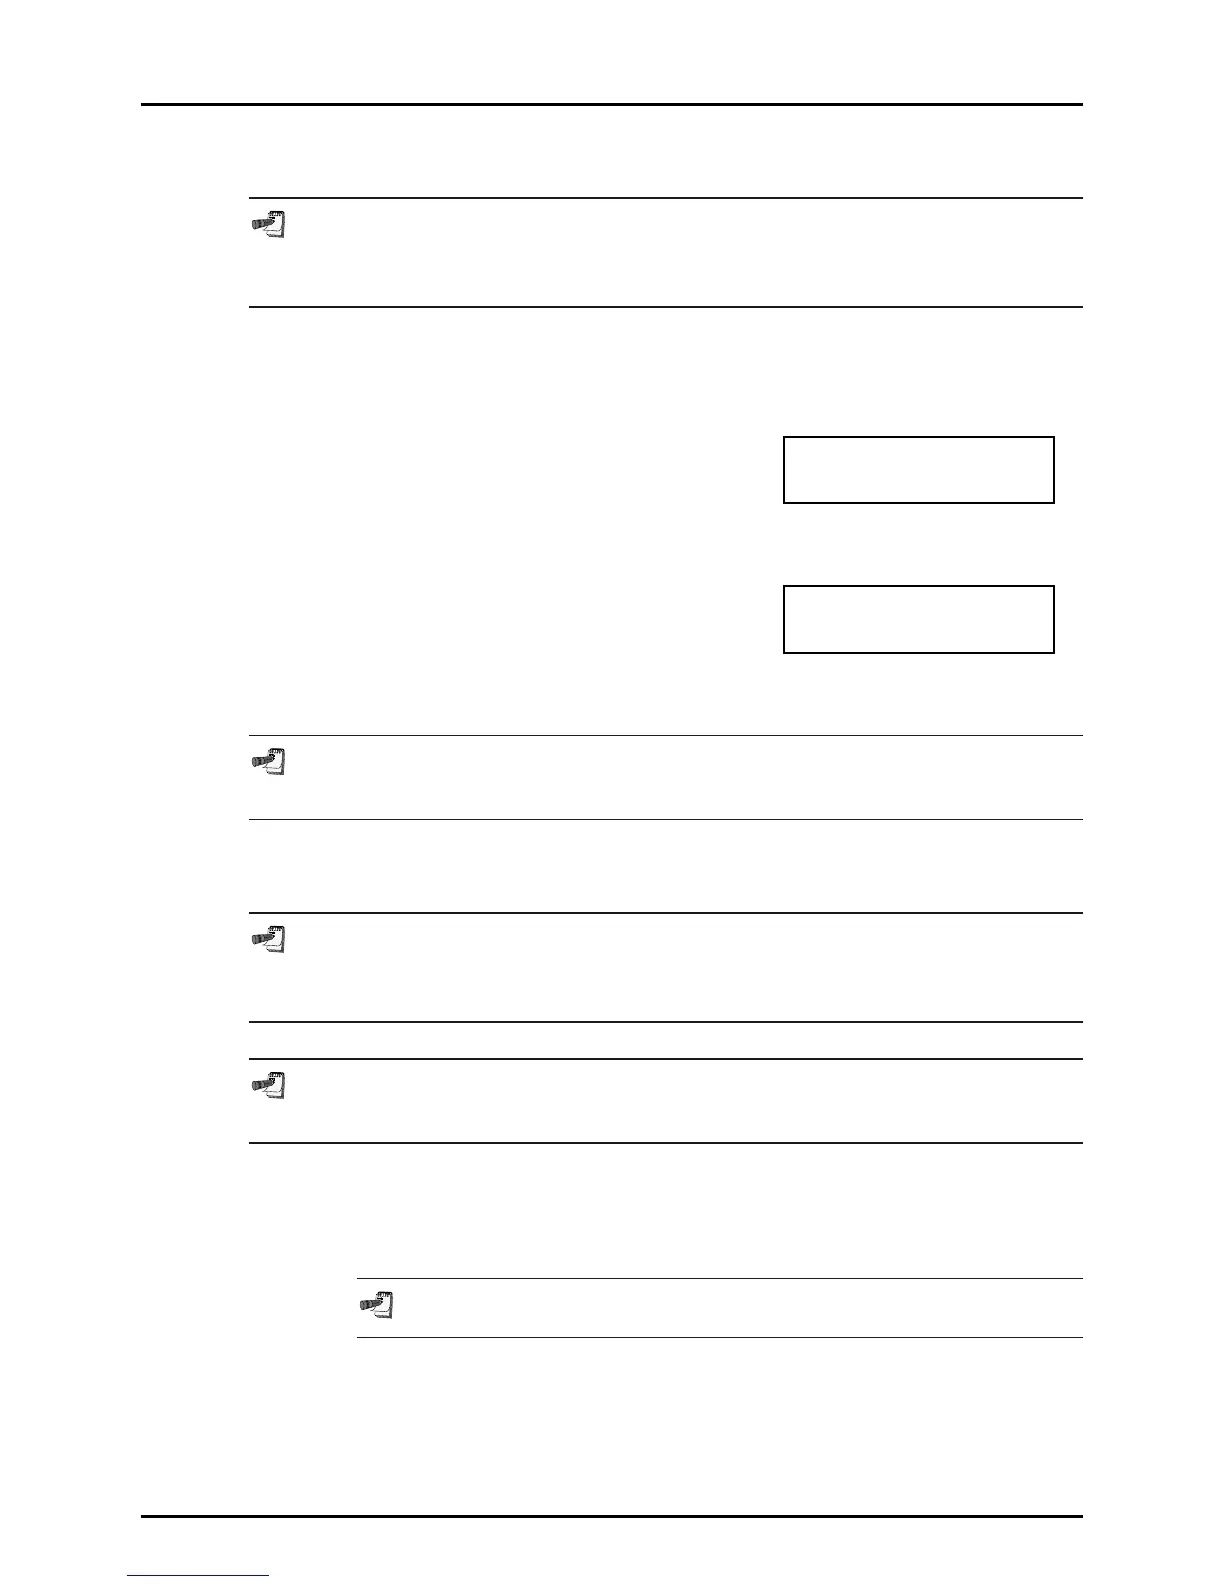
The display warns the user that pressure will increase
to roughly 3 400 kPa (500 psi). Press ENTER to
continue.
CAUTION: About to
set 3378.43 kPa a
PPC2 AF will then pulse and set pressures around mid
scale pressure, and "CFG" will flash in the lower left
corner of the display. After about ten minutes, the
user will be asked whether or not to save the new
configurations. If the Cfg function ran completely and
without incident, select 1Yes. Selecting 2No returns to
the main run screen with no change to the internal
pressure control parameters.
Save New Config
1Yes 2No
The effect of the Cfg function can be eliminated and control coefficients returned to
factory defaults using RESET ALL (see Section 3.4.4.5.2).
5.1.2 REPAIRS
PPC2 AF is covered by a limited 5 year warranty. Unauthorized service or repair during the
warranty period is undertaken at the owner's risk and may cause damage that is not
covered under and/or may void the warranty (see Section 9.4).
See Section 5.1.5 Illustrated Parts Breakdown for part number and figures referred to in
the repair procedures.
5.1.2.1 FUSE REMOVAL AND REPLACEMENT
See Figure .4.
Remove all power.
1. With a small flat screw driver remove fuse holder.
1.1. Remove bottom fuse and replace with spare, top fuse. (100589)
1.1.1. If there is no spare fuse use a new one, try to rotate spare into use.
1.2. The spare should also be replaced, but is not mandatory.
2. Slide fuse holder back into position.