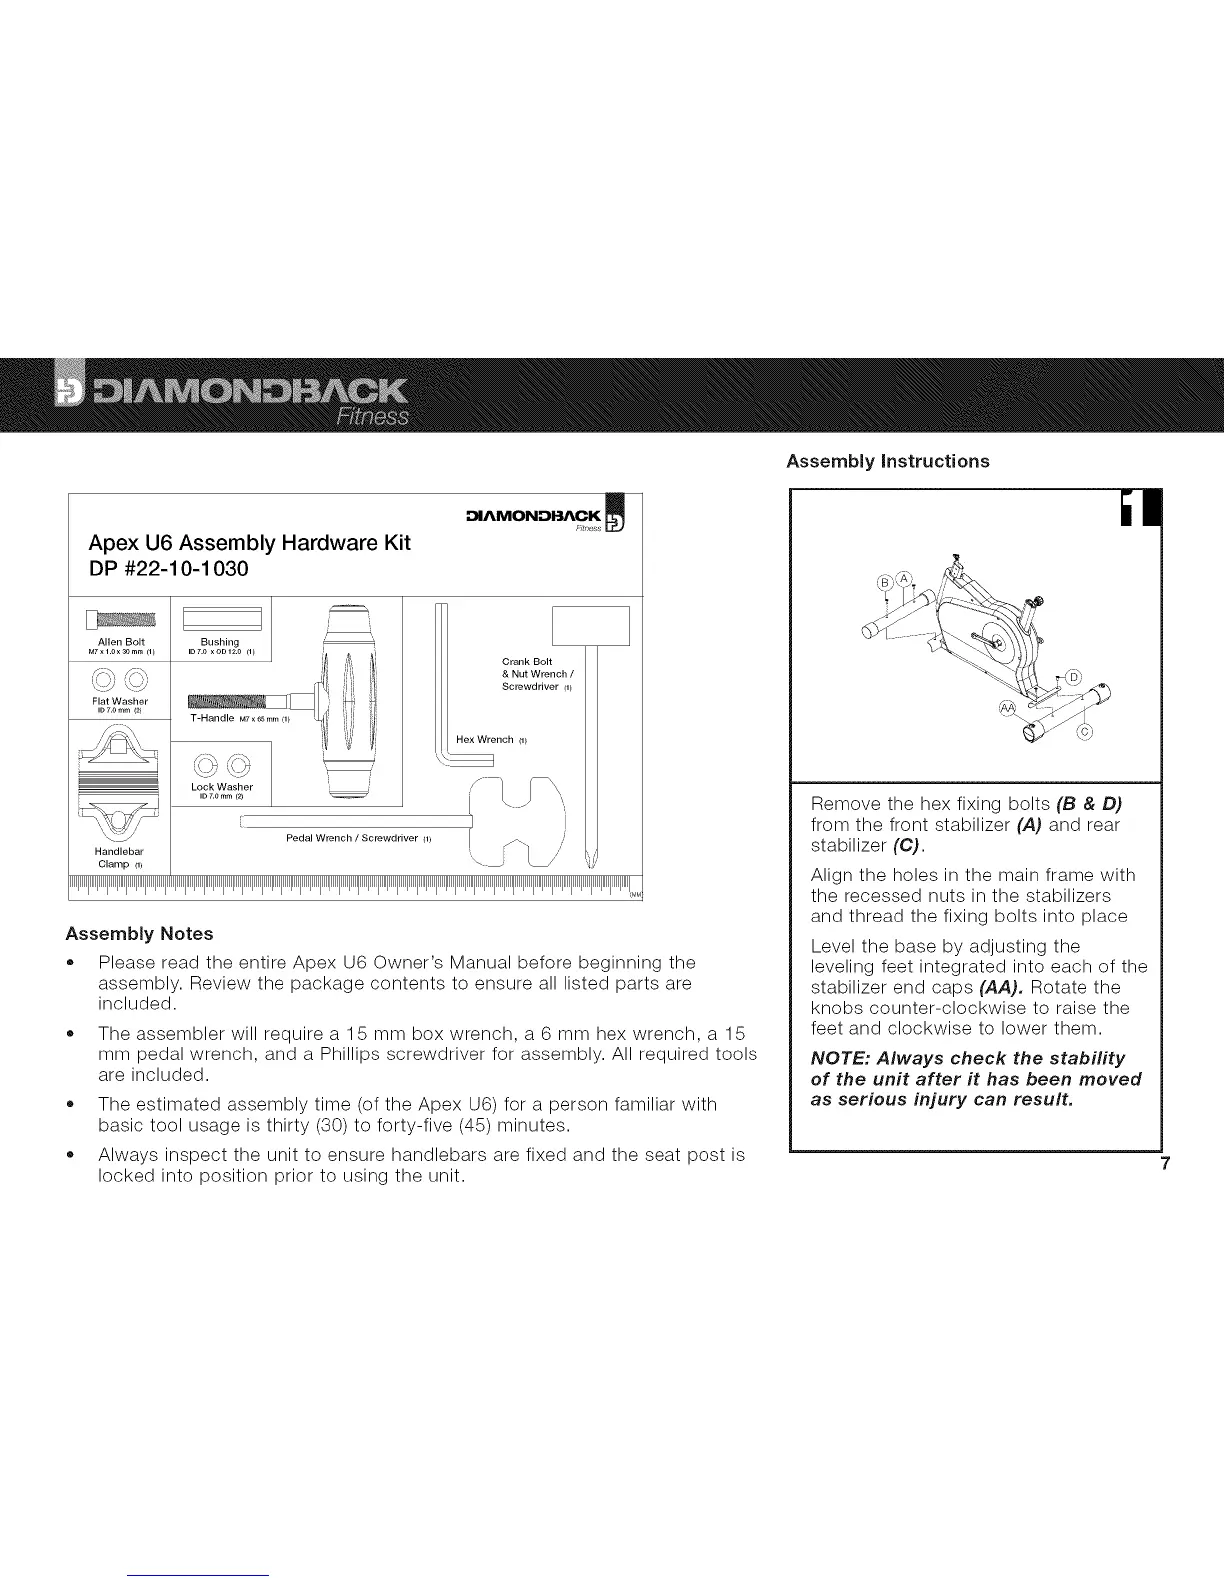
Apex U6 Assembly Hardware Kit
DP #22-10-1030
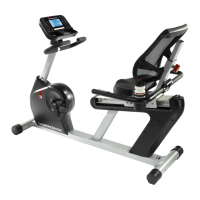
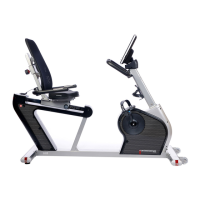
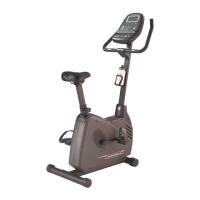
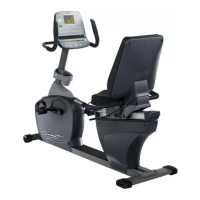
DIAMONDBACK
Allen Bolt
M7xl.ox son,n,(1_
,_ _:_
Flat Washer
ID 7.0 mm (2)
Bushing
Lock Washer
ID 7.0n,m(_
Crank Bolt
& Nut Wrench /
Screwdriver (11
Hex Wrench Ill
i_ I
Pedal Wrench / Screwdriver (11
Assembly Notes
,, Please read the entire Apex U6 Owner's Manual before beginning the
assembly. Review the package contents to ensure all listed parts are
included.
• The assembler will require a 15 mm box wrench, a 6 mm hex wrench, a 15
mm pedal wrench, and a Phillips screwdriver for assembly. All required tools
are included.
The estimated assembly time (of the Apex U6) for a person familiar with
basic tool usage is thirty (30) to forty-five (45) minutes.
Always inspect the unit to ensure handlebars are fixed and the seat post is
locked into position prior to using the unit.
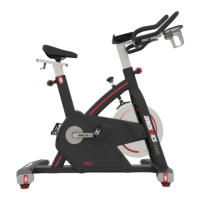
Assembly instructions
Remove the hex fixing bolts (B & D)
from the front stabilizer (A) and rear
stabilizer (C).
Align the holes in the main frame with
the recessed nuts in the stabilizers
and thread the fixing bolts into place
Level the base by adjusting the
leveling feet integrated into each of the
stabilizer end caps (AA), Rotate the
knobs counter-clockwise to raise the
feet and clockwise to lower them.
NOTE: Always check the stability
of the unit after it has been moved
as serious injury can result.
[I