page 63
Digital Projection E-Vision Laser 7500 & 8500 Series
Operating Guide
USING THE PROJECTOR
Rev B September 2016
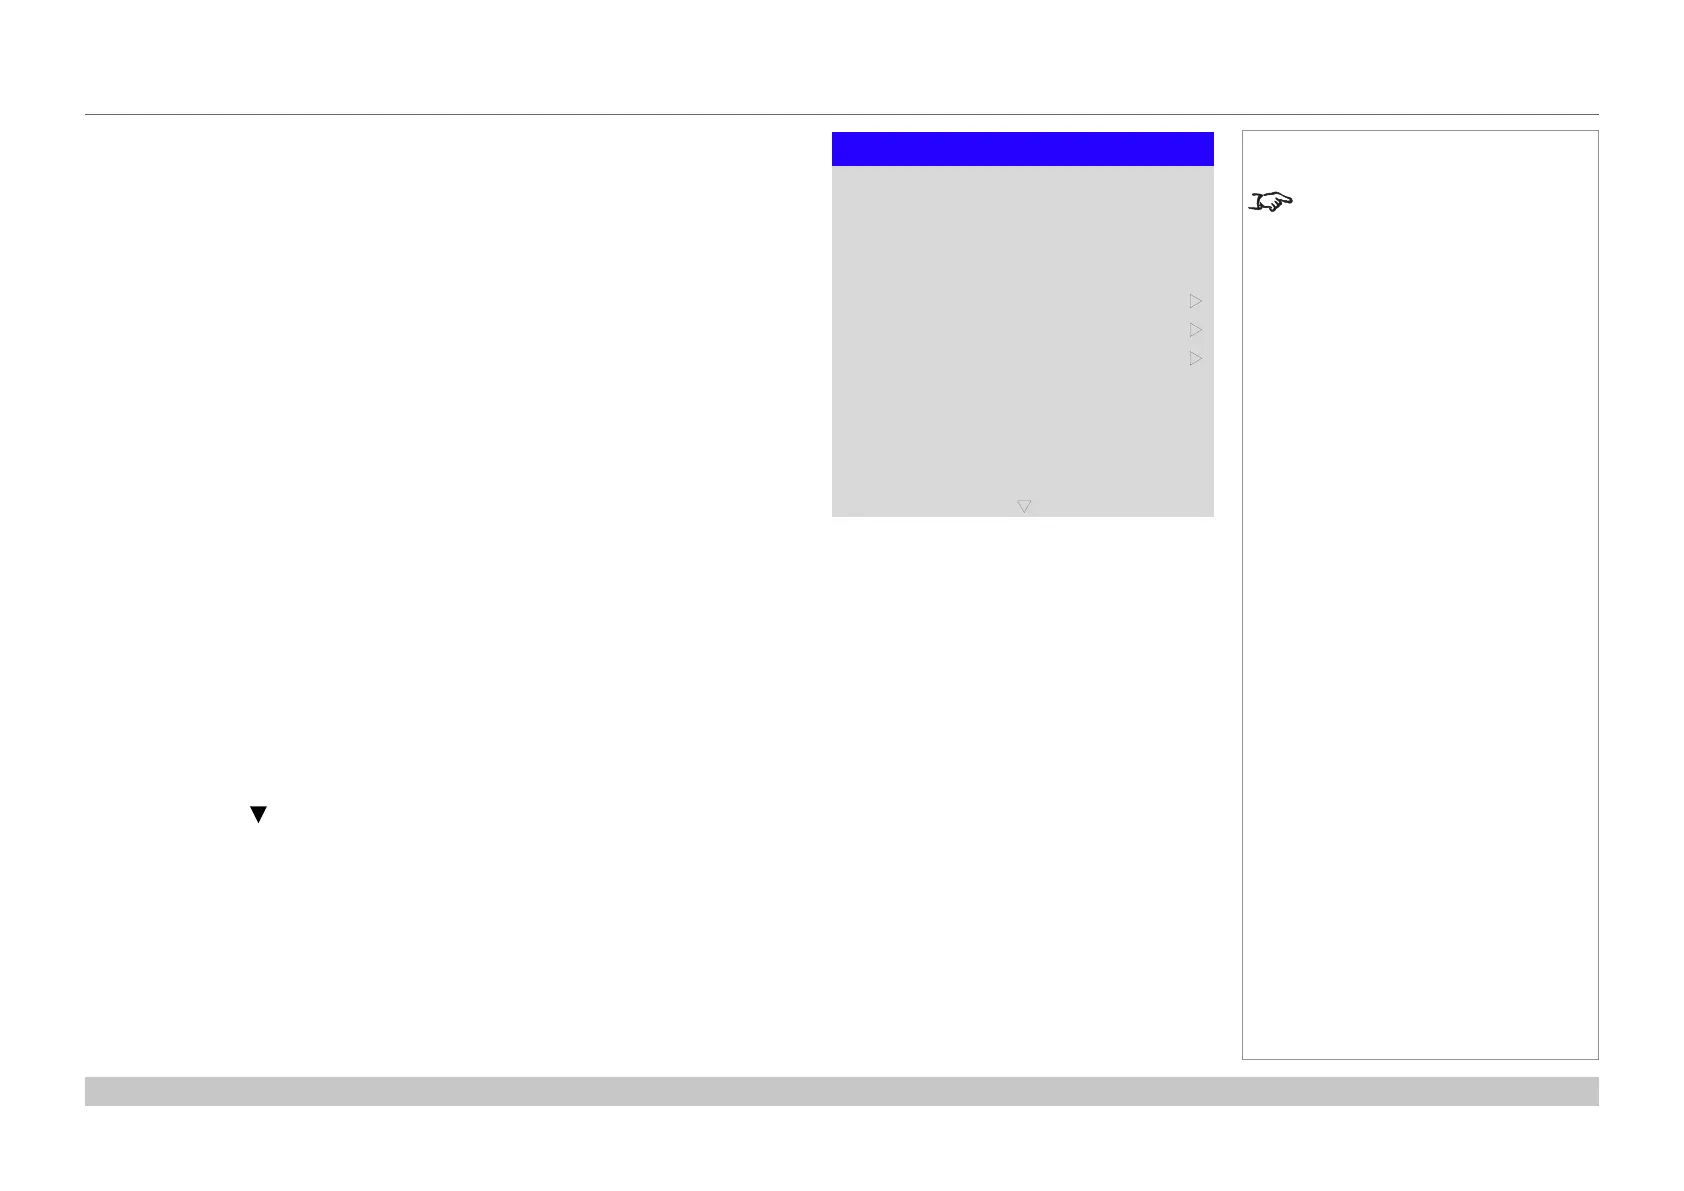
Setup menu
• Orientation
Choose from Front Tabletop, Front Ceiling, Rear Tabletop, Rear Ceiling and
Auto-front.
• Cooling Condition
Choose from Table, Ceiling, Freetilt and Auto.
• High Altitude
Choose from On and Auto.
• Screen Setting
Choose from 16:10, 16:9 and 4:3.
• ColorMax
Set up user-dened color gamut values.
• Power On/Off
Access the submenu to set up automatic projector power on and power off.
• Clock Adjust
Access the submenu to set current date and local time.
• Startup Logo
Set this to On if you want the DP logo to show when the projector is rst switched on.
• Blank Screen
Choose from Logo, Black, Blue and White.
• Trigger1 and Trigger 2
Choose from Screen, 5:4, 4:3, 16:10, 16:9, 1.88, 2.35, TheaterScope, Source,
Unscaled or RS232 to determine what will cause each trigger output to activate.
Highlight the DOWN arrow at the bottom of the page and press ENTER/OK to navigate
to the second Setup menu page.
Notes
Auto-front automatically detects
the projector’s position and sets the
orientation accordingly.
Setup
Cooling Condition
High Altitude
Orientation
Screen Setting
Power On/Off
Clock Adjust
ColorMax
Startup Logo
Trigger-1
Trigger-2
Blank Screen
q
Auto
Auto
Auto-front
16:10
u
On
u
Logo
Off
Off
u

 Loading...


