Basic Operation
QC1936 Digital Storage Oscilloscope 39
2.13 UTILITY System
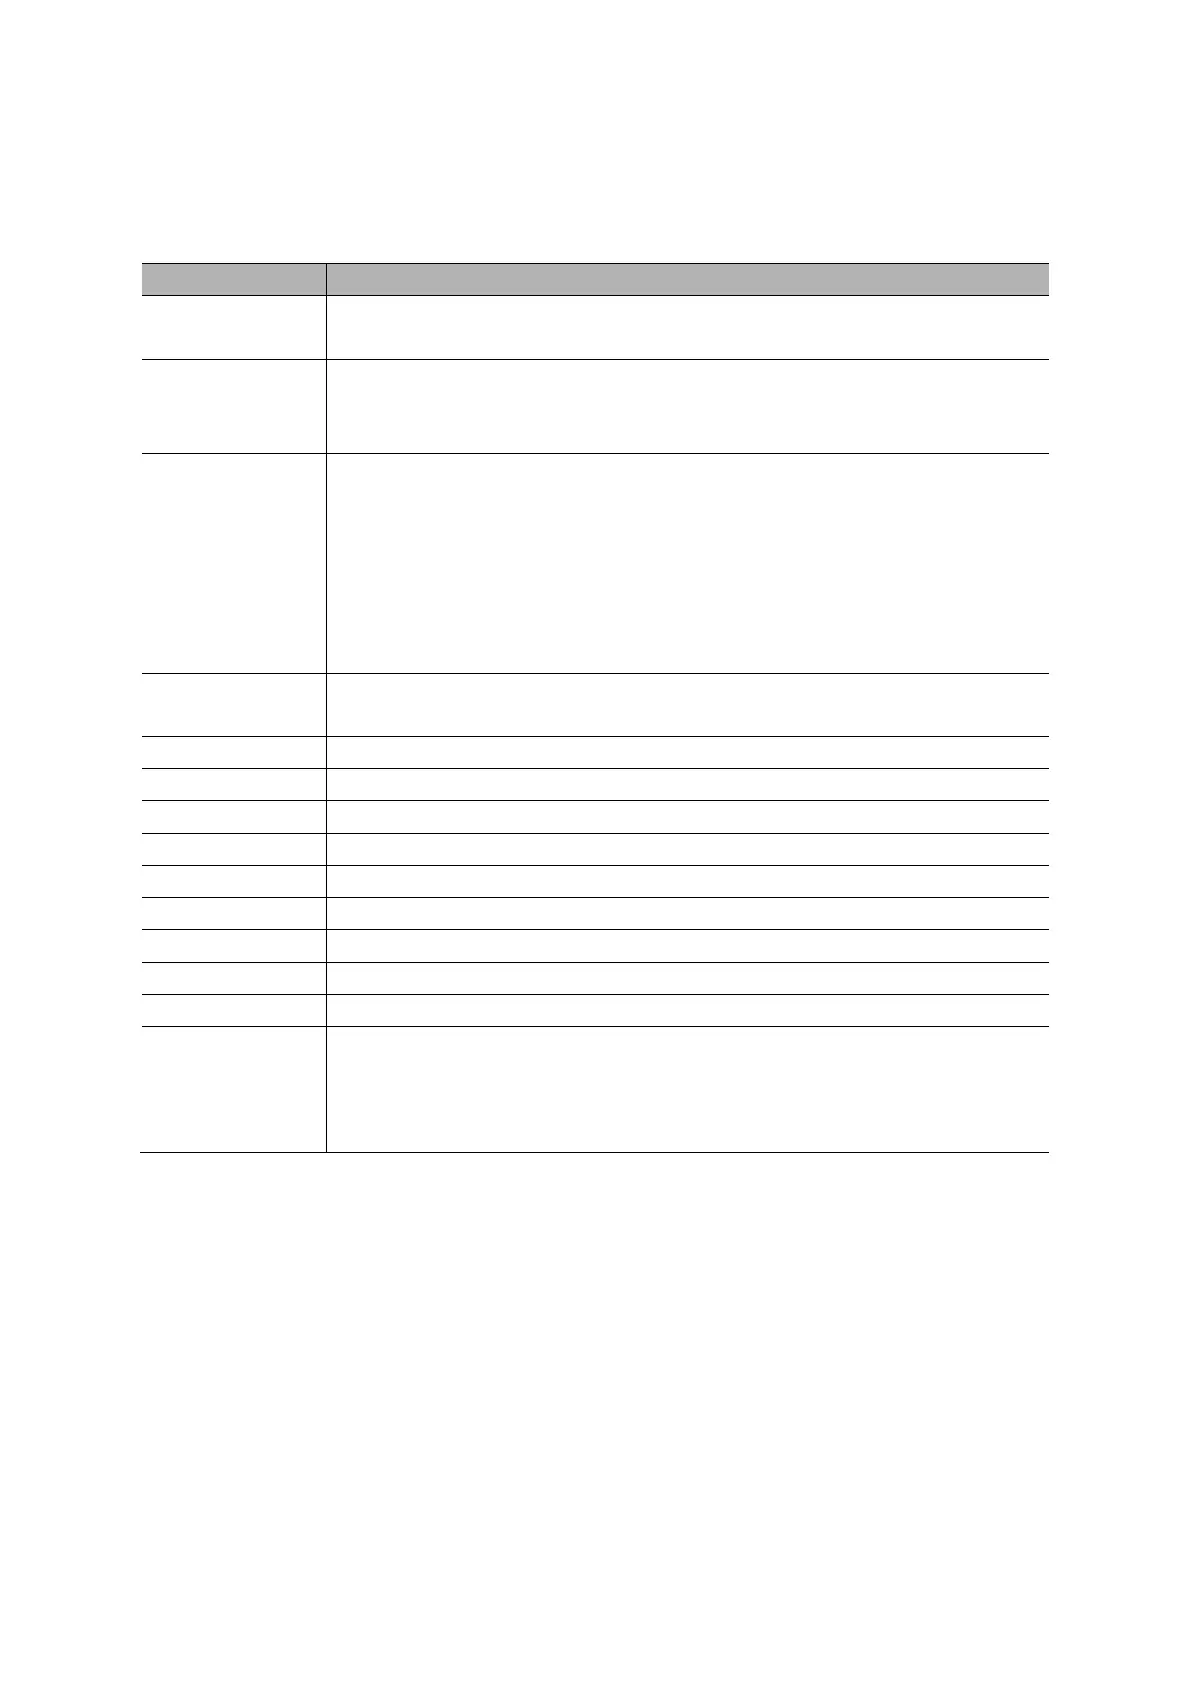
Push the UTILITY button to display the Utility Menu as follows.
Display the software and hardware versions, serial number and some other
information about the oscilloscope.
Insert a USB disk with upgrade program and the disk icon at the top left
corner is highlighted. Press the Update Program button and the Software
Upgrade dialog pops up. Push F6 to upgrade or push F2 to cancel.
Insert a USB disk and the disk icon at the top left corner is highlighted. Click
on this icon and you can see the waveform pause for a while, being saved.
You can find the saved waveform data under the Digitech_x folder in the
USB disk. Here X represents how many times you press the button. Each
press generates a corresponding folder. For example, press once and a
folder Digitech_1 is generated; press twice and two folders Digitech_1,
Digitech_2 are generated.
Press this option and the Self Calibration dialog pops up. Press F6 to
perform the self calibration. Press F4 to cancel.
Turn on or turn off key beep.
Set the GUI color, bule, black, green, pink, yellow.
Display the system status.
Bode Assiant:
Wave: Save waveform as .hws file to Flash, SD or USB device.
DDS: Enable waveform generator function.
DVM:
Tip: Press any menu button on the front panel to remove the status display and enter a
corresponding menu.
2.13.1 Firmware Update
This series of oscilloscope can upgrade the software by the USB flash disc, which needs about 5
minutes.
The firmware is upgraded by the following steps:
1. Plug the USB flash disc in which a firmware program is saved in USB Host interface
on the front panel of the oscilloscope.
2. Press [UTILITY] to skip to the “UTILITY” menu.
3. Press “Firmware Update”.